Table Relation
Overview
Table Relation knowledge is used to maintain and manage the relationships among multiple data tables within an agent. Through a visual drag-and-drop interface, administrators can define how tables are connected, such as primary and foreign keys or field mappings, to support multi-table analysis and improve SQL generation accuracy across tables.
Prerequisites
The Table Relation Settings feature has been enabled on the Agent Detail Settings > Basic Information > Feature Switch Settings page.
Applicable Scenarios
- Multiple data tables exist in the agent, and business questions require cross-table queries.
- The tables have explicit business relationships, such as an order table linked to a customer table by customer ID.
- You want the model to automatically recognize and apply the correct table relationships when generating SQL.
Usage Guide
Create a Table Relation
Method 1: click Create Table Relation
-
On the
Agent Detail Settingspage, enter theTable Relationtab. -
Click
Create Table Relationin the upper-left corner of the canvas to enter table relation configuration mode. -
In the
Create Table Relationpanel on the right, manually choose the left table, right table, and relationship conditions, then configure the join information.
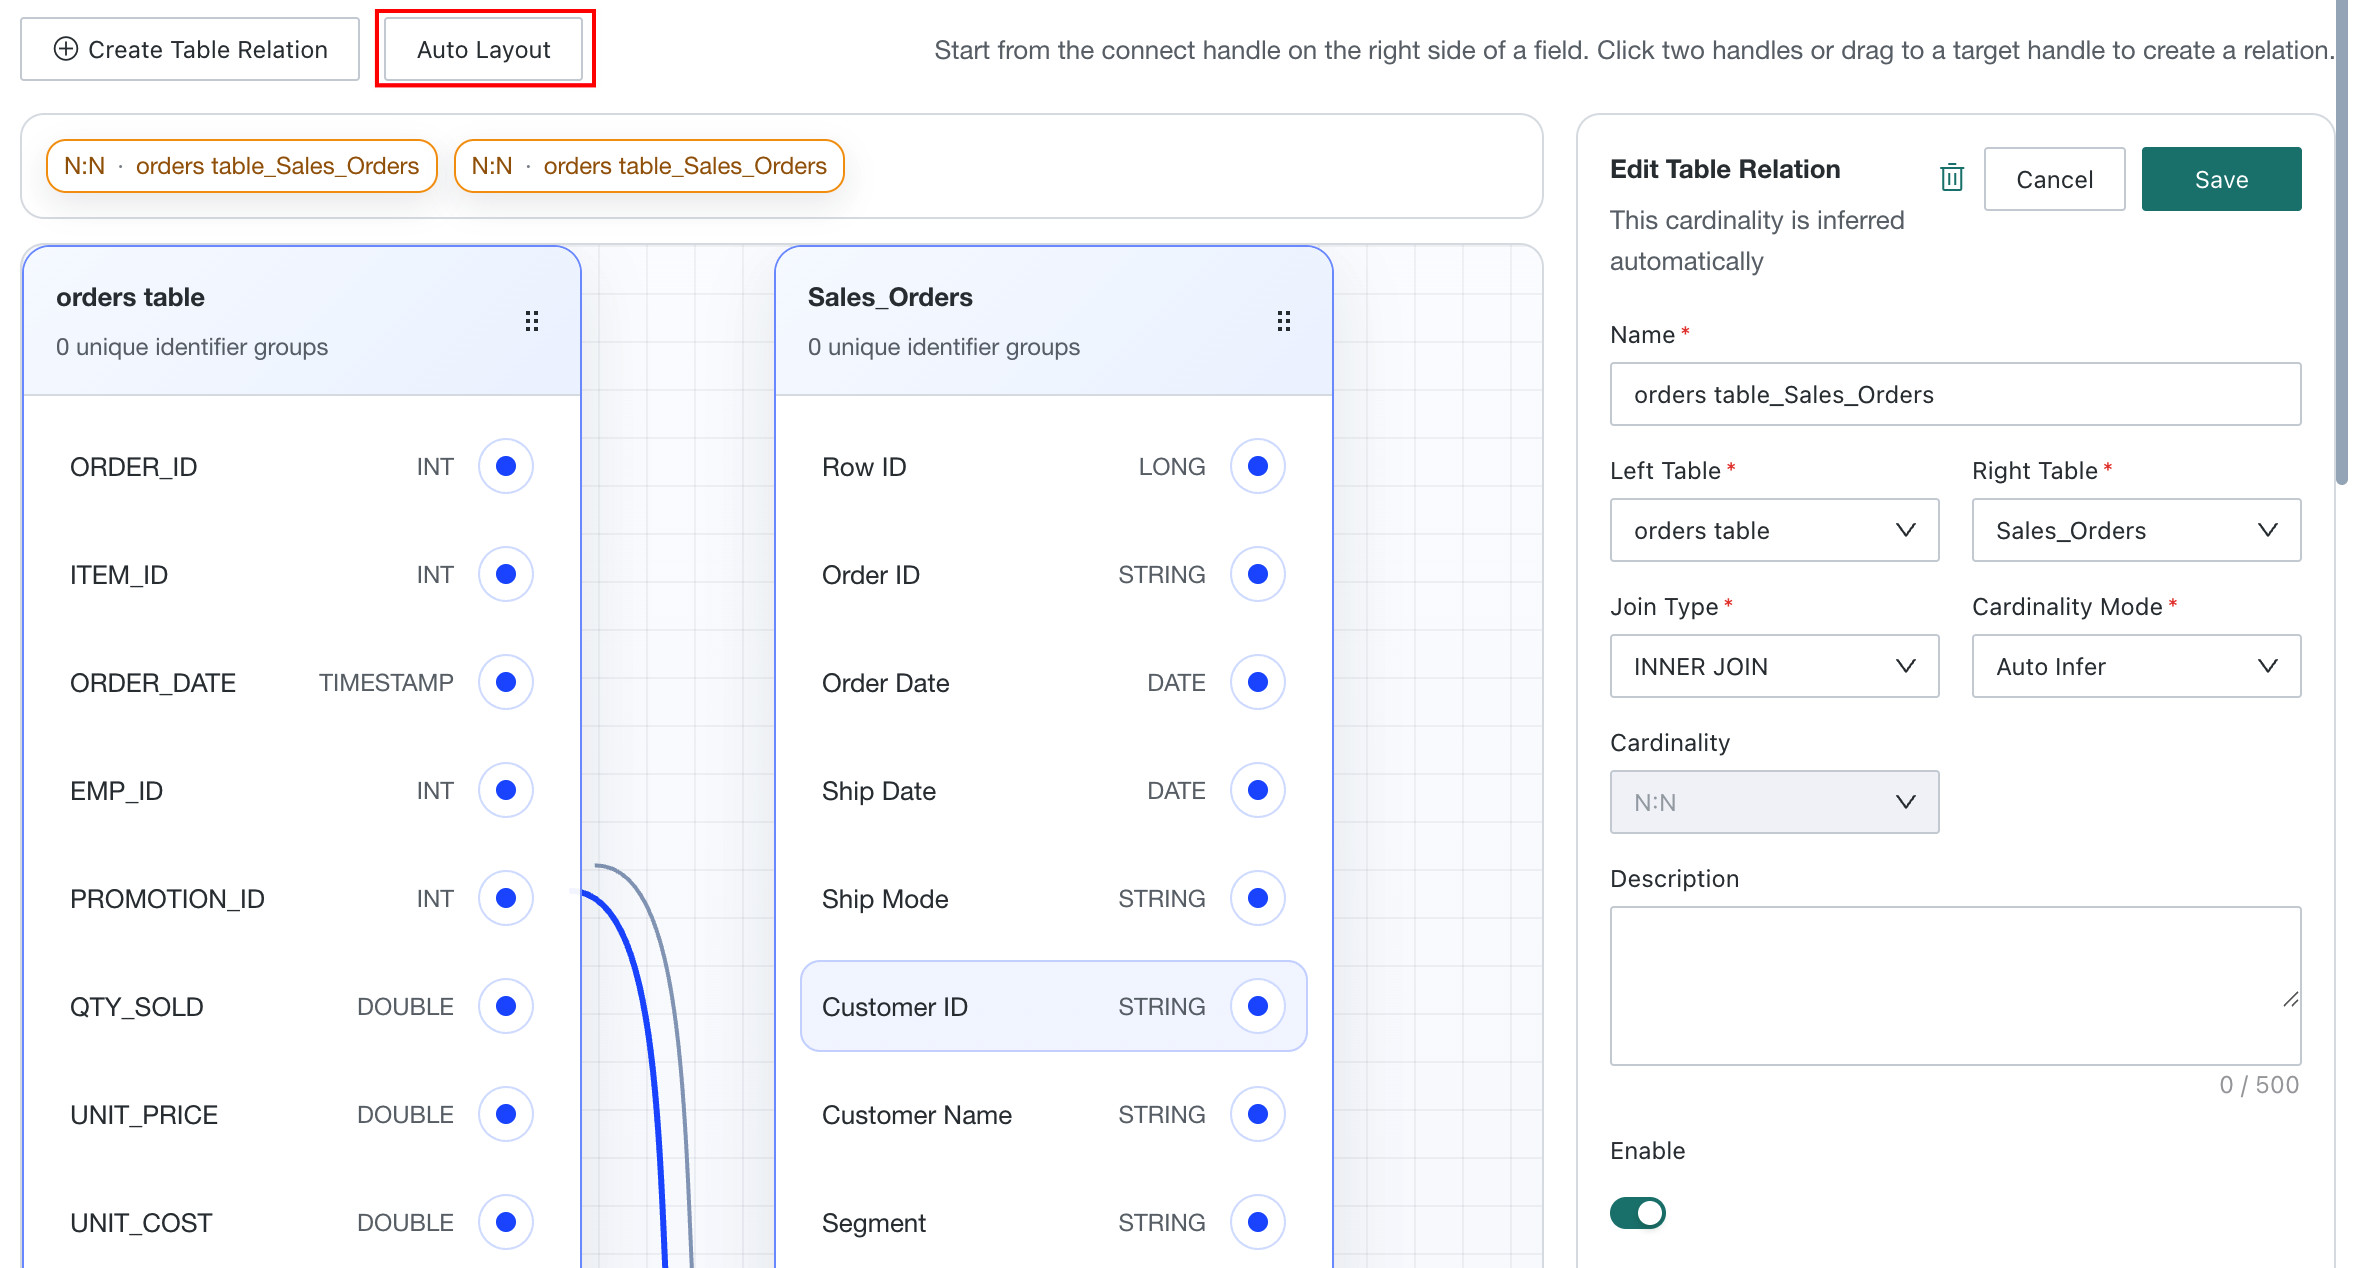
| Configuration Item | Required | Description |
|---|---|---|
| Name | Yes | Name of the table relation, such as Sales Data Linked to Device Information |
| Left Table | Yes | Table on the left side of the relationship |
| Right Table | Yes | Table on the right side of the relationship |
| Join Type | Yes | Table join type. INNER JOIN, LEFT JOIN, RIGHT JOIN, and FULL JOIN are supported. |
| Cardinality Setting | Yes | Choose Auto Inference or specify manually |
| Relationship Cardinality | No | Relationship between the two tables, such as N:1 or N:N. If Auto Inference is selected, the system infers it automatically. |
| Description | No | Business description of the table relation, limited to 500 characters |
| Enabled | / | Controls whether the relation can be used during Q&A. Enabled by default. |
| Join Conditions | Yes | Field mapping conditions between the left and right tables, such as Order Table.Customer ID = Customer Table.Customer ID.Click Add Condition to add multiple join conditions for complex join scenarios. |
- After configuration is complete, click
Savein the upper-right corner. The system learns and saves the table relation.
Method 2: drag to create
- Start from the connection point on the right side of a field. You can create a relation by clicking two connection points or by dragging to the target connection point. During drag-to-connect, the system automatically identifies the two related tables and fields, so no manual selection is required.
- In the
Create Table Relationpanel on the right, confirm or adjust the join type, cardinality, and other settings, then clickSave.
Manage Table Relations
View configured relations
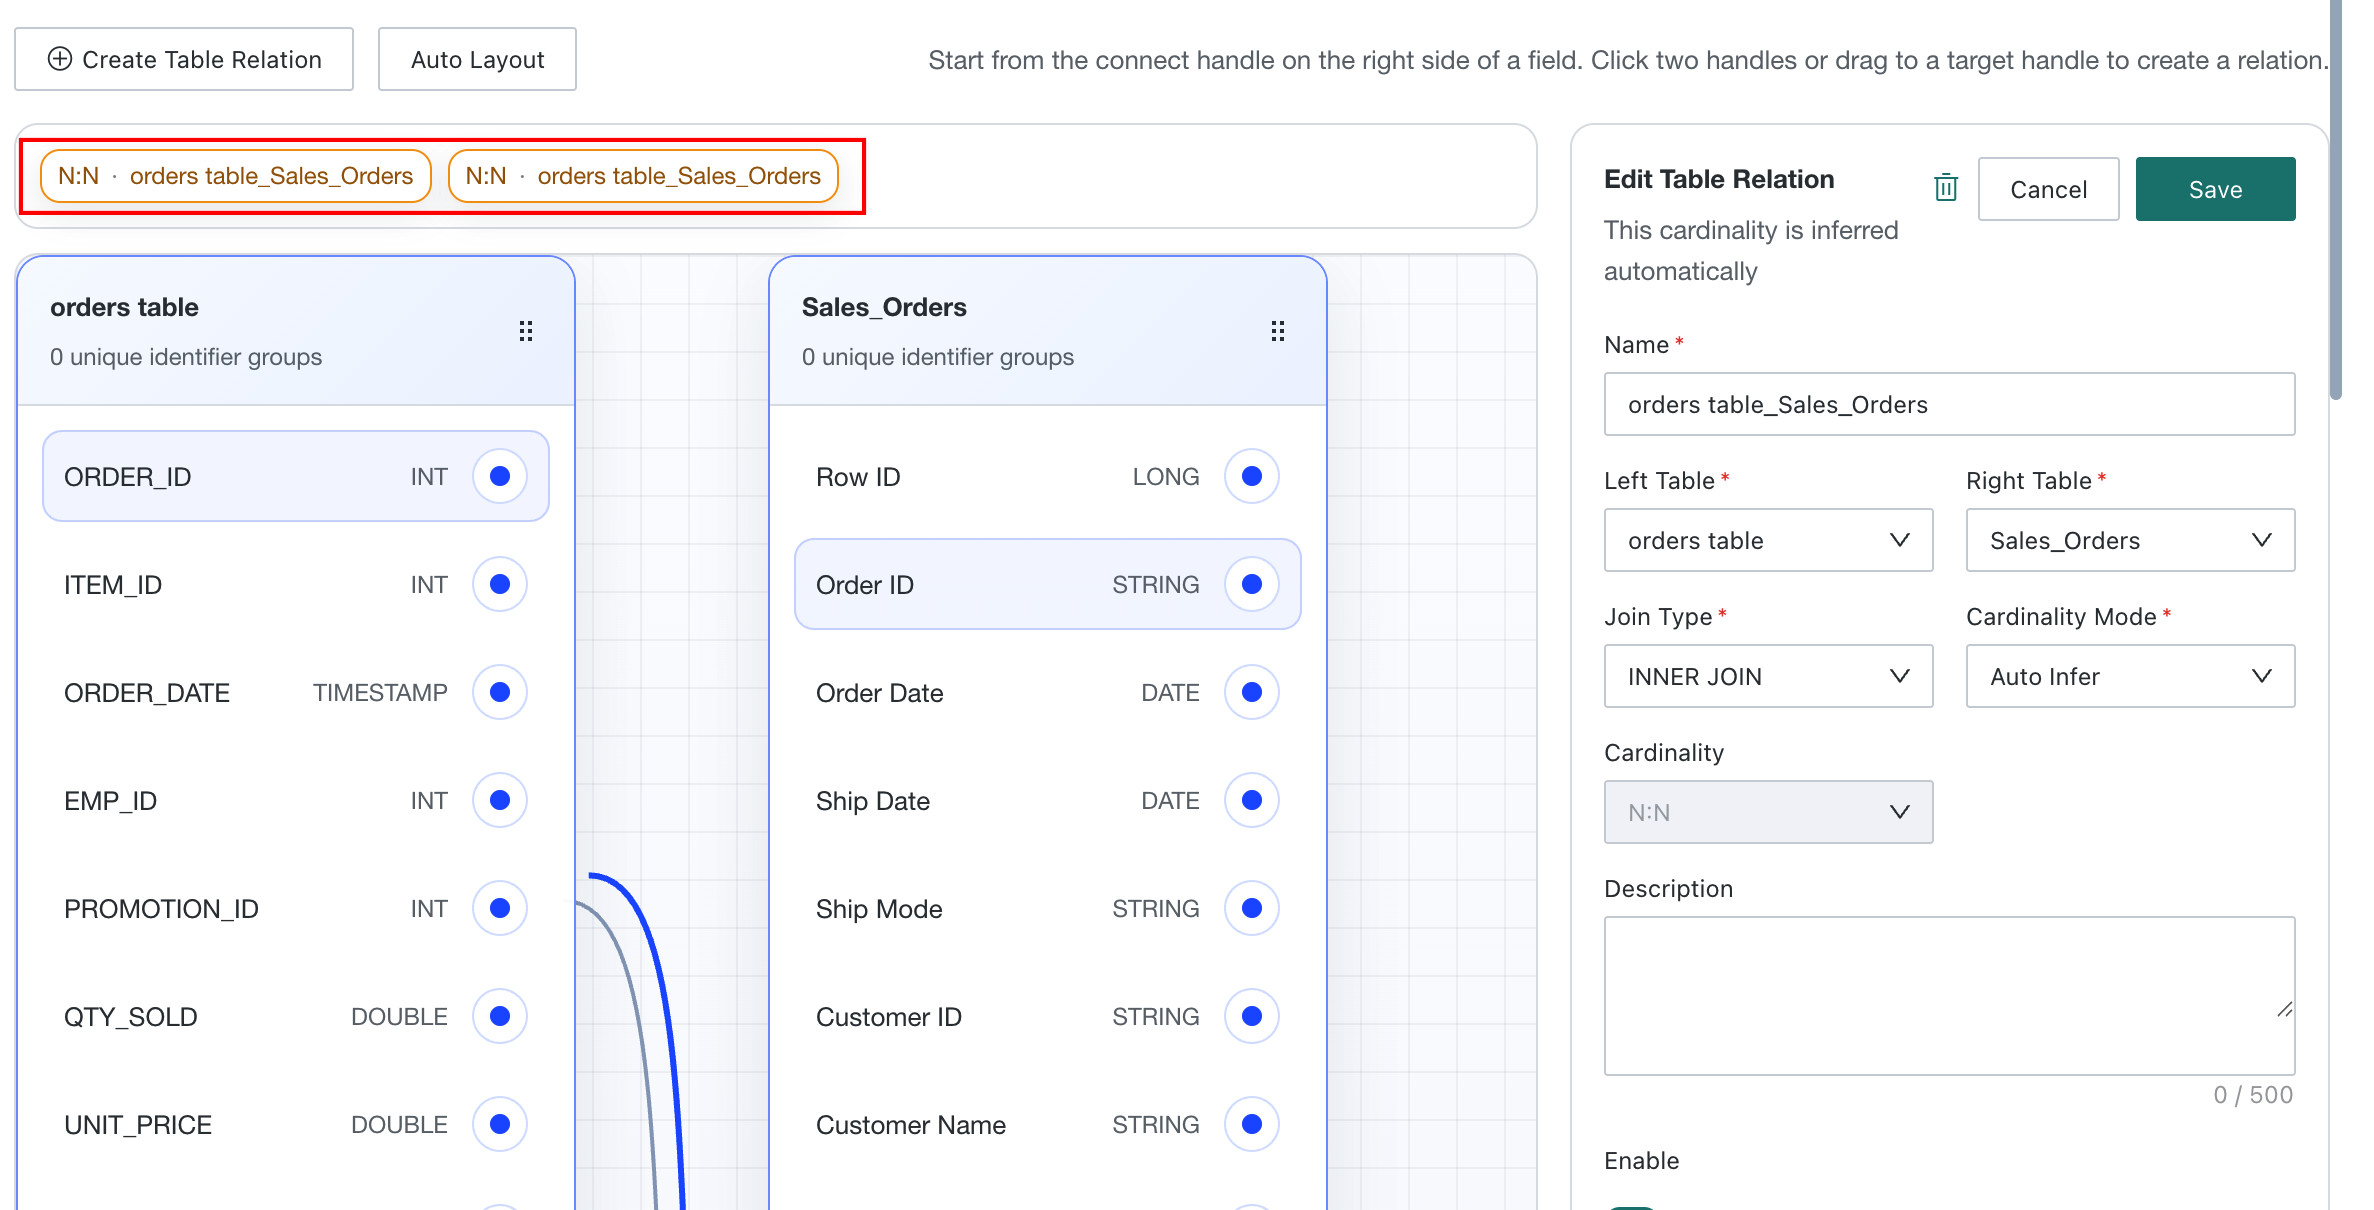
Configured table relations are displayed as tags above the table cards in the canvas, showing the relationship type, such as N:1 or N:N, along with the relation name.
Edit a table relation
Click an existing table relation to open the Edit Table Relation panel on the right. Modify the join relationship or field mapping, then click Save.

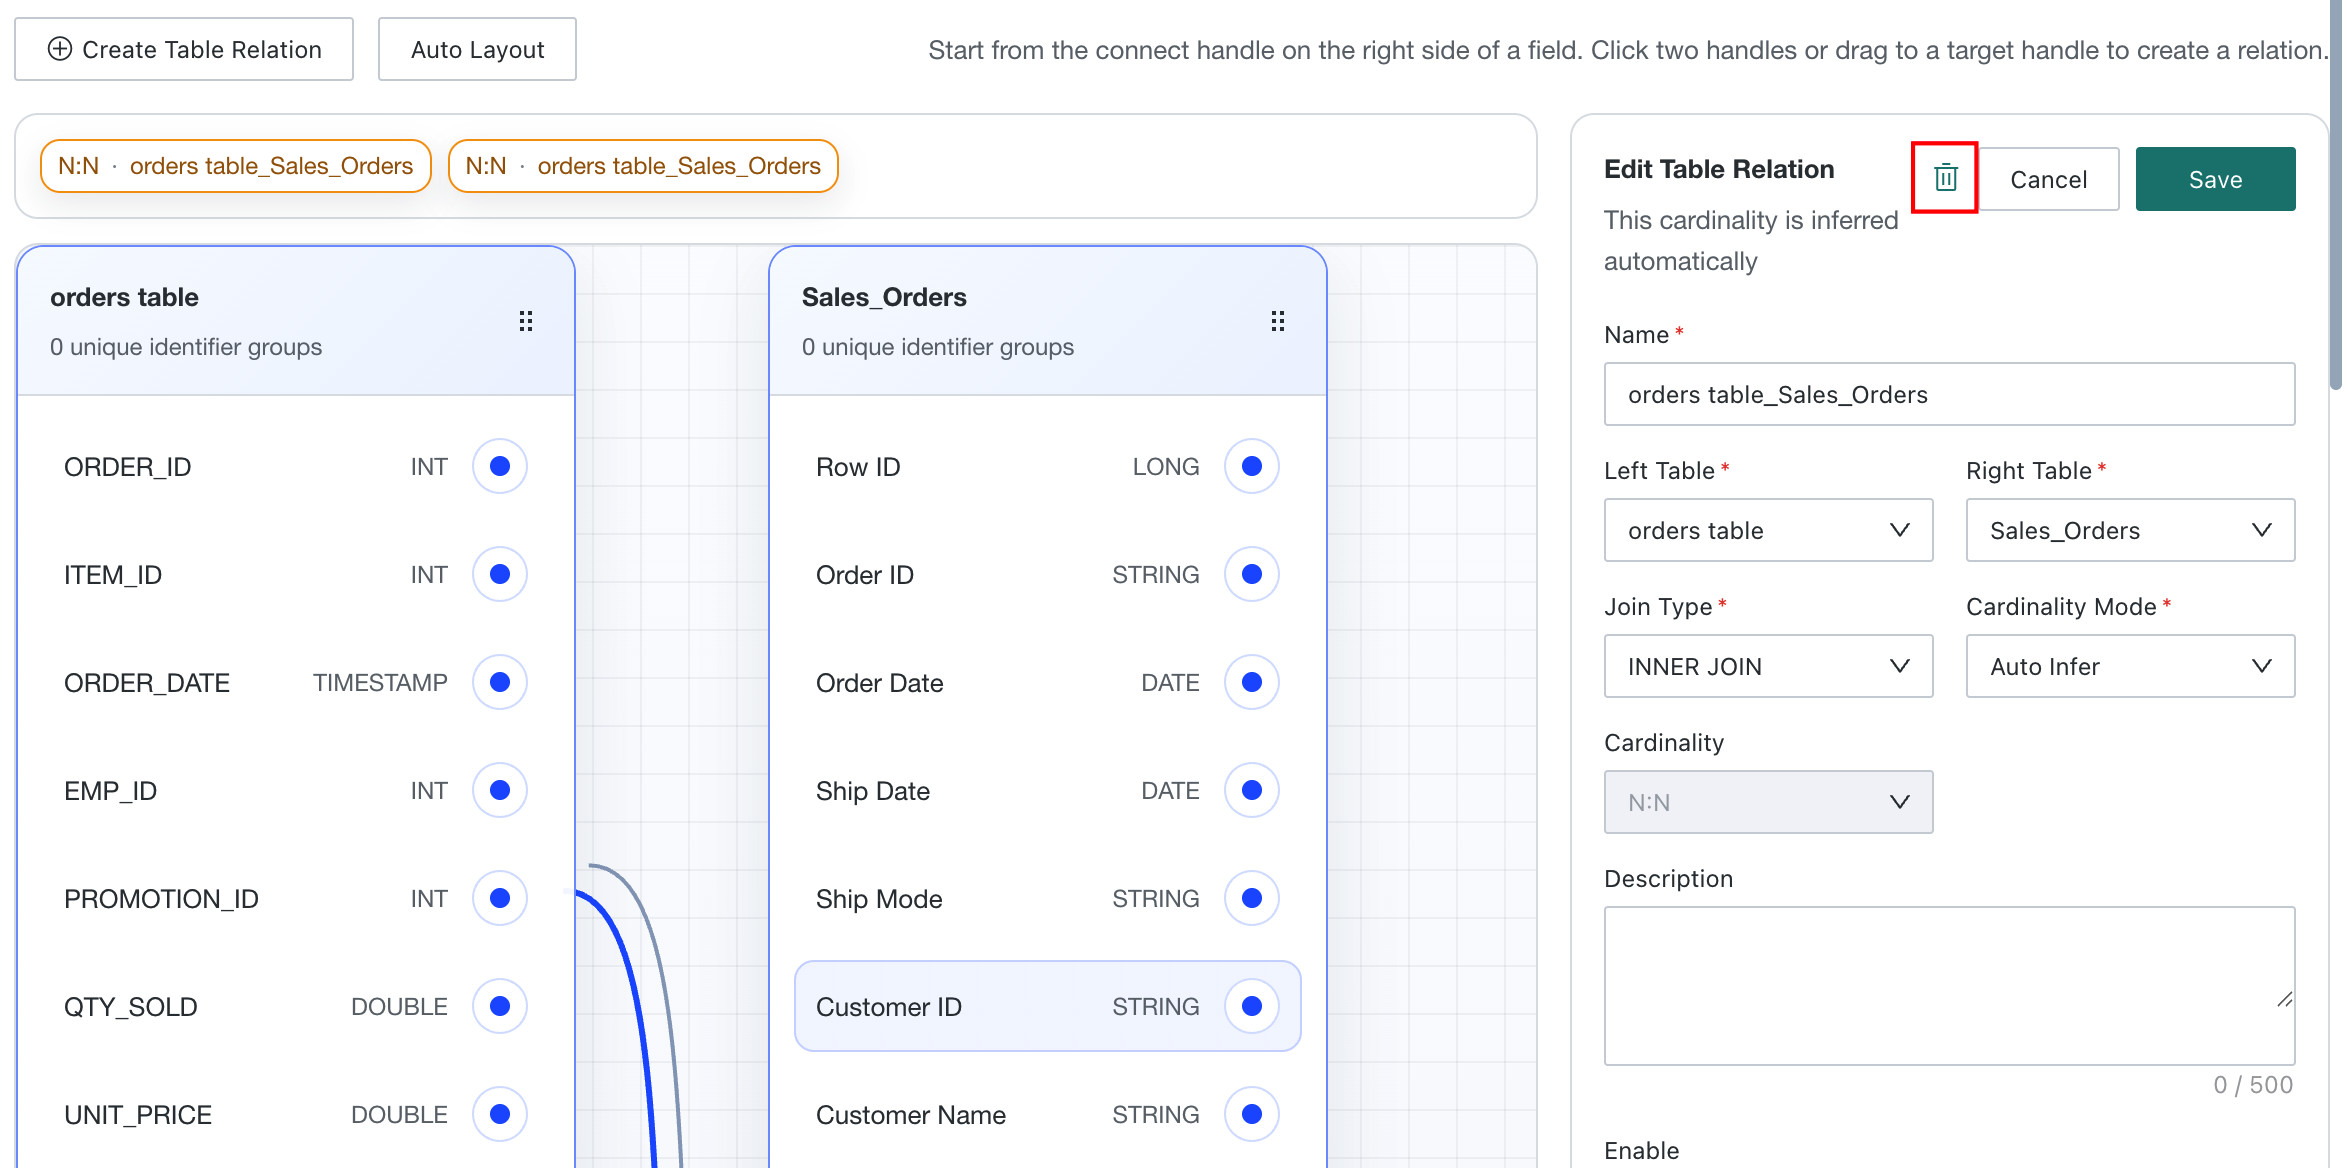
Delete a table relation
In the right-side table relation configuration panel, click Delete and confirm the action to remove the relation.
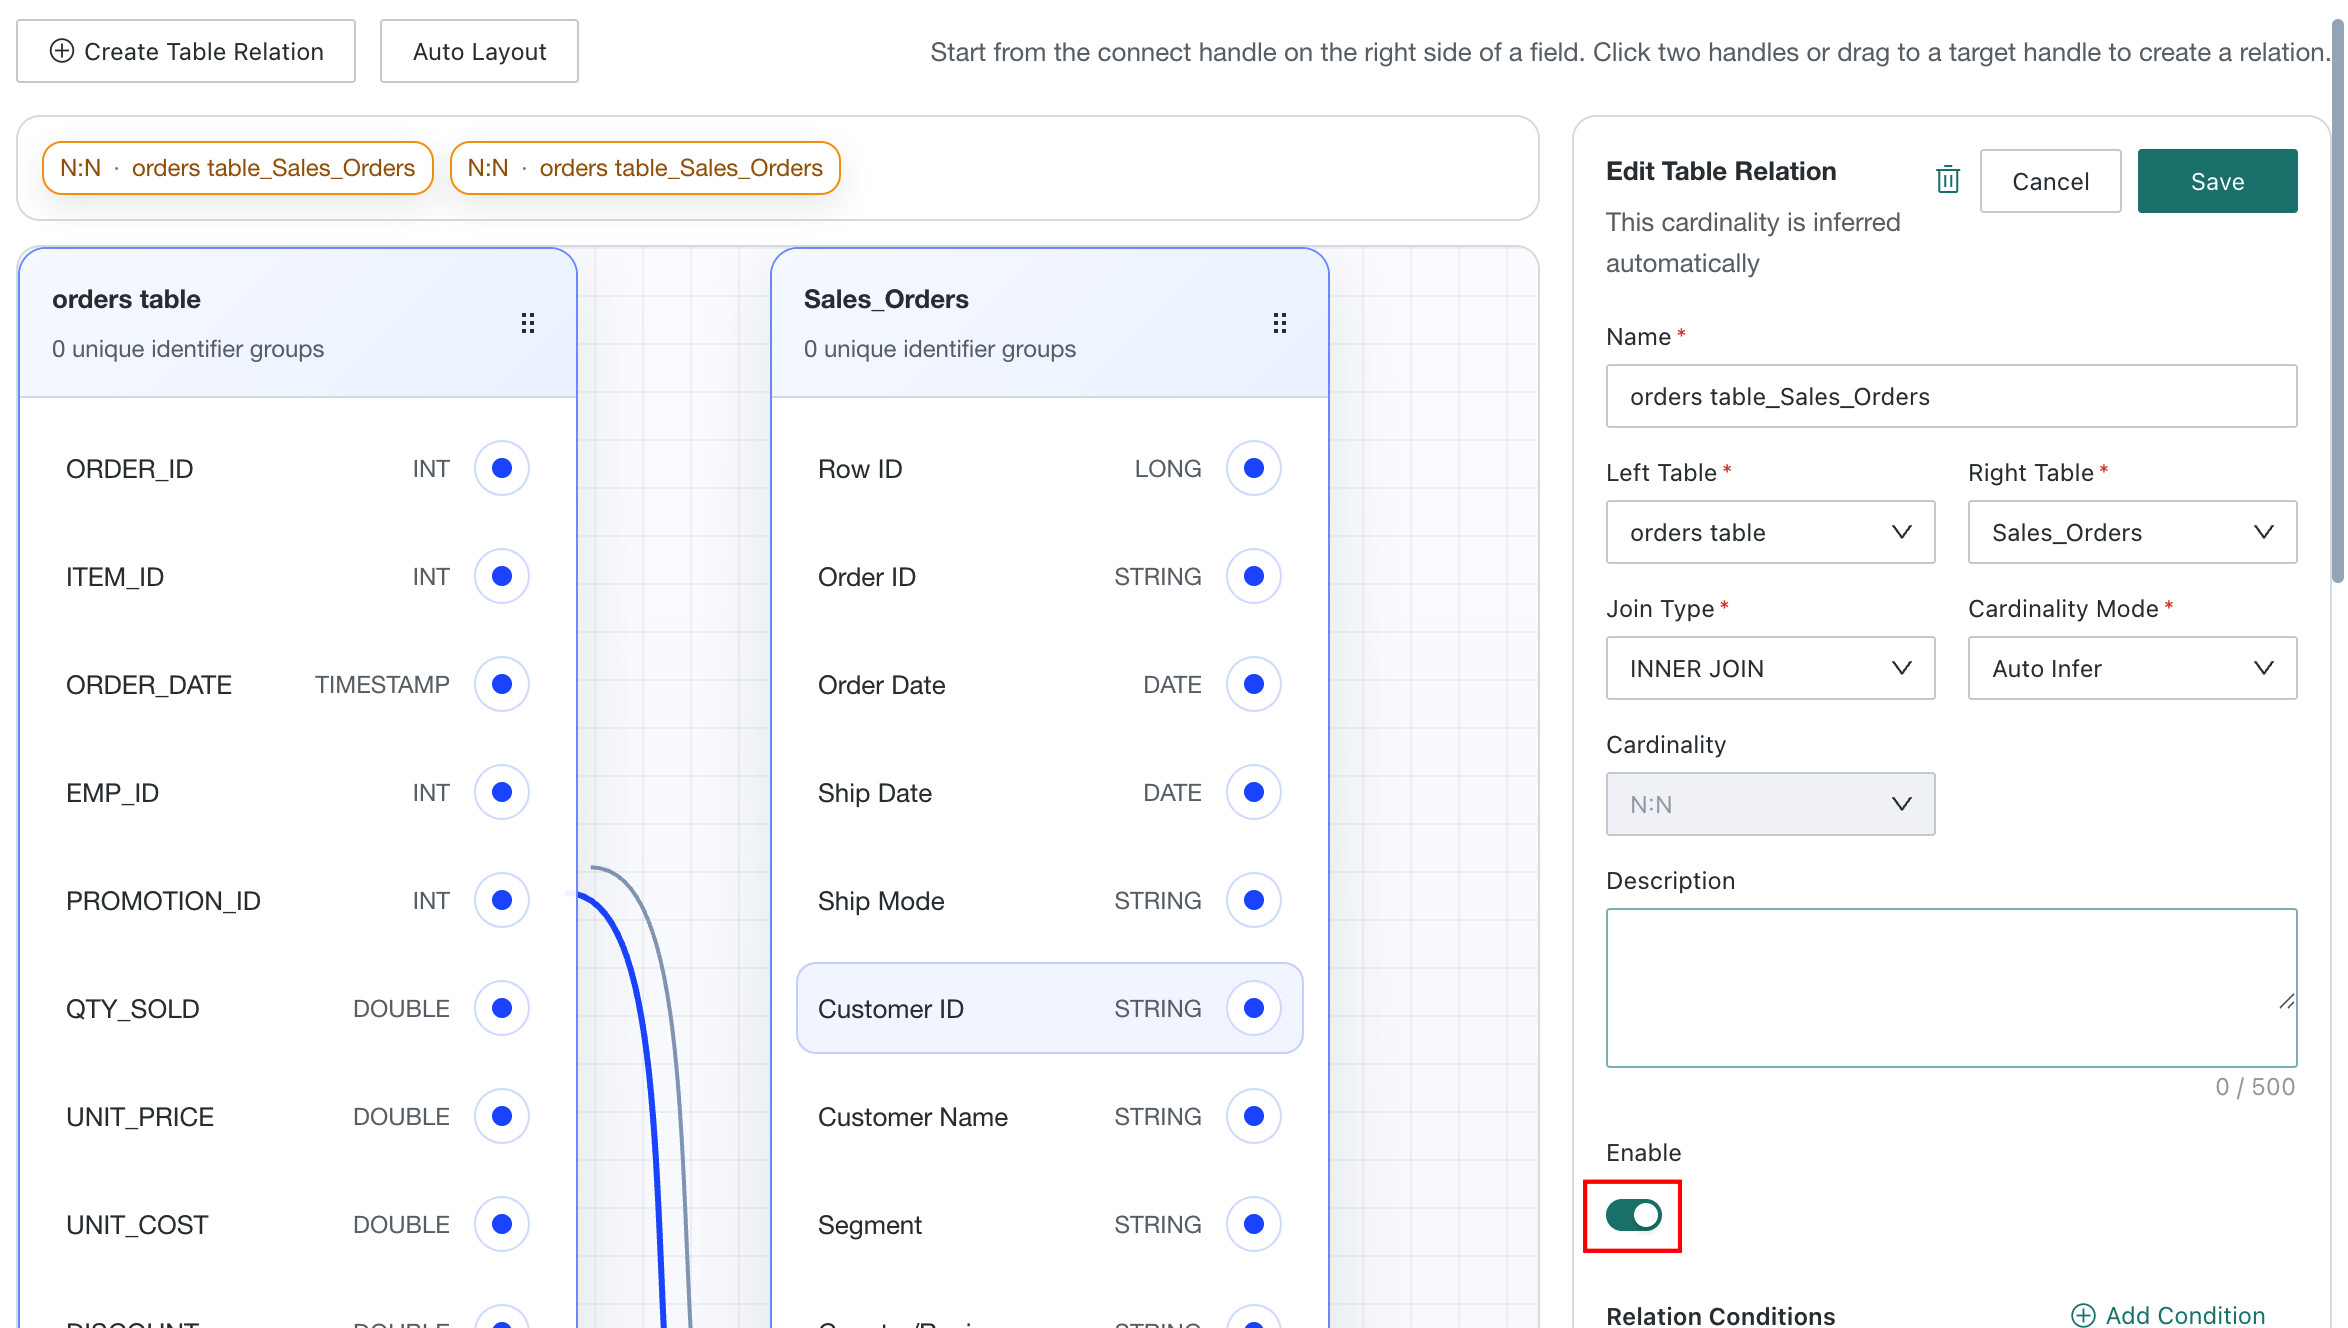
Enable / disable a table relation
In the right-side table relation configuration panel, toggle Enabled to control whether the relation can be used during Q&A.
Manage Layout
The top of the canvas provides an Auto Layout button. After clicking it, the system automatically adjusts the positions of the data tables on the canvas.