Page Screen Casting
Overview
The Page Screen Casting feature is applicable to various scenarios that require sharing and displaying data analysis results. Through casting, users can project data reports, charts, or analysis results from the Guandata BI system through casting devices (such as large screens, projectors, etc.) for display, so as to share and discuss data with the team during meetings, presentations, or data analysis processes.
To ensure the casting effect, users need to first click Cast Setting to customize the casting resolution size. After setting, they can arrange the casting page layout, and after designing the Dashboard, click Cast to display the current page in full screen.
Usage Guide
Page Screen Casting Settings
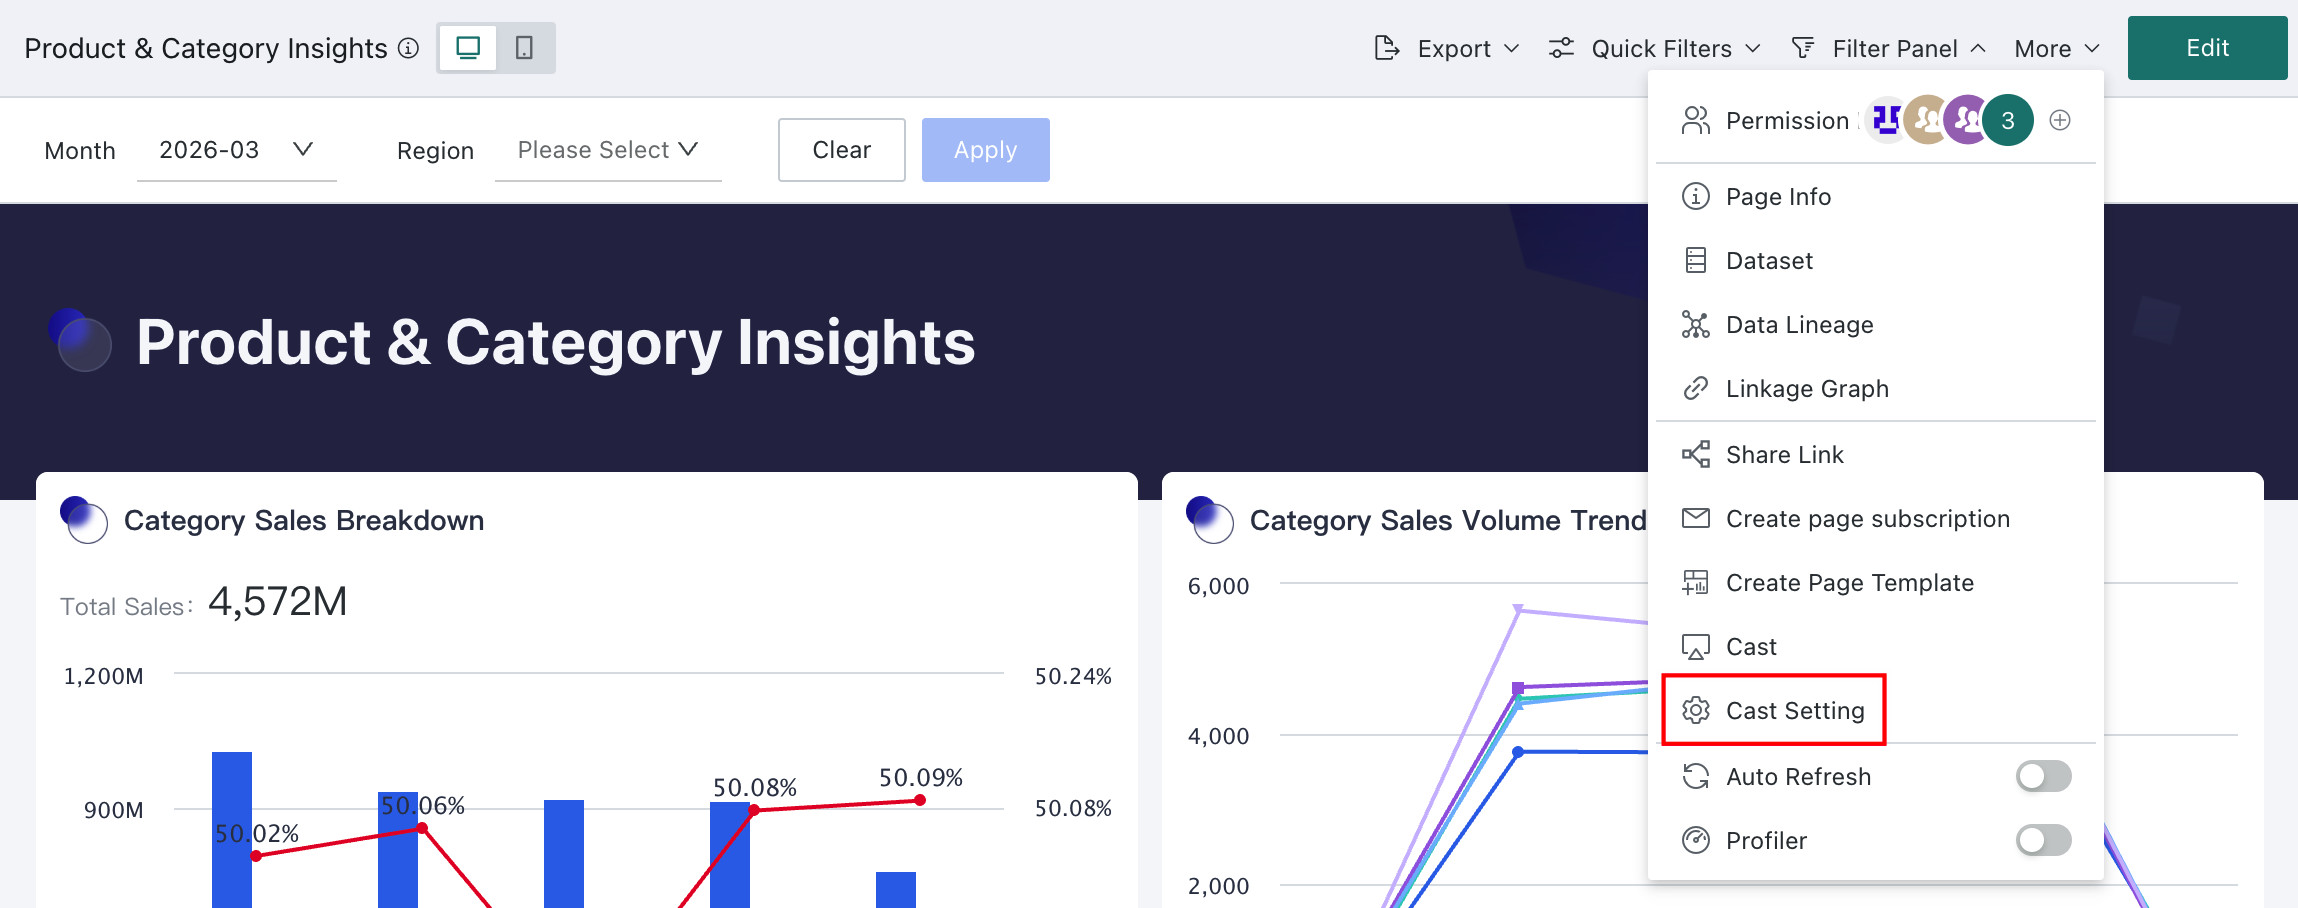
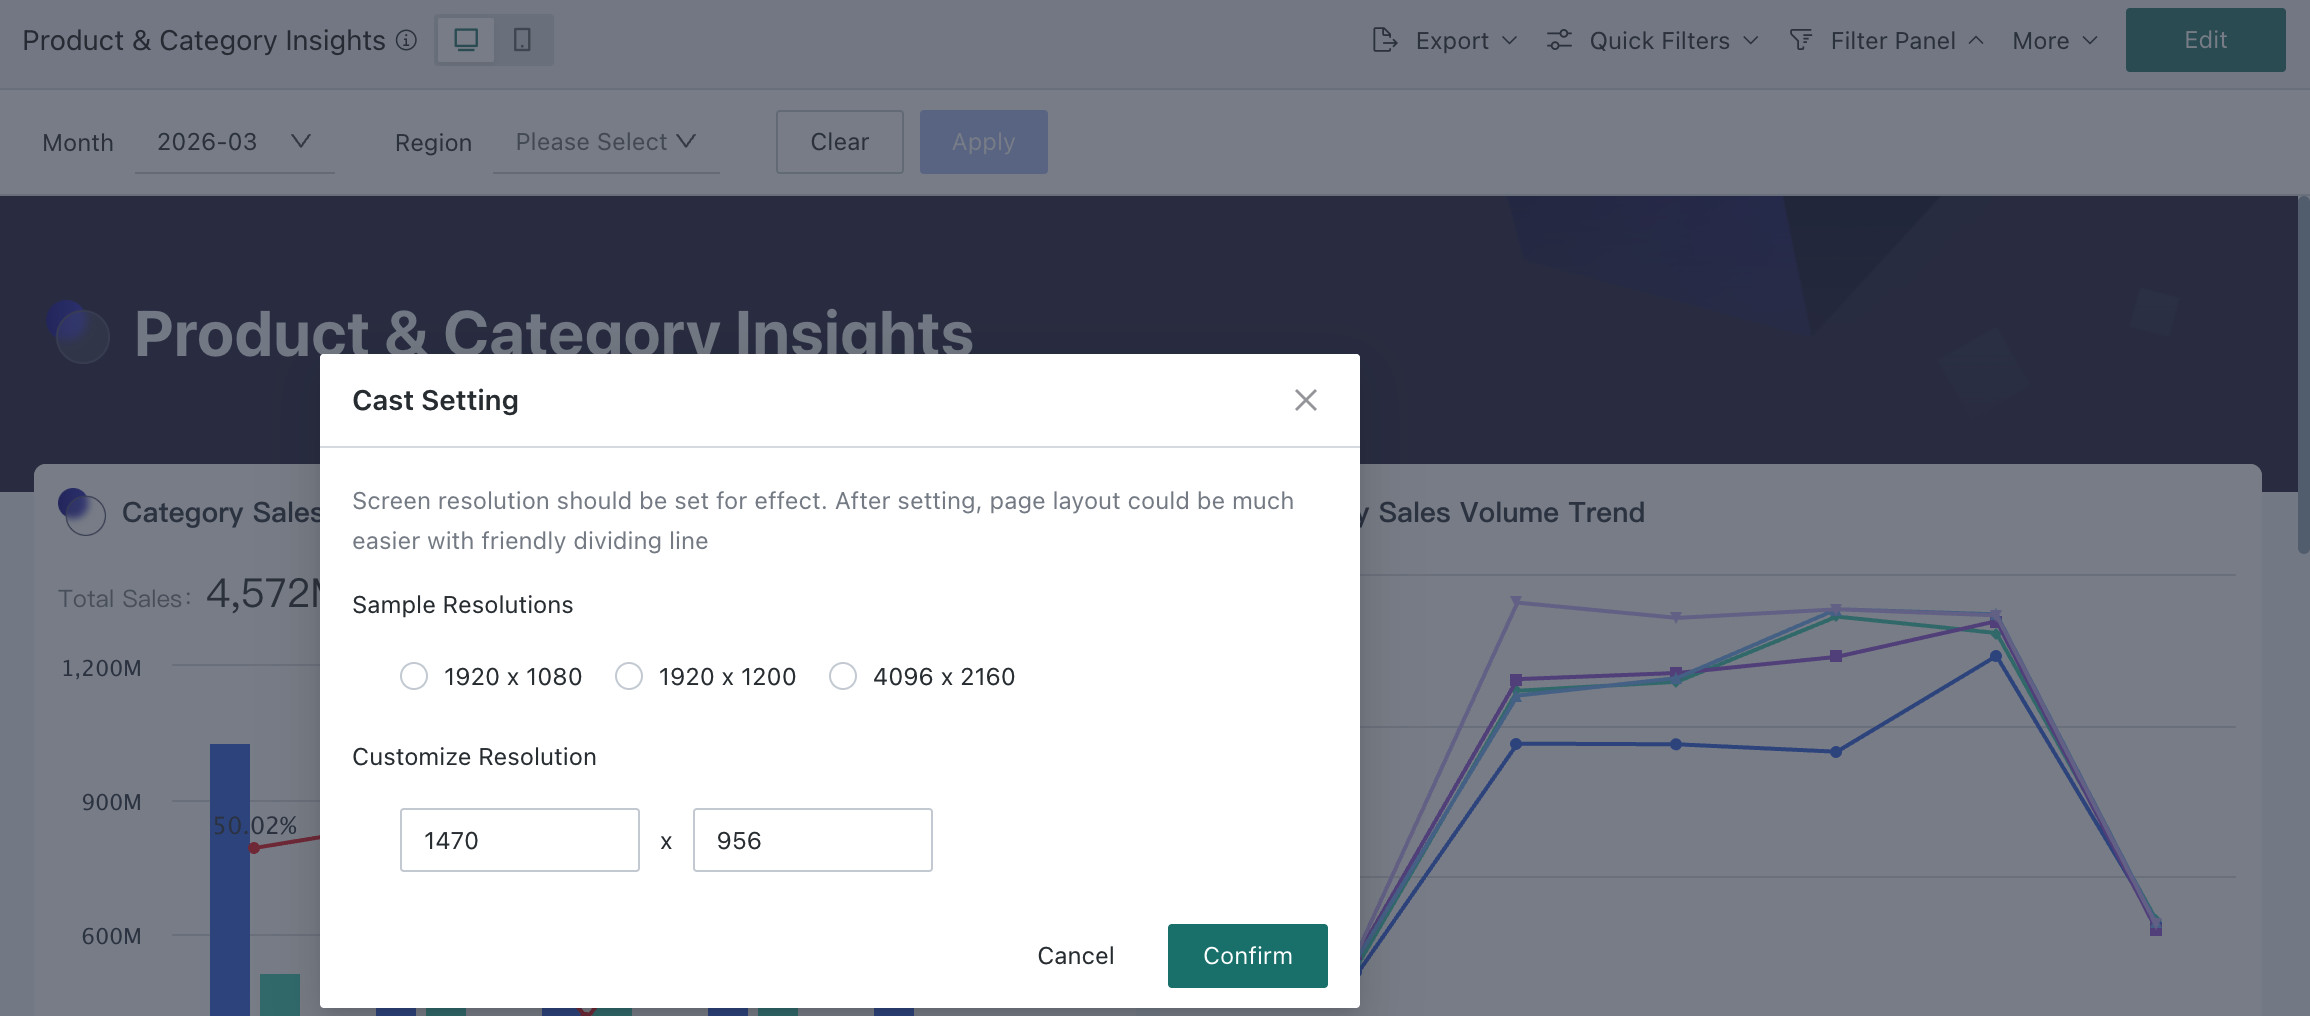
The page can be displayed in full screen, and the casting resolution size can be customized. First, click More in the page title bar and select Cast Setting. Select the resolution size and click OK.
After setting, the page will have a prompt line reminding you where the range of one page ends after casting/full screen, making it easier for you to adjust the layout according to the casting effect.
Casting Effect Demo
After completing the page casting settings, users can click Cast to enter casting mode and view the casting effect. In casting mode, if a page exceeds one screen, you can scroll up and down to view; press Esc to exit casting.
- Clicking Jump in casting mode will not exit casting mode. (Prerequisite: When setting Jump, the
Open in New Taboption is not selected.) - After clicking Jump in casting mode, you can return to the previous page through the
Backkey.