Ingest a Local File Dataset
Overview
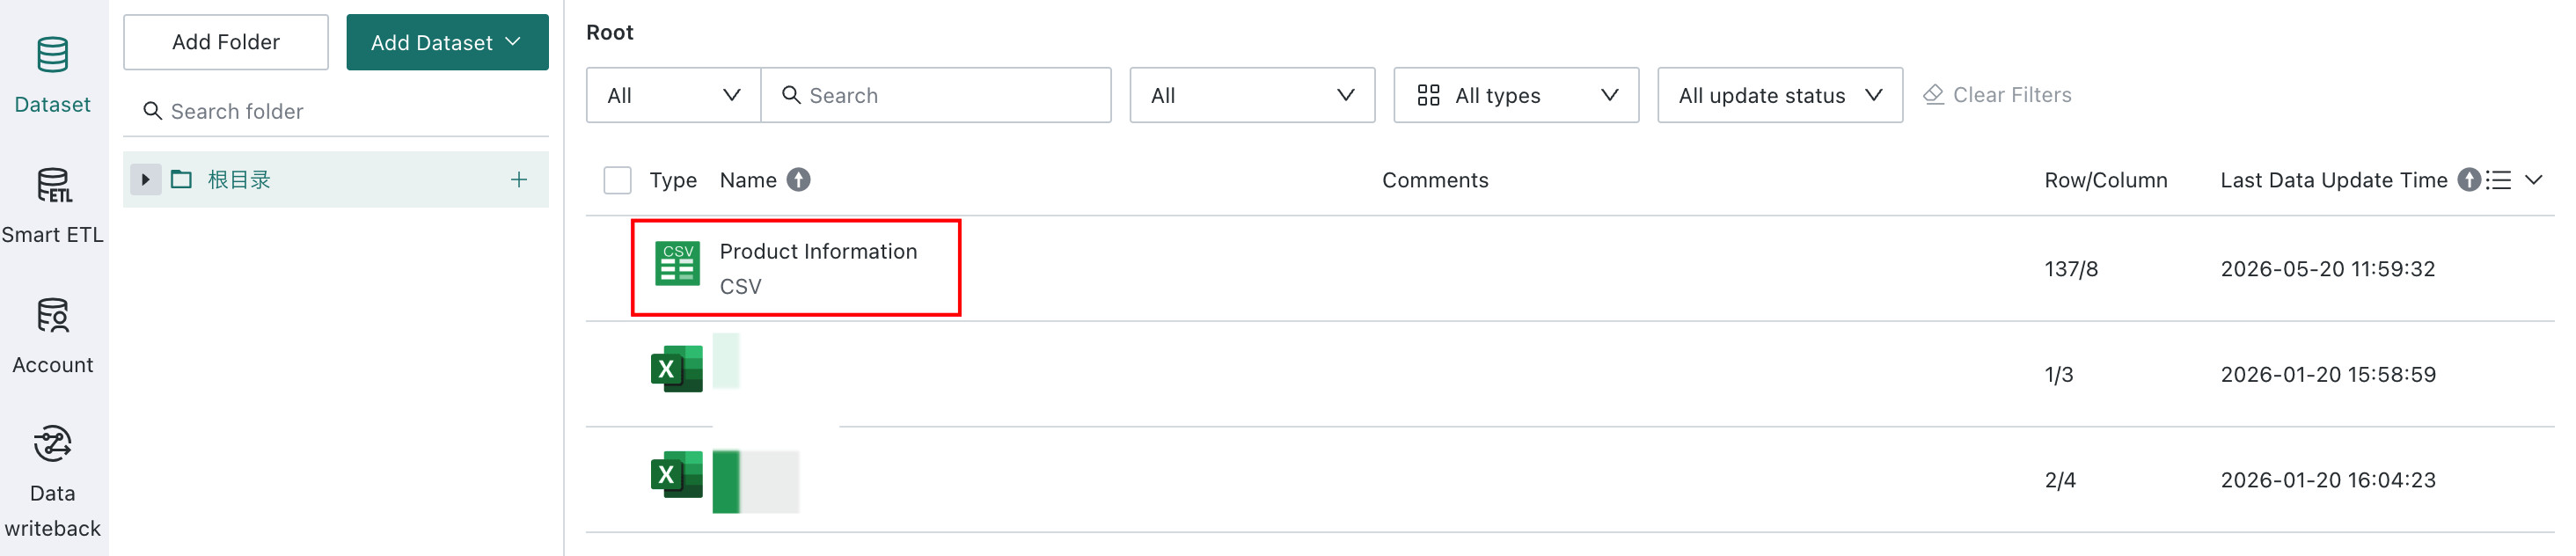
This is a simplified local file dataset creation workflow that helps you ingest the required data quickly and efficiently. Using a product information file as an example, the tutorial shows how a data builder can ingest file data into Guandata BI.
The sample data used in this tutorial is 1.0 Product Information.
Steps
Create a Folder
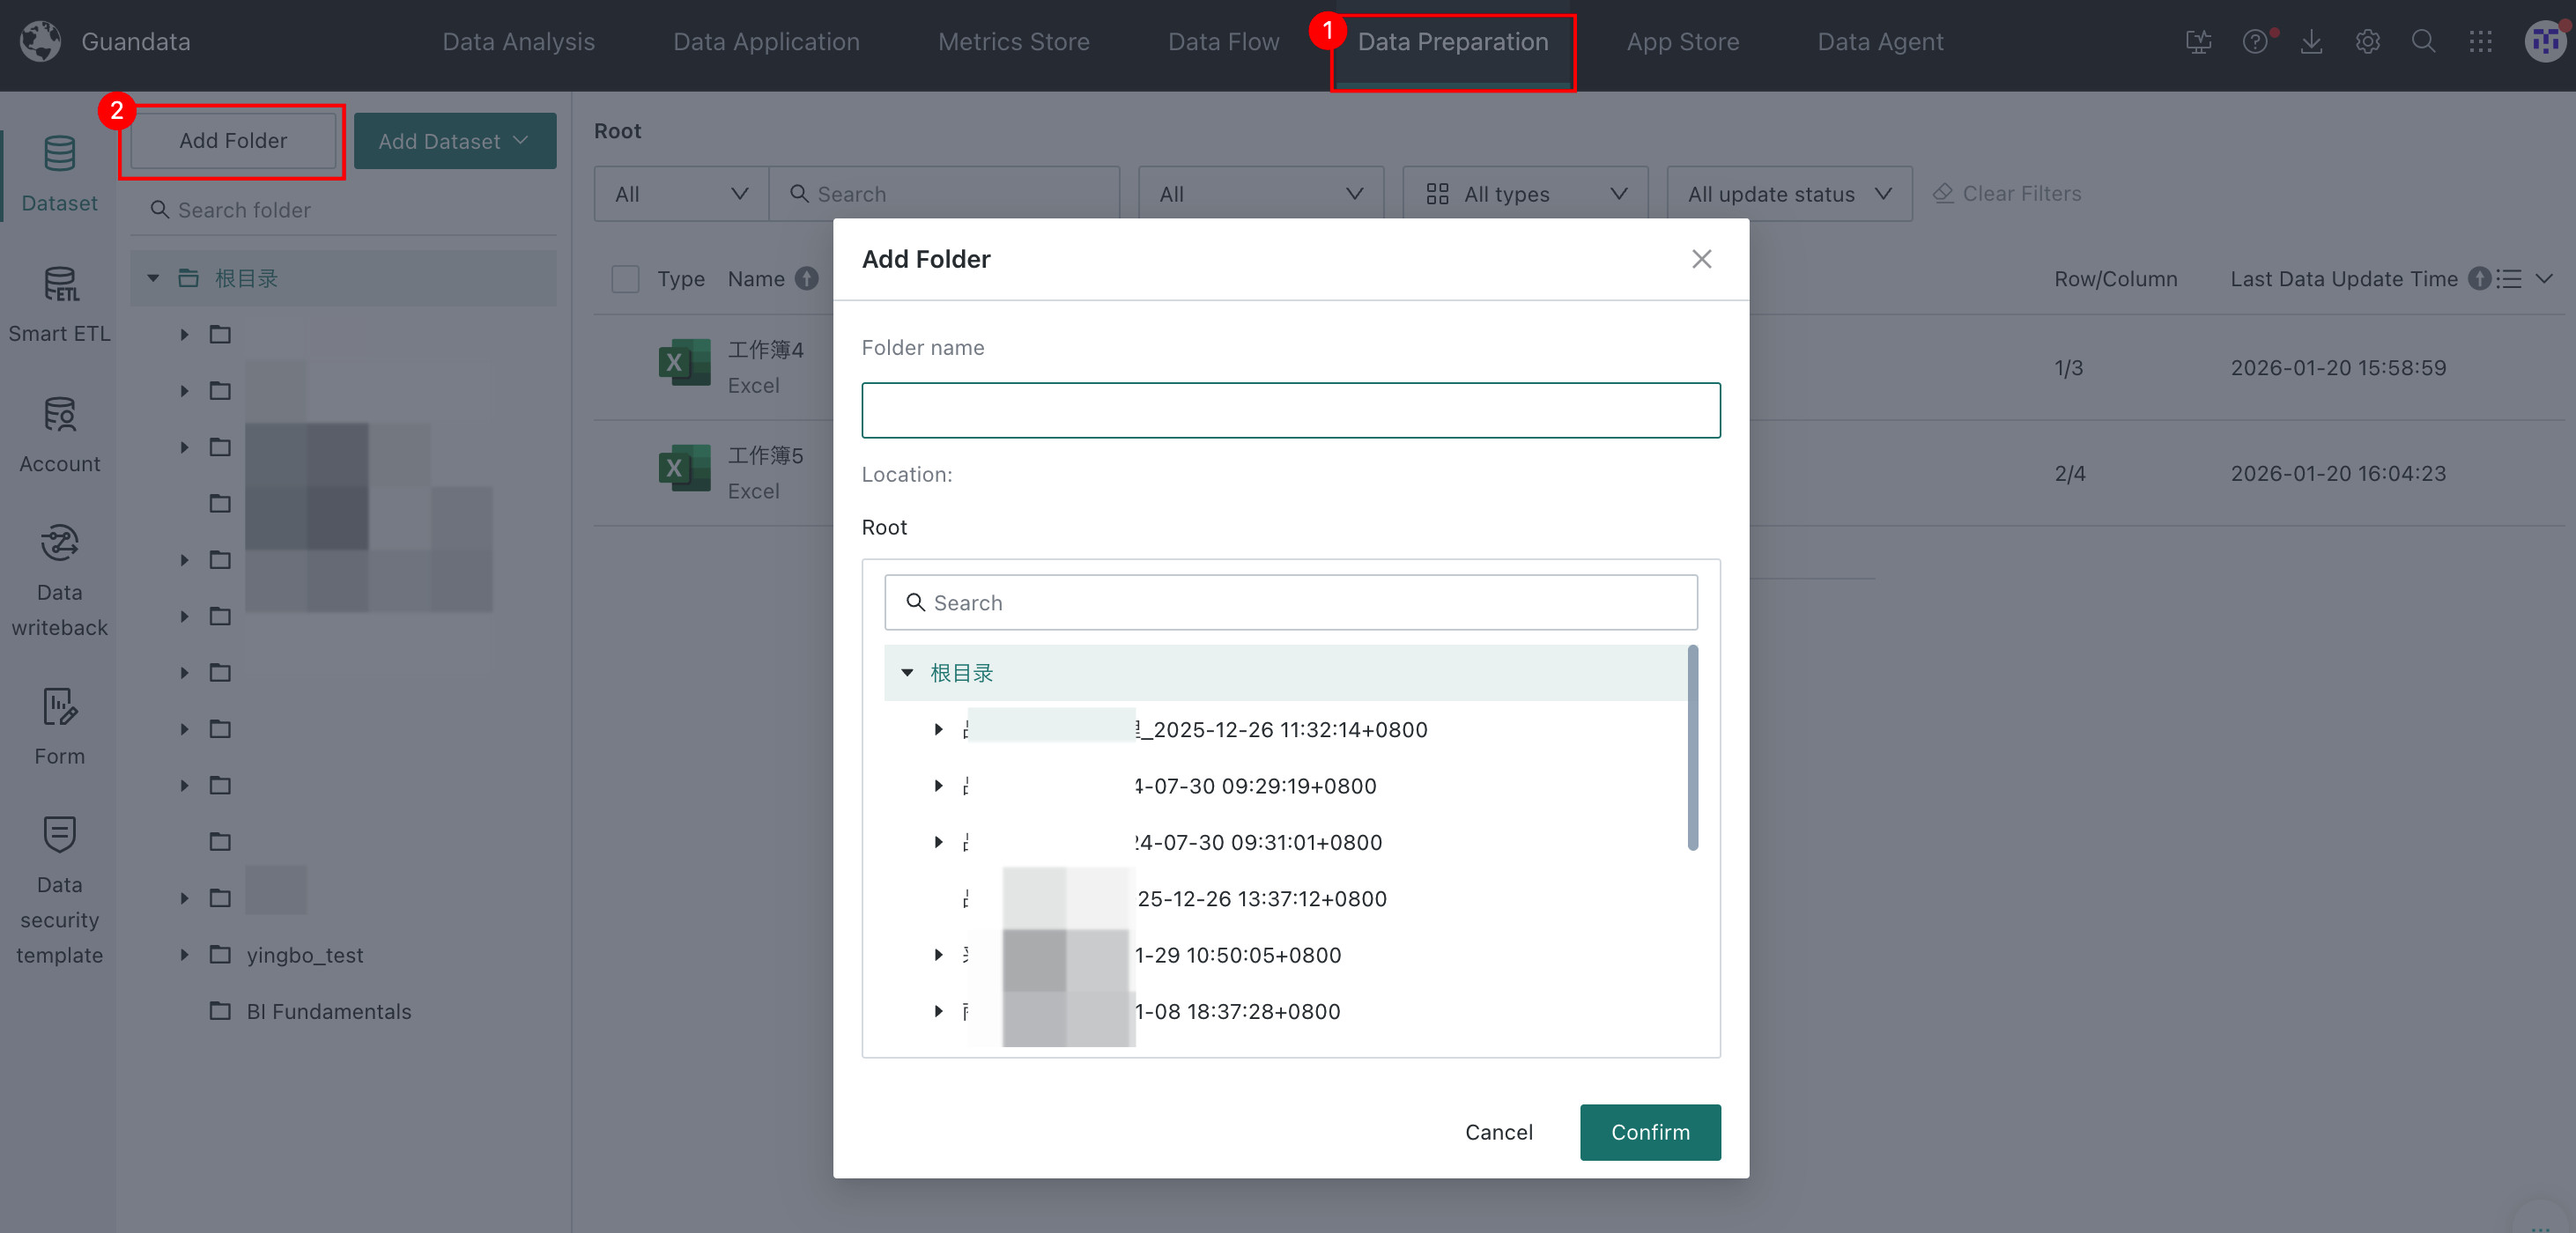
Go to Data Preparation > Dataset, click Add Folder in the upper-left corner, and create a folder as needed. In this example, name it Demo.
Create a Dataset
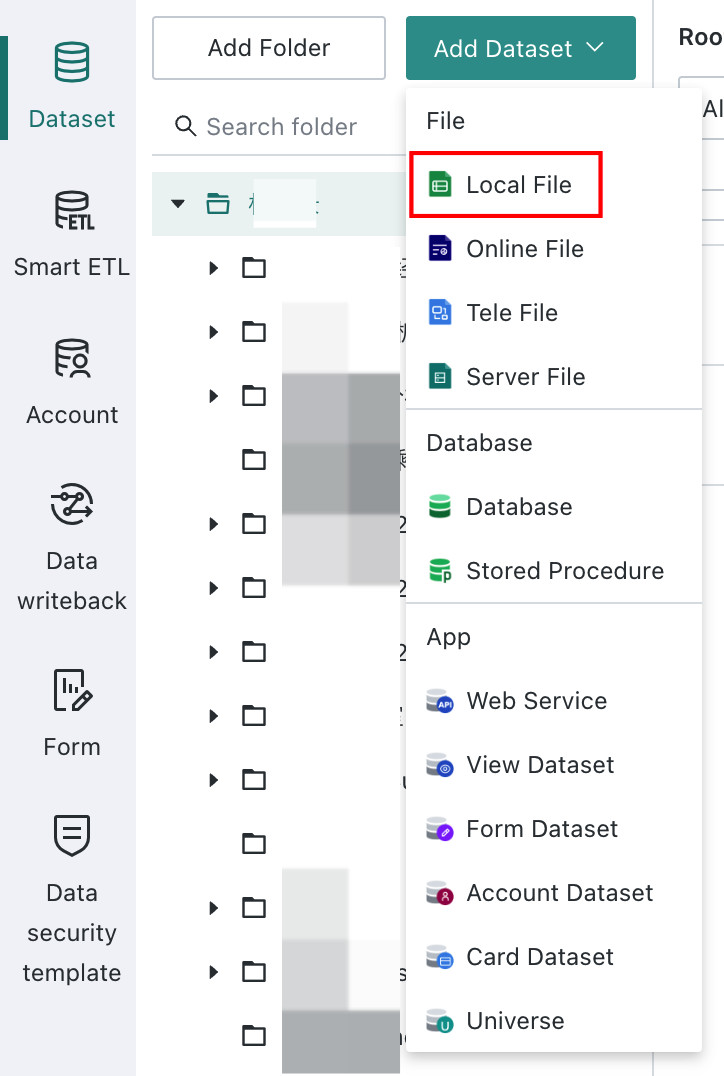
Create the dataset in an appropriate location, for example inside the Demo folder you just created. When selecting the dataset type, choose Local File.
Choose a Connector
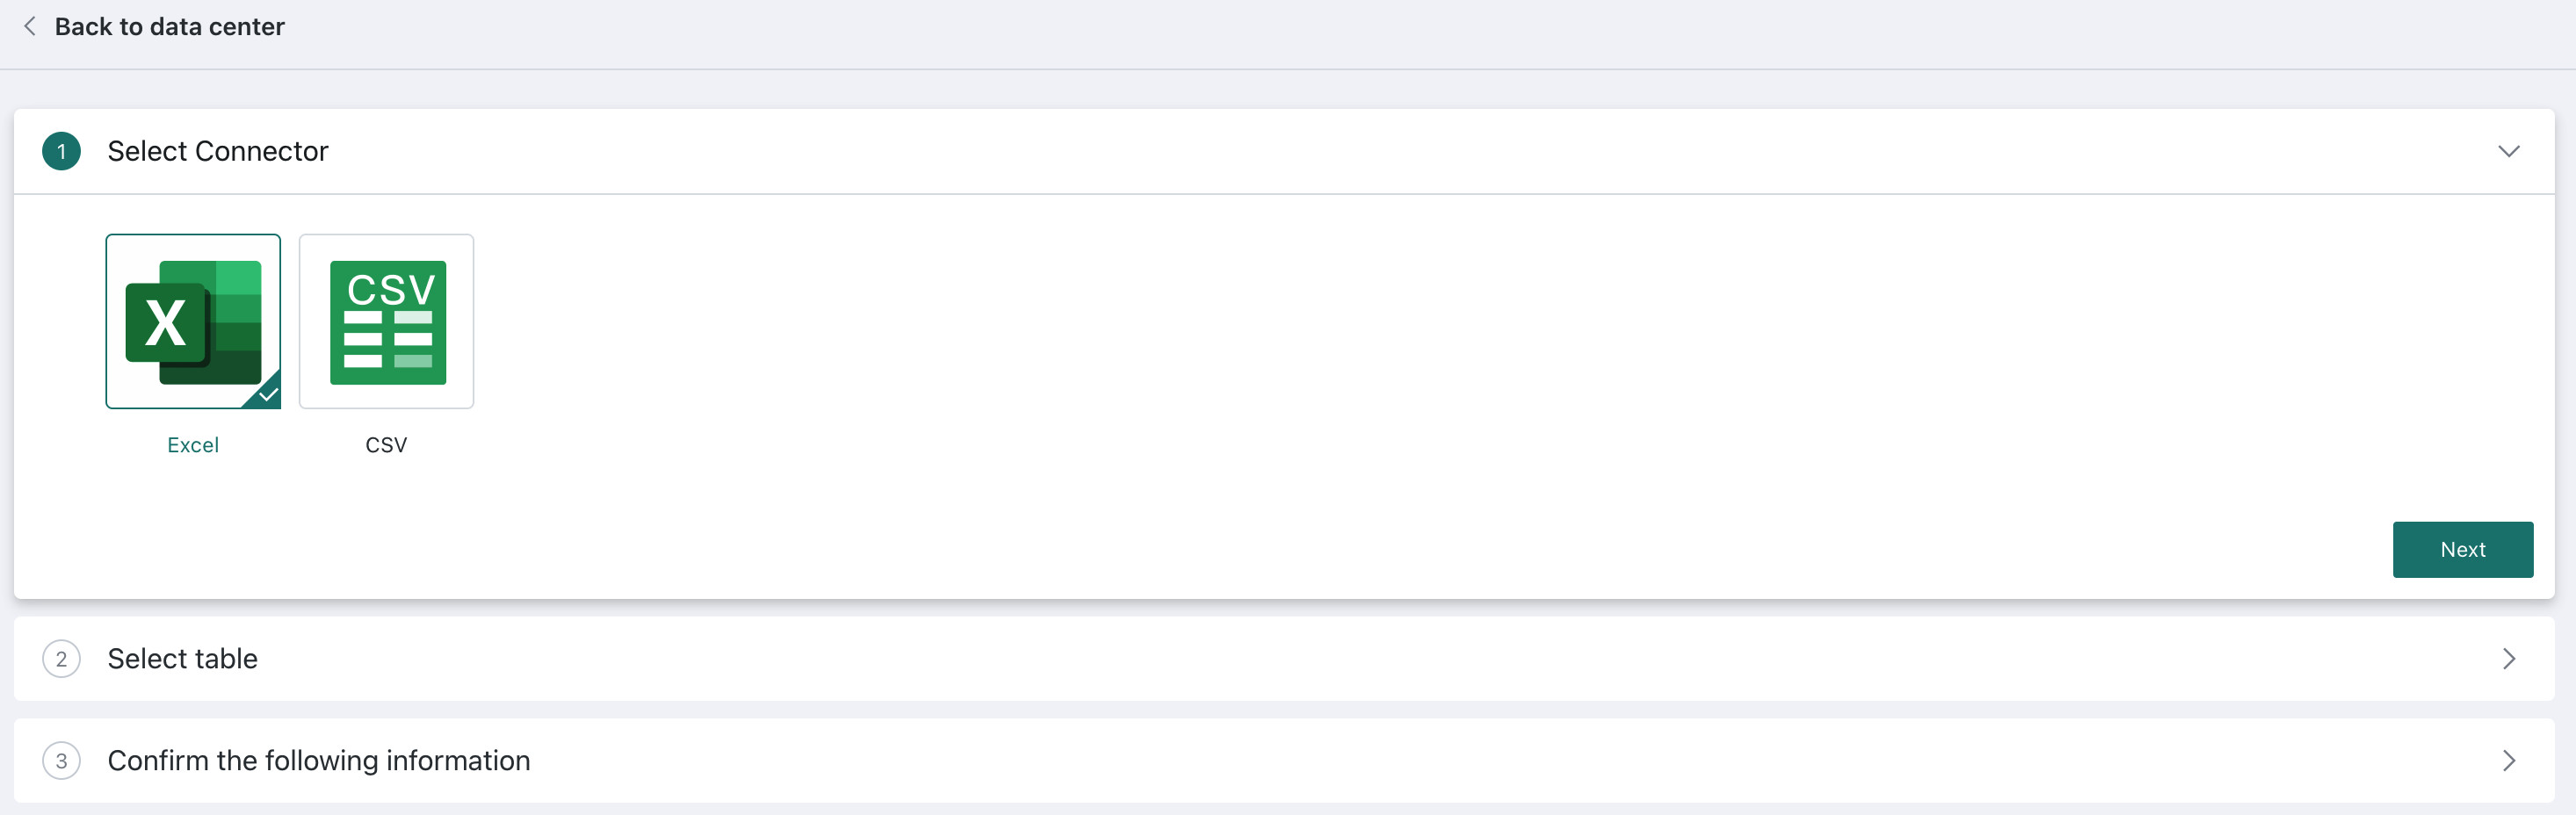
A data connector is the bridge between Guandata BI and an external data source. It extracts data from the source system and imports it into Guandata BI. Guandata BI supports many connector types, including files, databases, and Web Service.
For local file datasets, Excel and CSV connectors are available. Follow the connector shown in the screenshot in your environment, then click Next.
Select a Data Table
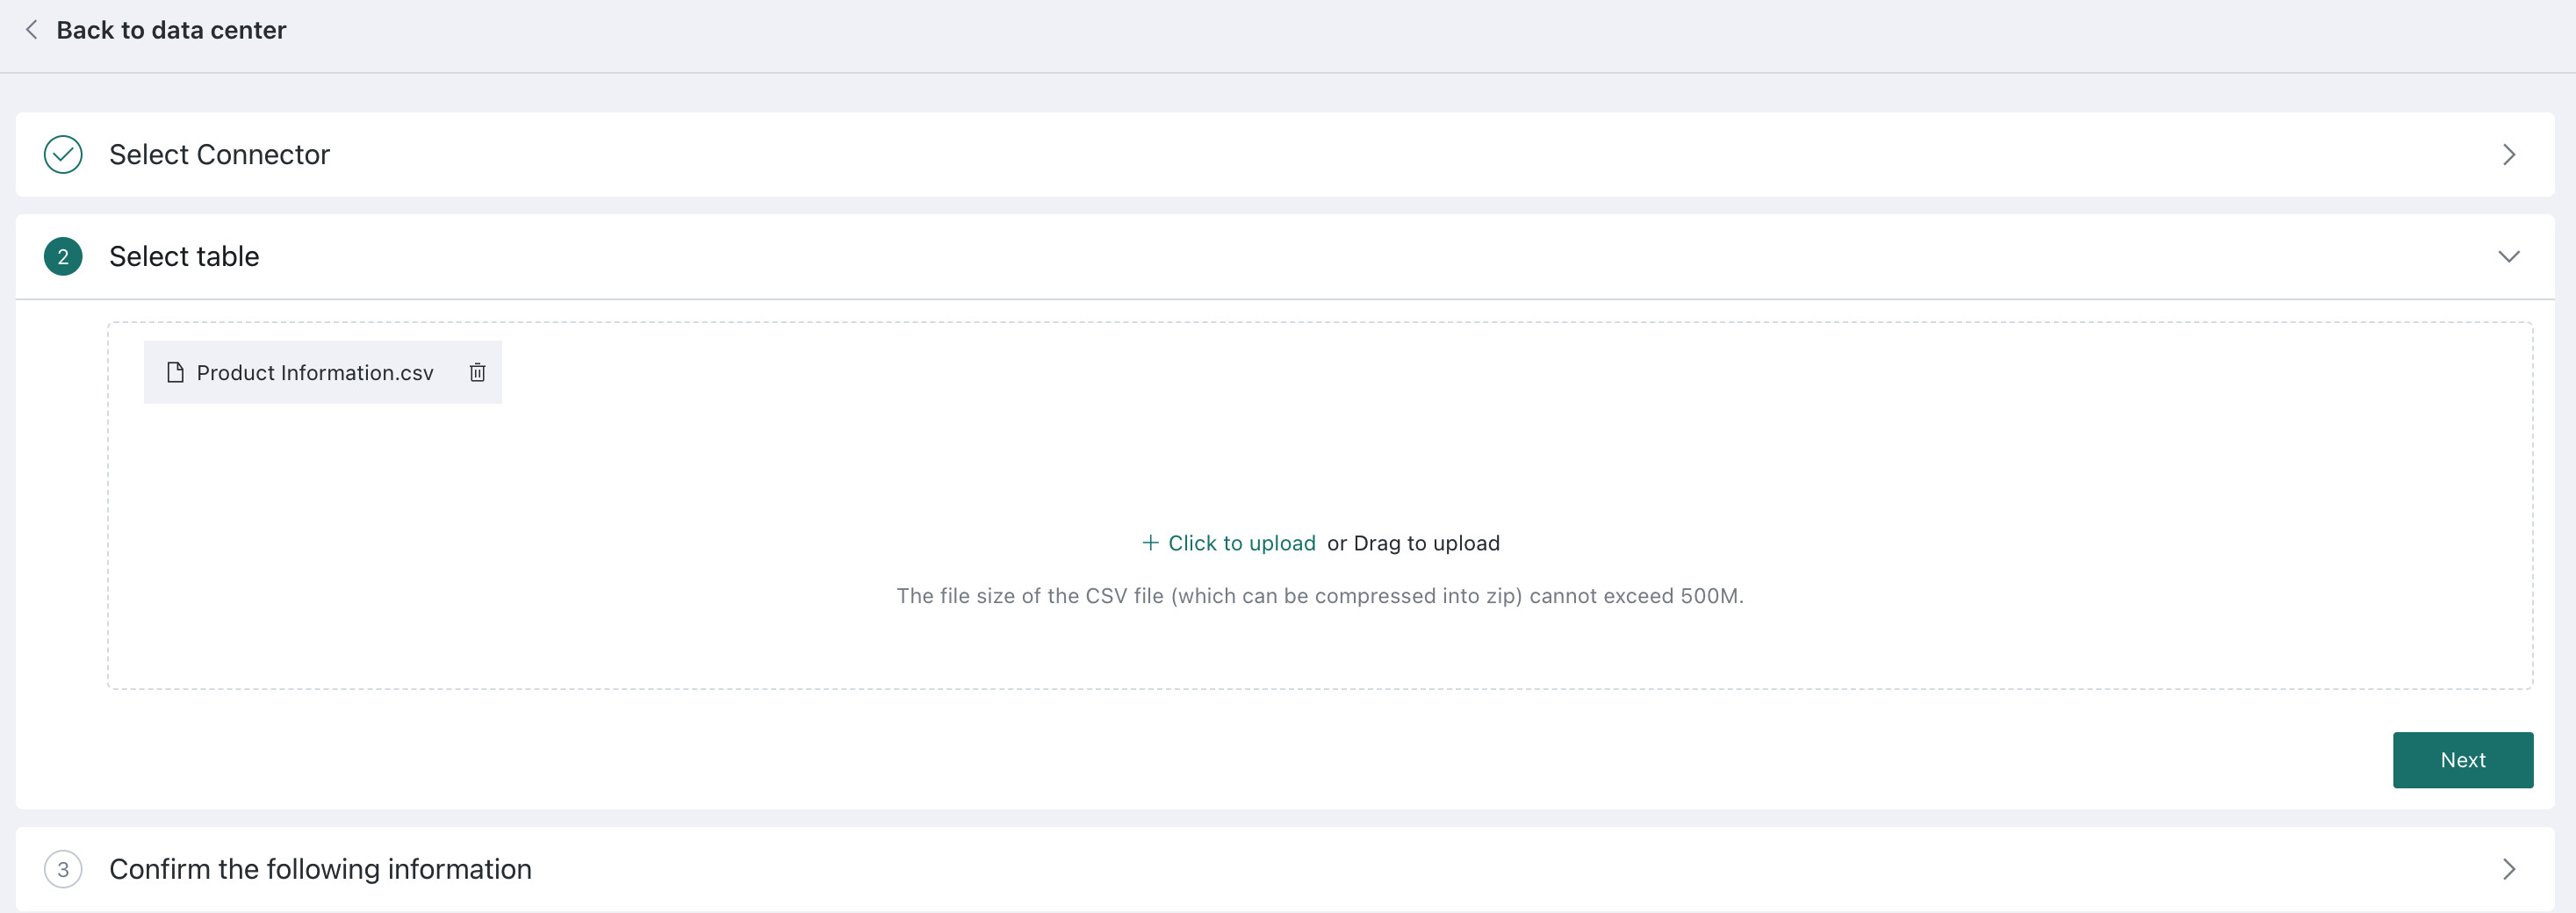
Upload the Product Information.csv file and click Next. If multiple files need to be uploaded, Guandata BI supports batch upload.
CSV supports compressed uploads in ZIP format and can parse them automatically. If a TXT file follows CSV format, it can also be uploaded by choosing the CSV option.
Confirm Table Information
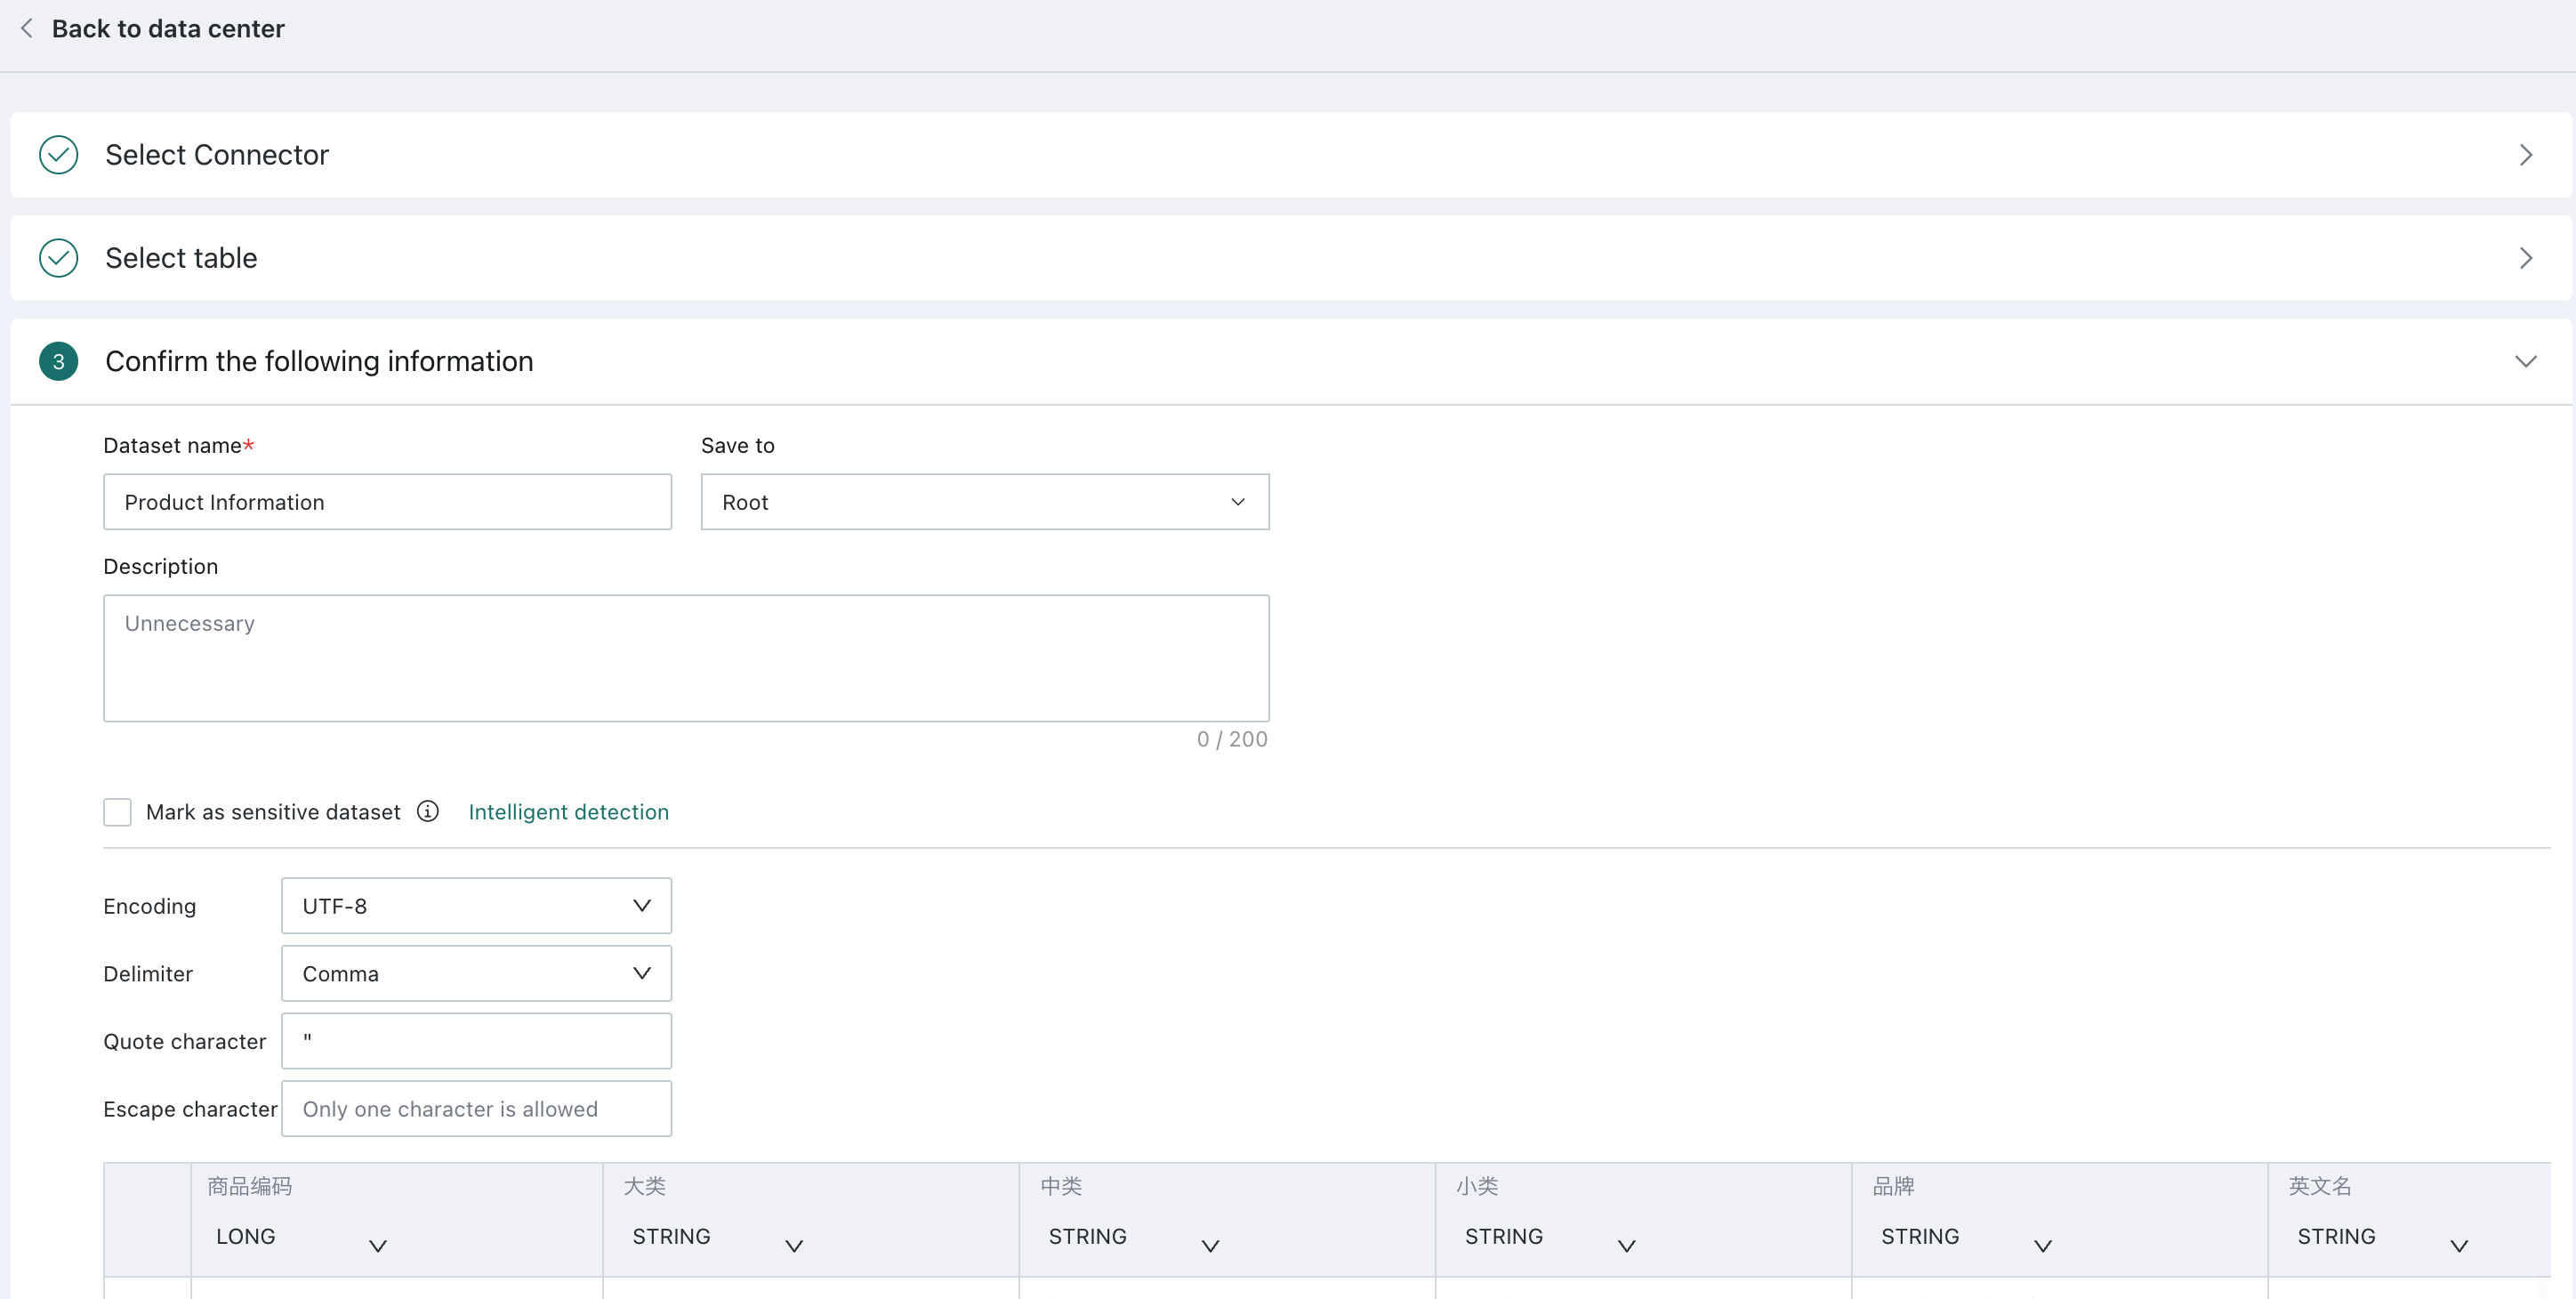
The system automatically parses the uploaded file and shows the parsing result. At this step, you can adjust file encoding, separators, and related settings to ensure accurate parsing.
Finish Dataset Creation
After confirming the table information, click Save to finish creating the dataset. Later, you can append data, change permissions, and perform other management operations on the dataset.