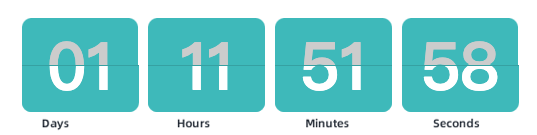
Custom Chart Case--Clock Countdown
Background
Data screens include a clock component, but it can only display real-time time. Many scenarios require a countdown, and users may not know how to implement it. This document describes how to implement a countdown with the Custom Chart feature. Note that developers need a certain level of coding ability. For more information about custom charts, see Custom Chart.
Implementation Steps
Create an Instruction Dataset or Empty Dataset
Because custom charts must be created based on a dataset, first create a file dataset. The content is not used for chart display or calculation, so an empty dataset can also be used.
Create a Custom Chart
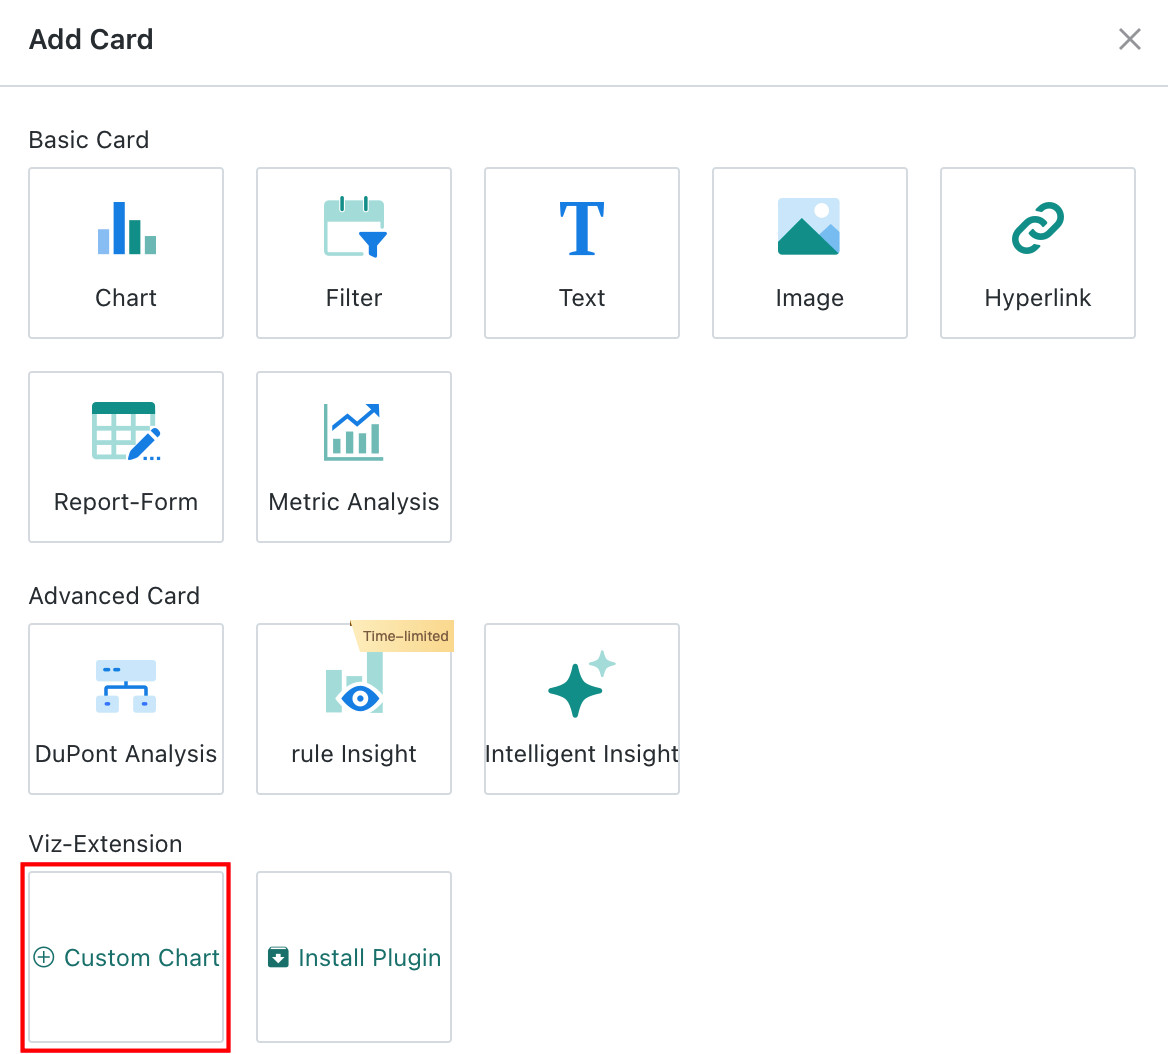
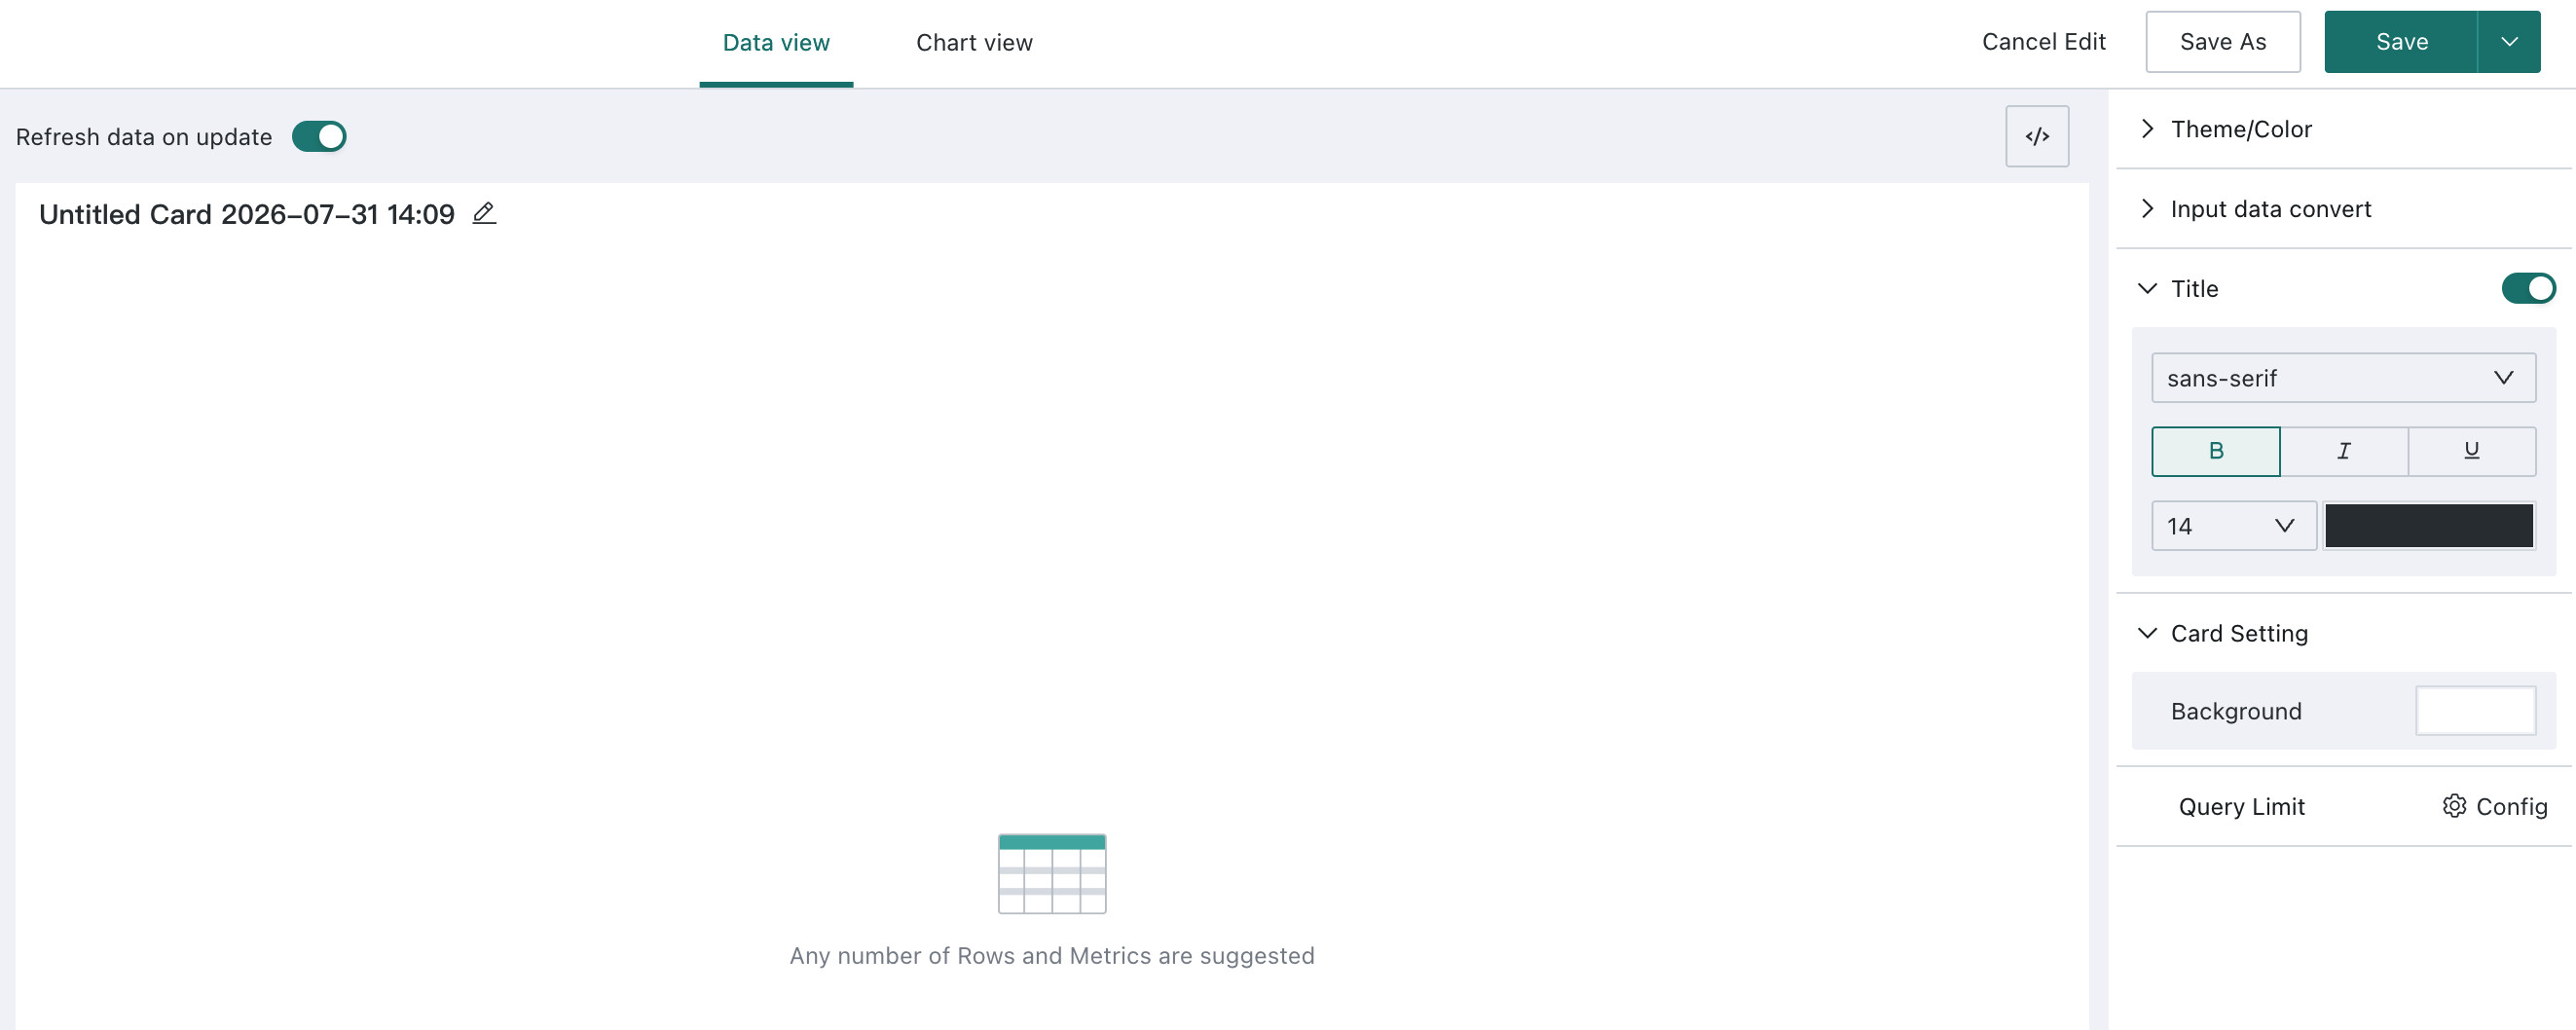
Create a card, select Custom Chart, and reference the prepared dataset. The data view can be empty.
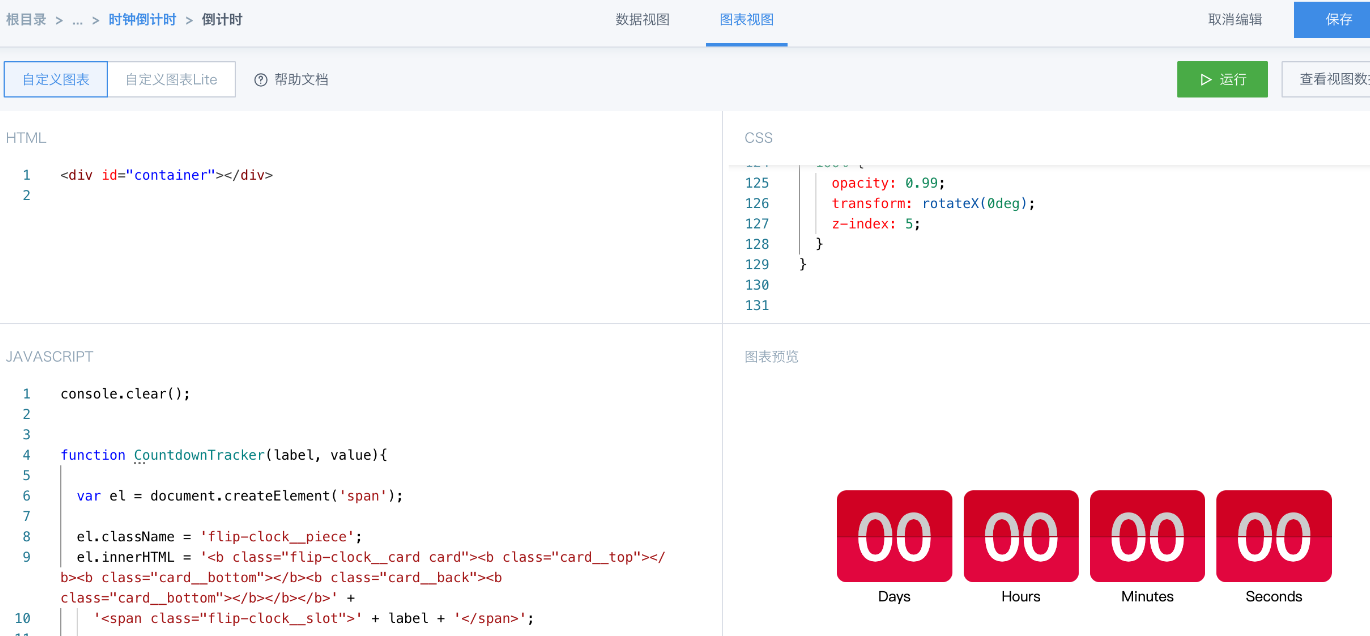
Switch to Chart View and replace the JAVASCRIPT section in the lower-left corner and the CSS section in the upper-right corner. In the JAVASCRIPT section, scroll to the bottom to see the comment instructions, and set the required deadline as instructed.
JAVASCRIPT example:
console.clear();


function CountdownTracker(label, value){

  var el = document.createElement('span');

  el.className = 'flip-clock__piece';
  el.innerHTML = '<b class="flip-clock__card card"><b class="card__top"></b><b class="card__bottom"></b><b class="card__back"><b class="card__bottom"></b></b></b>' +
    '<span class="flip-clock__slot">' + label + '</span>';

  this.el = el;

  var top = el.querySelector('.card__top'),
      bottom = el.querySelector('.card__bottom'),
      back = el.querySelector('.card__back'),
      backBottom = el.querySelector('.card__back .card__bottom');

  this.update = function(val){
    val = ( '0' + val ).slice(-2);
    if ( val !== this.currentValue ) {

      if ( this.currentValue >= 0 ) {
        back.setAttribute('data-value', this.currentValue);
        bottom.setAttribute('data-value', this.currentValue);
      }
      this.currentValue = val;
      top.innerText = this.currentValue;
      backBottom.setAttribute('data-value', this.currentValue);

      this.el.classList.remove('flip');
      void this.el.offsetWidth;
      this.el.classList.add('flip');
    }
  }

  this.update(value);
}

// Calculation adapted from https://www.sitepoint.com/build-javascript-countdown-timer-no-dependencies/

function getTimeRemaining(endtime) {
  var t = endtime - new Date();
  return {
    'Total': t,
    'Days': Math.floor(t / (1000 * 60 * 60 * 24)),
    'Hours': Math.floor((t / (1000 * 60 * 60)) % 24),
    'Minutes': Math.floor((t / 1000 / 60) % 60),
    'Seconds': Math.floor((t / 1000) % 60)
  };
}


function Clock(countdown,callback) {

  callback = callback || function(){};

  var updateFn = getTimeRemaining

  this.el = document.createElement('div');
  this.el.className = 'flip-clock';

  var trackers = {},
      t = updateFn(countdown),
      key, timeinterval;

  for ( key in t ){
    if ( key === 'Total' ) { continue; }
    trackers[key] = new CountdownTracker(key, t[key]);
    this.el.appendChild(trackers[key].el);
  }

  var i = 0;
  function updateClock() {
    timeinterval = requestAnimationFrame(updateClock);

    // throttle so it's not constantly updating the time.
    if ( i++ % 10 ) { return; }

    var t = updateFn(countdown);
    if ( t.Total < 0 ) {
      cancelAnimationFrame(timeinterval);
      for ( key in trackers ){
        trackers[key].update( 0 );
      }
      callback();
      return;
    }

    for ( key in trackers ){
      trackers[key].update( t[key] );
    }
  }

  setTimeout(updateClock,500);
}

var deadline  =new Date(new Date(new Date(2023,11,12).toLocaleDateString()).setMonth(new Date(2023,11,12).getMonth()-1));
// Modify the two dates above. Enter the deadline plus 1 day. For example, for a Singles' Day promotion, enter 2023,11,12.

var c = new Clock(deadline, function(){ alert('countdown complete') });
document.body.appendChild(c.el);
CSS example:
html { height: 100%; }
body {
  min-height: 100%;
  display: flex;
  flex-direction: column;
  justify-content: center;
  align-items: center;
  background: rgba(255, 255, 255, 0);
}

.flip-clock {
  text-align: center;
  perspective: 400px;
  margin: 20px auto;
}
.flip-clock *, .flip-clock *:before, .flip-clock *:after {
    box-sizing: border-box;
}

.flip-clock__piece {
  display: inline-block;
  margin: 0 5px;
}

.flip-clock__slot {
  font-size: 2vw;
}

.card {
  display: block;
  position: relative;
  padding-bottom: 0.72em;
  font-size: 9vw;
  line-height: 0.95;
}

.card__top,
.card__bottom,
.card__back::before,
.card__back::after {
  display: block;
  height: 0.72em;
  color: #ccc;
  background: #D00123;
  padding: 0.25em 0.25em;
  border-radius: 0.15em 0.15em 0 0;
  backface-visiblity: hidden;
  transform-style: preserve-3d;
  width: 1.8em;
  transform: translateZ(0);
}

.card__bottom {
  color: #FFF;
  position: absolute;
  top: 50%;
  left: 0;
  border-top: solid 1px #AE0420;
  background: #E0063E;
  border-radius: 0 0 0.15em 0.15em;
  pointer-events: none;
  overflow: hidden;
}

.card__bottom::after {
  display: block;
  margin-top: -0.72em;
}

.card__back::before,
.card__bottom::after {
  content: attr(data-value);
}

.card__back {
  position: absolute;
  top: 0;
  height: 100%;
  left: 0%;
  pointer-events: none;
}

.card__back::before {
  position: relative;
  z-index: -1;
  overflow: hidden;
}

.flip .card__back::before {
  animation: flipTop 0.3s cubic-bezier(.37,.01,.94,.35);
  animation-fill-mode: both;
  transform-origin: center bottom;
}

.flip .card__back .card__bottom {
  transform-origin: center top;
  animation-fill-mode: both;
  animation: flipBottom 0.6s cubic-bezier(.15,.45,.28,1);// 0.3s;
}

@keyframes flipTop {
  0% {
    transform: rotateX(0deg);
    z-index: 2;
  }
  0%, 99% {
    opacity: 0.99;
  }
  100% {
    transform: rotateX(-90deg);
    opacity: 0;
  }
}

@keyframes flipBottom {
  0%, 50% {
    z-index: -1;
    transform: rotateX(90deg);
    opacity: 0;
  }
  51% {
    opacity: 0.99;
  }
  100% {
    opacity: 0.99;
    transform: rotateX(0deg);
    z-index: 5;
  }
}
Run, Preview the Effect, and Save
4. Copy the card from the dashboard to the data screen and drag it into a card group.
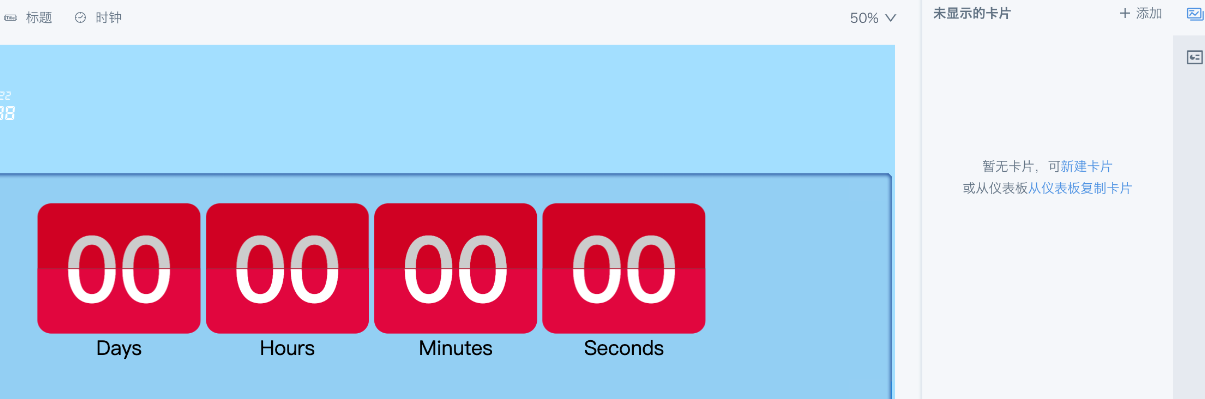
Notes
- After the card is copied from the dashboard to the data screen, it becomes a new card. To modify the countdown deadline, edit it from the card editing page in the data screen.
- This case can implement simple style changes by modifying JAVASCRIPT and CSS, as shown below. For more countdown code design, see the external document Countdown Time.