Custom Filter
Overview
Custom Filter is a feature module that lets users develop custom filtering experiences based on business needs, making it easier to support complex scenarios and evolving data-processing requirements.
At present, the built-in page filters in Guandata BI may not cover every required filter type or interaction style. In complex business scenarios, this can make it difficult to satisfy personalized analysis requirements through built-in filters alone.
To address this, Guandata BI provides the Custom Filter feature. Based on a plugin development model, it supports visually configurable filter components tailored to business needs, making it possible to extend both filter logic and interaction patterns more flexibly.
Applicable Scenarios
Custom Filters can be flexibly configured and are widely used in data analysis, content management, e-commerce platforms, financial industries, and other fields. The following common scenarios are supported:
Scenario 1: General Organizational Structure Filtering
Quickly locate target employee groups by using dimensions such as organizational structure and job type, and monitor key indicators like attendance rate, sales performance, and KPI completion in real time.
Scenario 2: Product Management
Filter product data based on hierarchical categories, product attributes, and price ranges, while tracking key indicators such as inventory, replenishment cycle, and conversion rate.
Scenario 3: Financial Deposit and Loan Business
Filter financial business data by dimensions such as legal entity, business type, and customer classification, then monitor key indicators such as total deposits and loans, collection cycles, and non-performing ratios.
Scenario 4: Internet User Behavior Analysis
Filter target customer groups by dimensions such as acquisition channel, campaign, and user segment, then analyze user behavior, retention trends, and conversion funnels in depth.
User Guide
Configure Plugin
Entry: Admin Center > Open Platform > Plugin Management
- Click "New Plugin" in the upper-right corner, complete the plugin basic information configuration, and click "OK" to finish creating the plugin.
- Click "Edit Code" on the right side of the newly created plugin, enter the filter plugin code, and click "OK". For custom filter plugin code writing, please refer to Custom Filter Plugin Development Guide.
- Turn on the enable switch to activate the custom filter plugin.

For more plugin management operations, please refer to Platform Plugins Management
Configure Filter
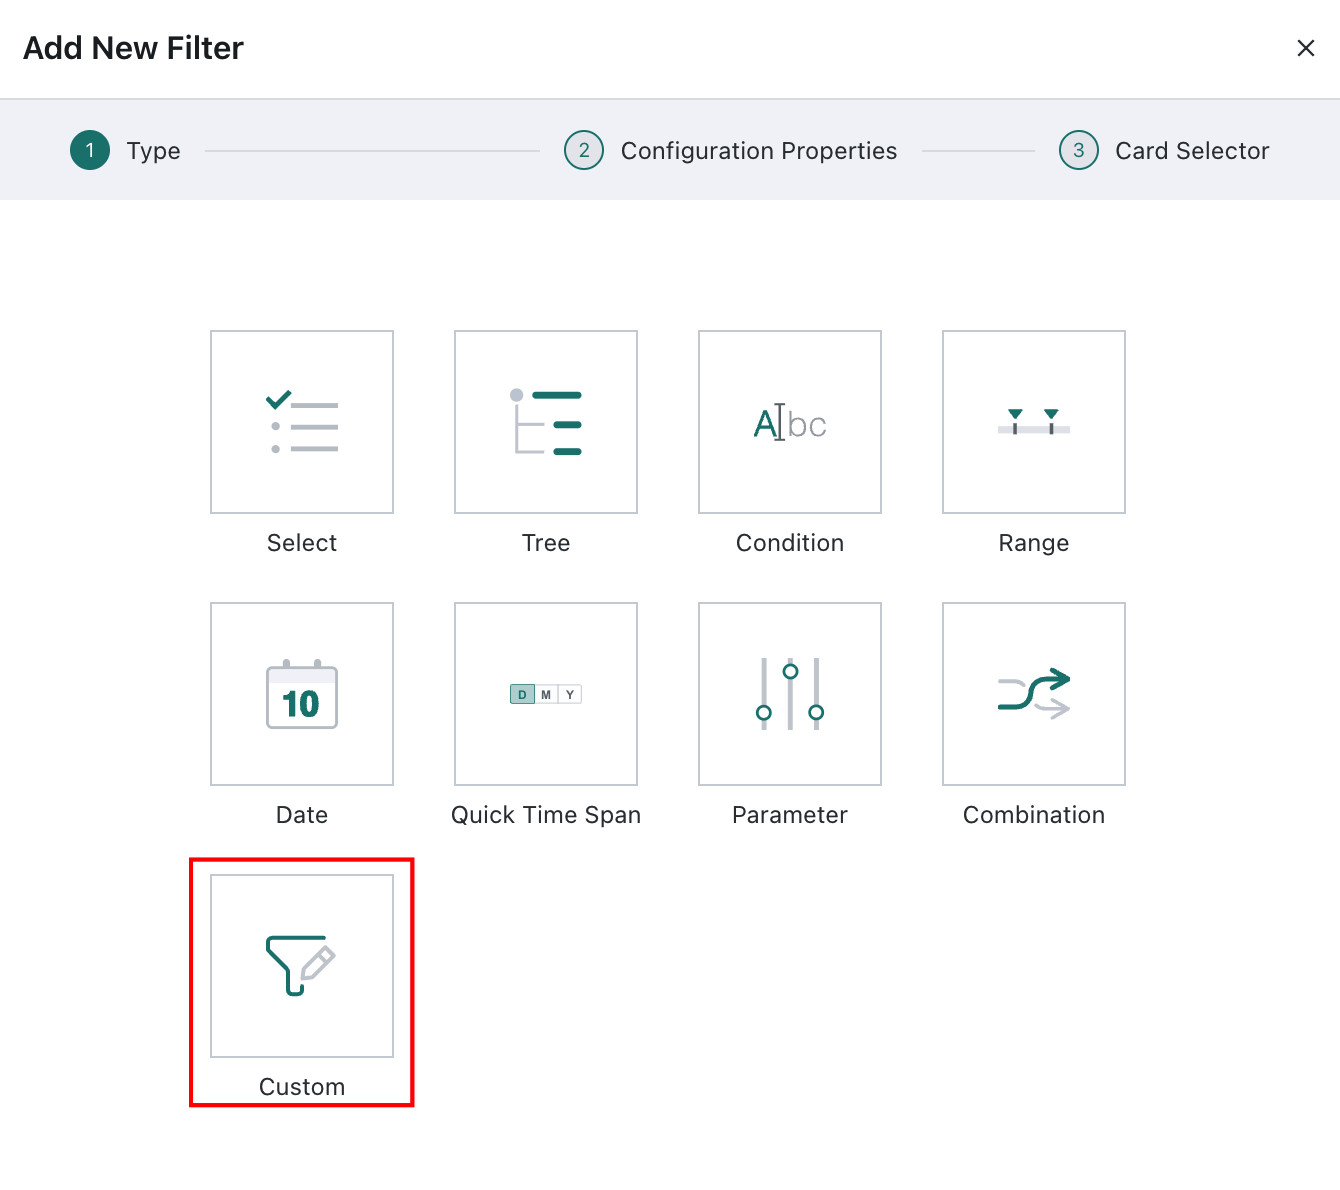
Create a New Filter
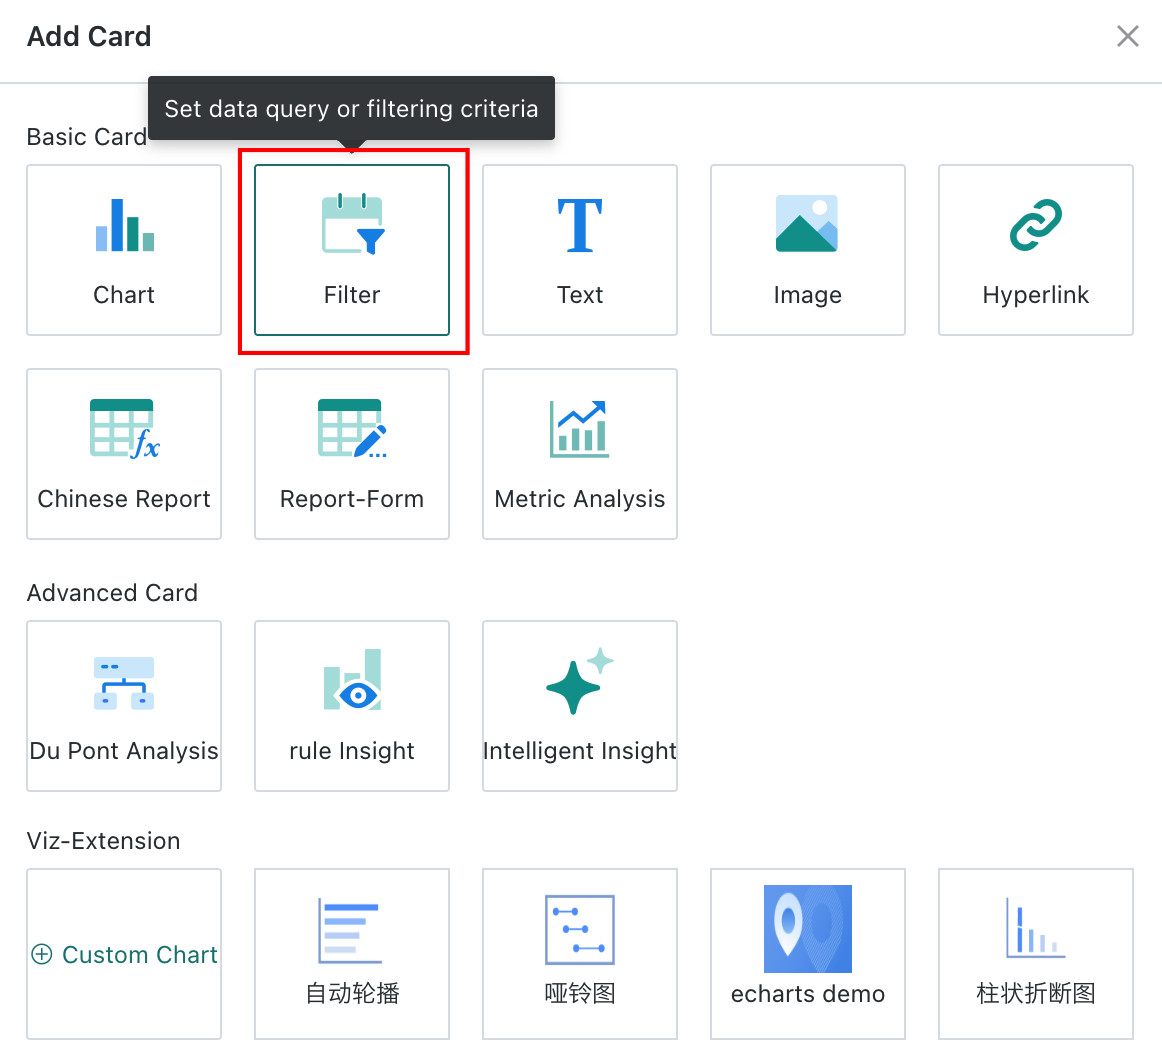
On the data analysis page, there are two entry points to create a new custom filter: creating it in the page's filter bar, and creating a new Card on the page - selecting the Card type as Filter.
-
Filter Bar - New Filter - Custom
-
Page - New Card - Select Filter: Select the type as "Custom" to enter the new filter popup.
Configure Filter Properties
When setting up a custom filter, you need to select the Dataset, the fields to be used in the filter plugin, and the fields that will ultimately initiate the linkage.
- Dataset: You can quickly select the current page's Dataset, or search and select a new Dataset.
- Use Fields: You can select all fields from the selected Dataset. The selected fields can be used for filter interaction filtering.
- Linkage Field: Regardless of what fields are used during the process, only the configured linkage field will ultimately produce linkage. Only one linkage field can be set.
Set Linkage Target Cards
When linking, you need to select the target Card and the corresponding filter field. The associated field must be consistent with the linkage field selected in the previous step. After setting the linkage field, changes in the filter will link and change the data presented in the associated Card.
- Auto-link Cards: After enabling auto-link on the filter, it will automatically link to visualization Cards with fields of the same name. Auto-linked Cards can be manually unlinked.
- Apply to Same Dataset Cards: Clicking "Apply to Same Dataset Cards" will automatically link to other Cards' corresponding fields under the same Dataset. Cards applied to the same Dataset can be manually unlinked.