Data Management
Overview
Within the Form Entry module, row-level permission management is available for submitted data. Currently, form owners and administrators can configure data permission rules.
Detailed Operations
View Data
On the form data page, click the form name to preview the form data and perform further actions.
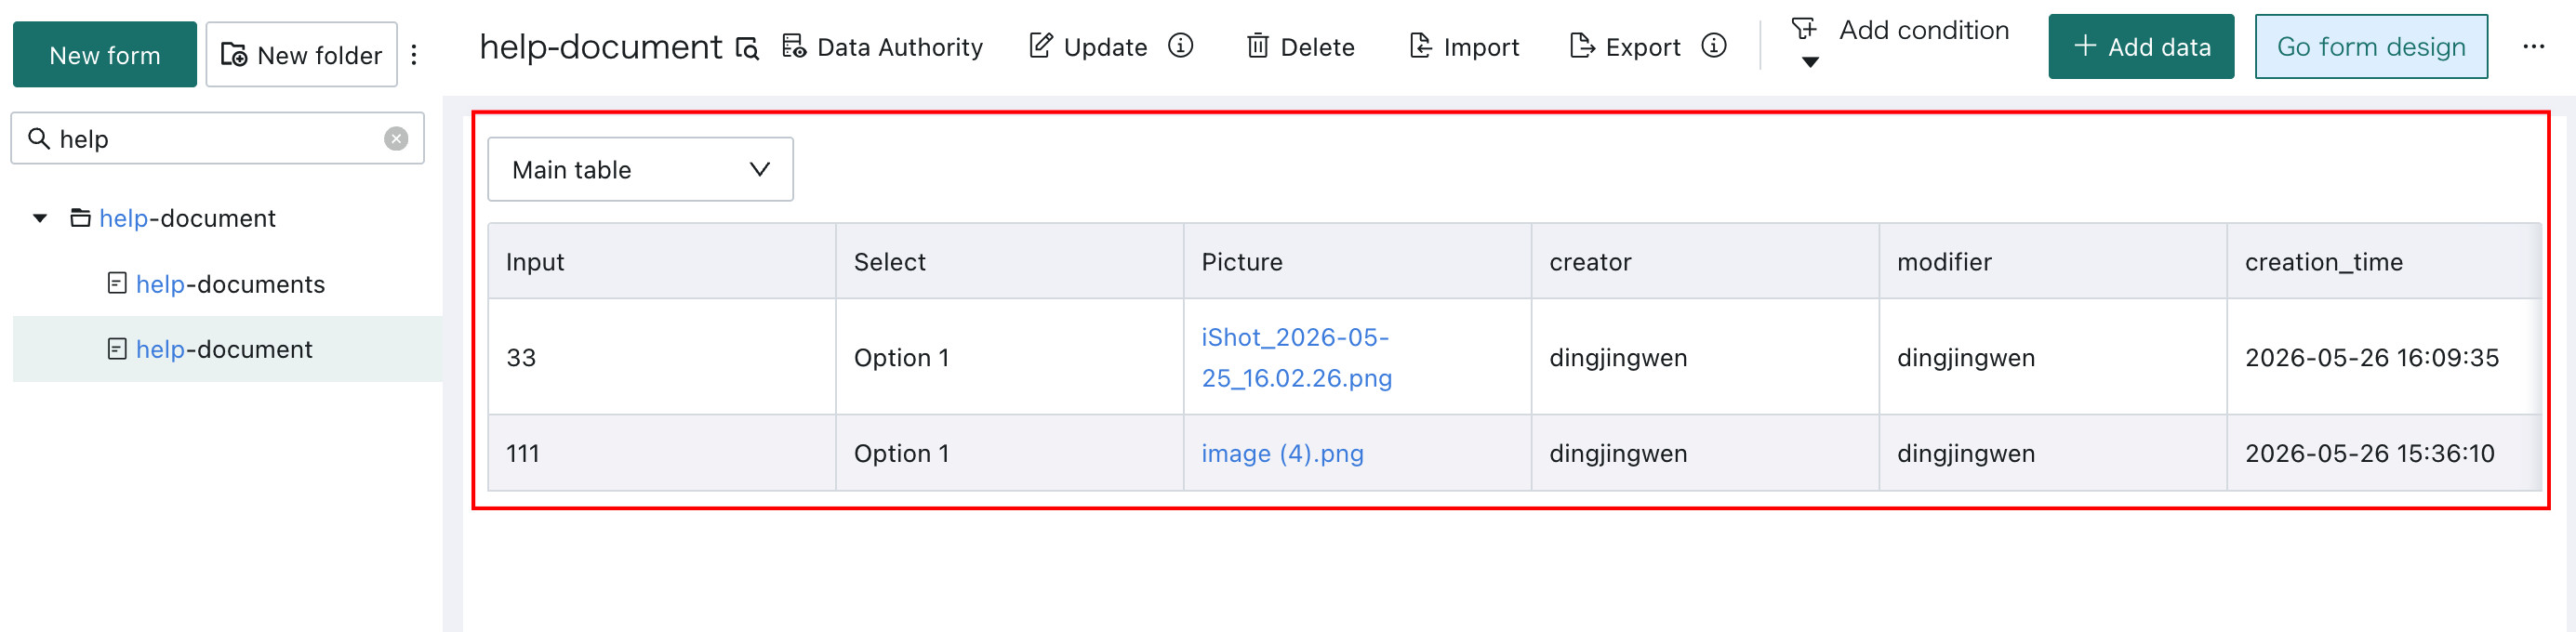
View Form Data
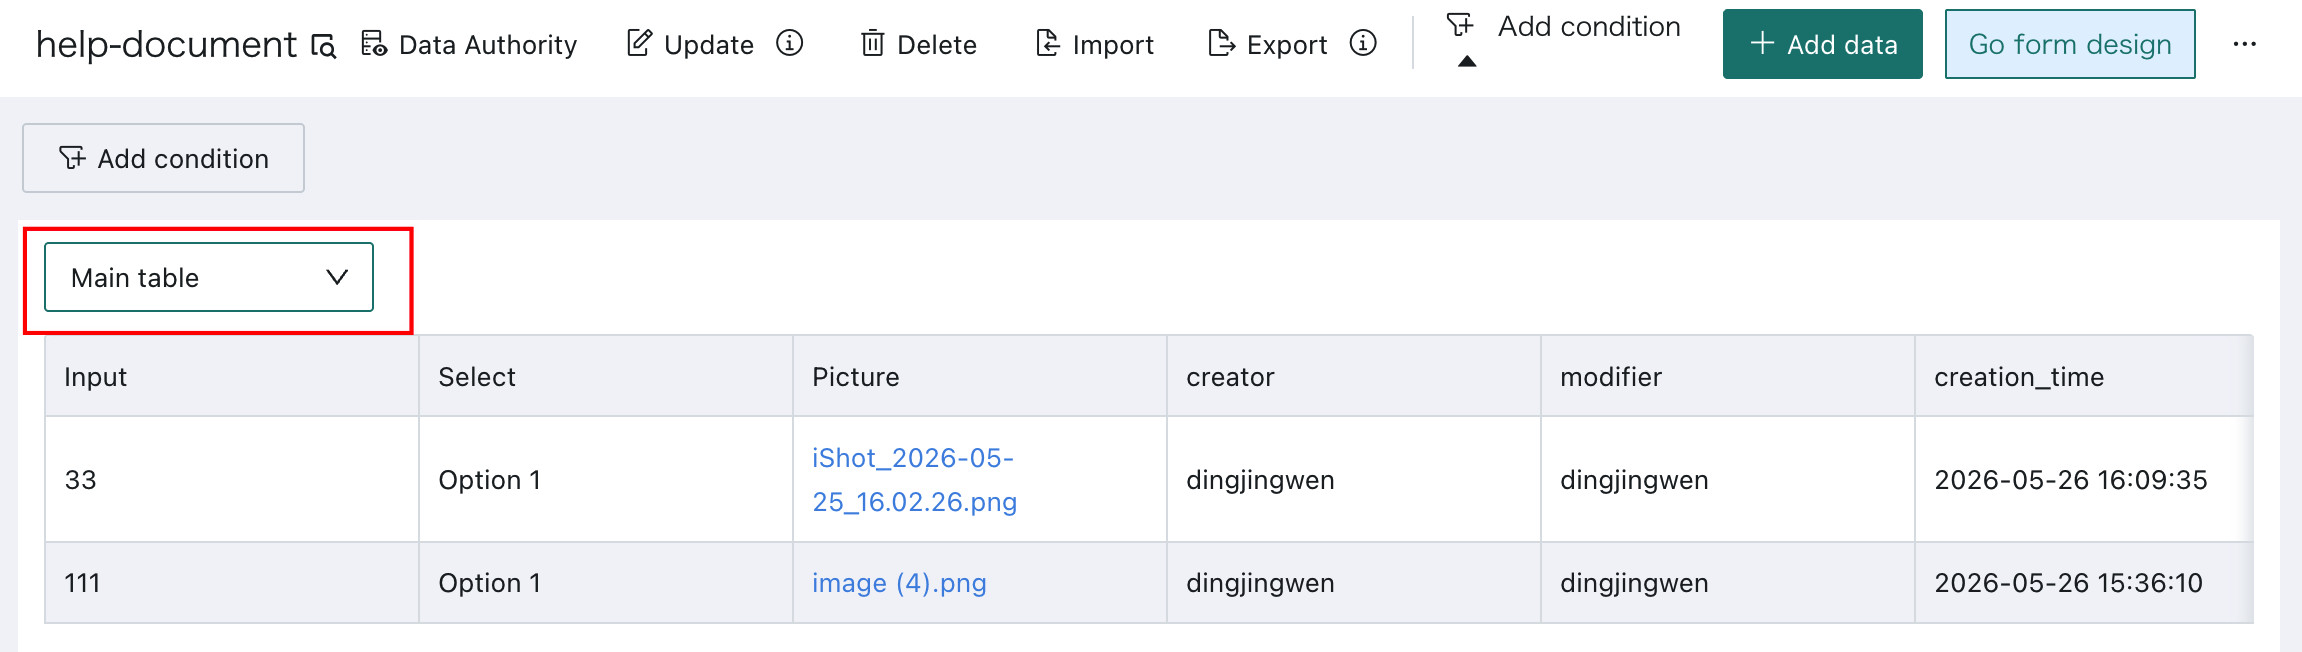
Form data viewing supports switching between the main form and subtables. If the current form contains multiple subtables, click the Main Form selector to switch to the data you want to view. Each subtable view displays all main form fields plus the current subtable fields by default.
Filter Data
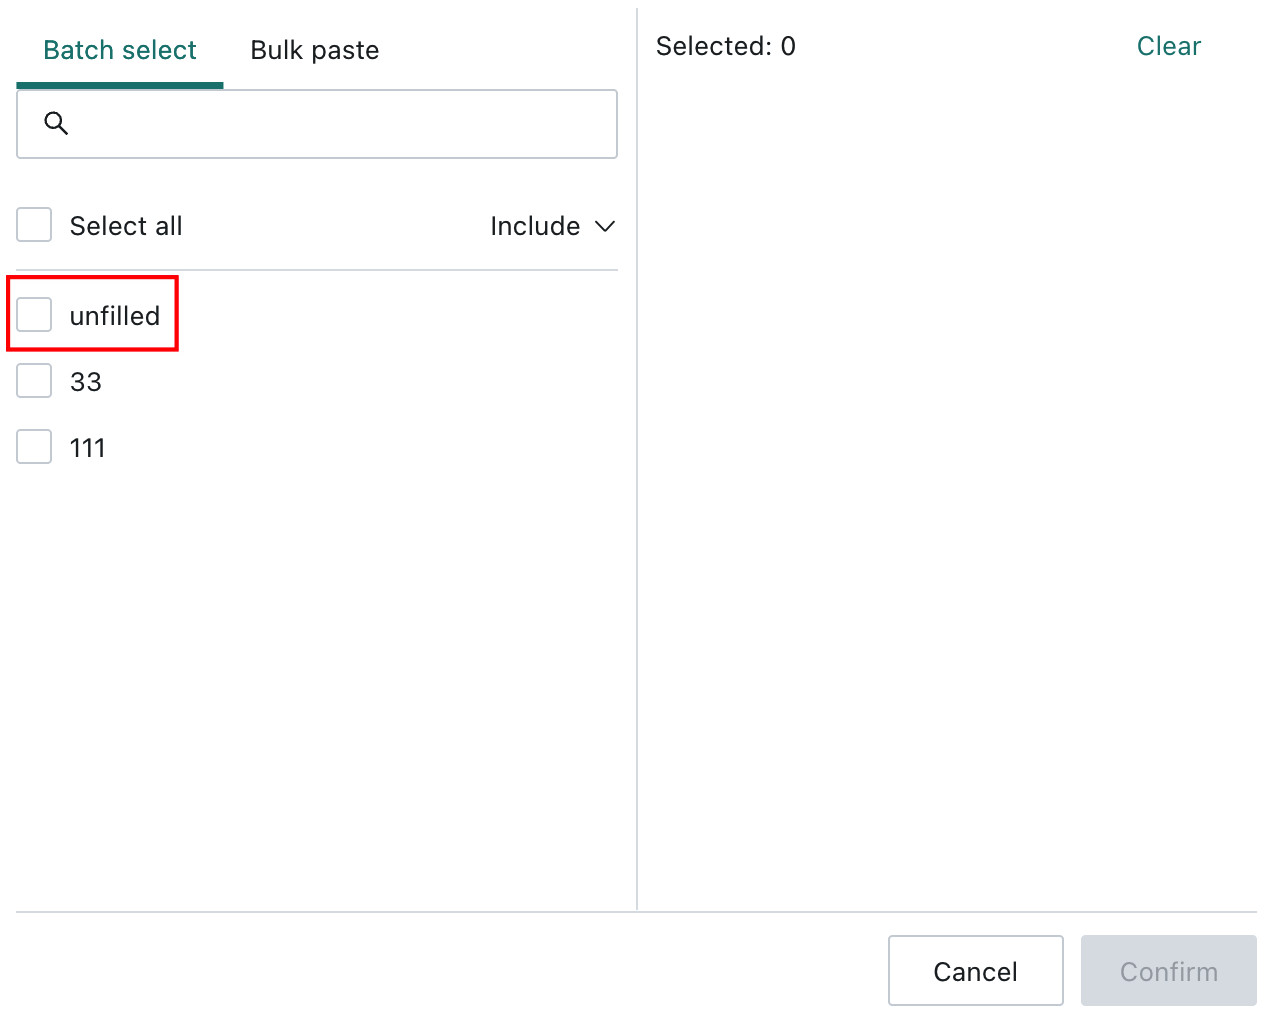
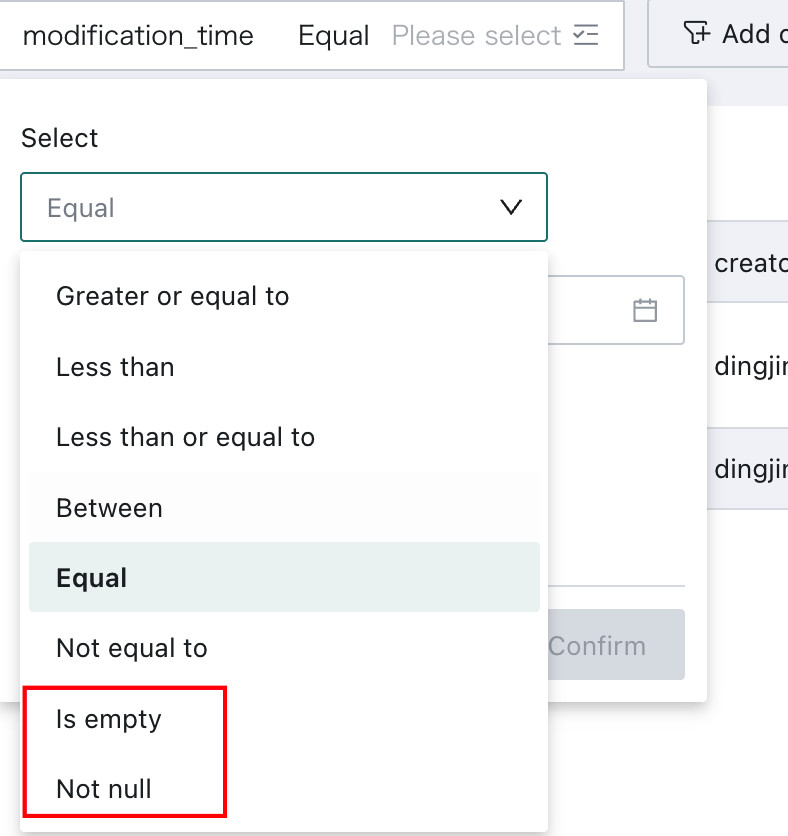
Click Add Condition, select a field, set the filter conditions, and click OK to filter the submitted data.
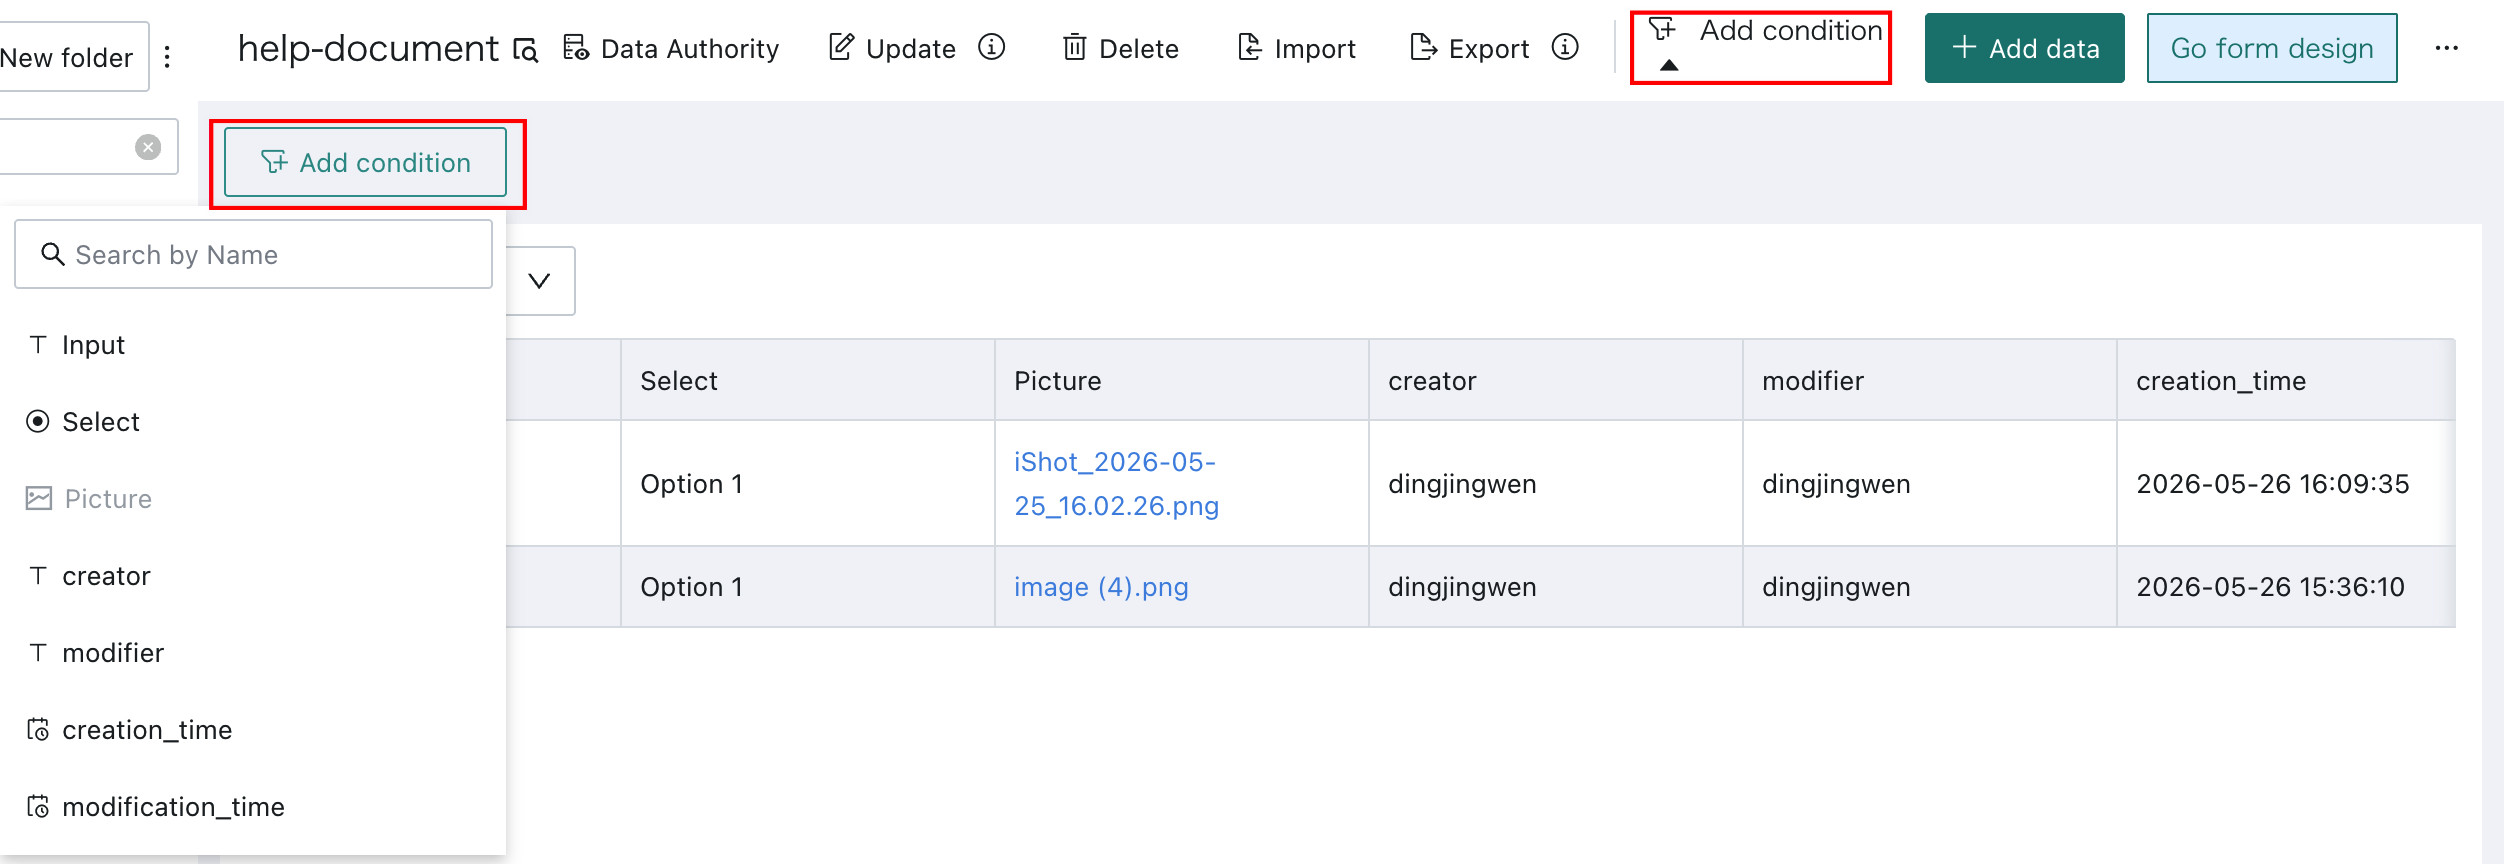
- Text controls (single-line and multi-line) and selection controls (single-select and multi-select) support the
unfilledoption. - Date and number controls support
Is EmptyandNot Null.
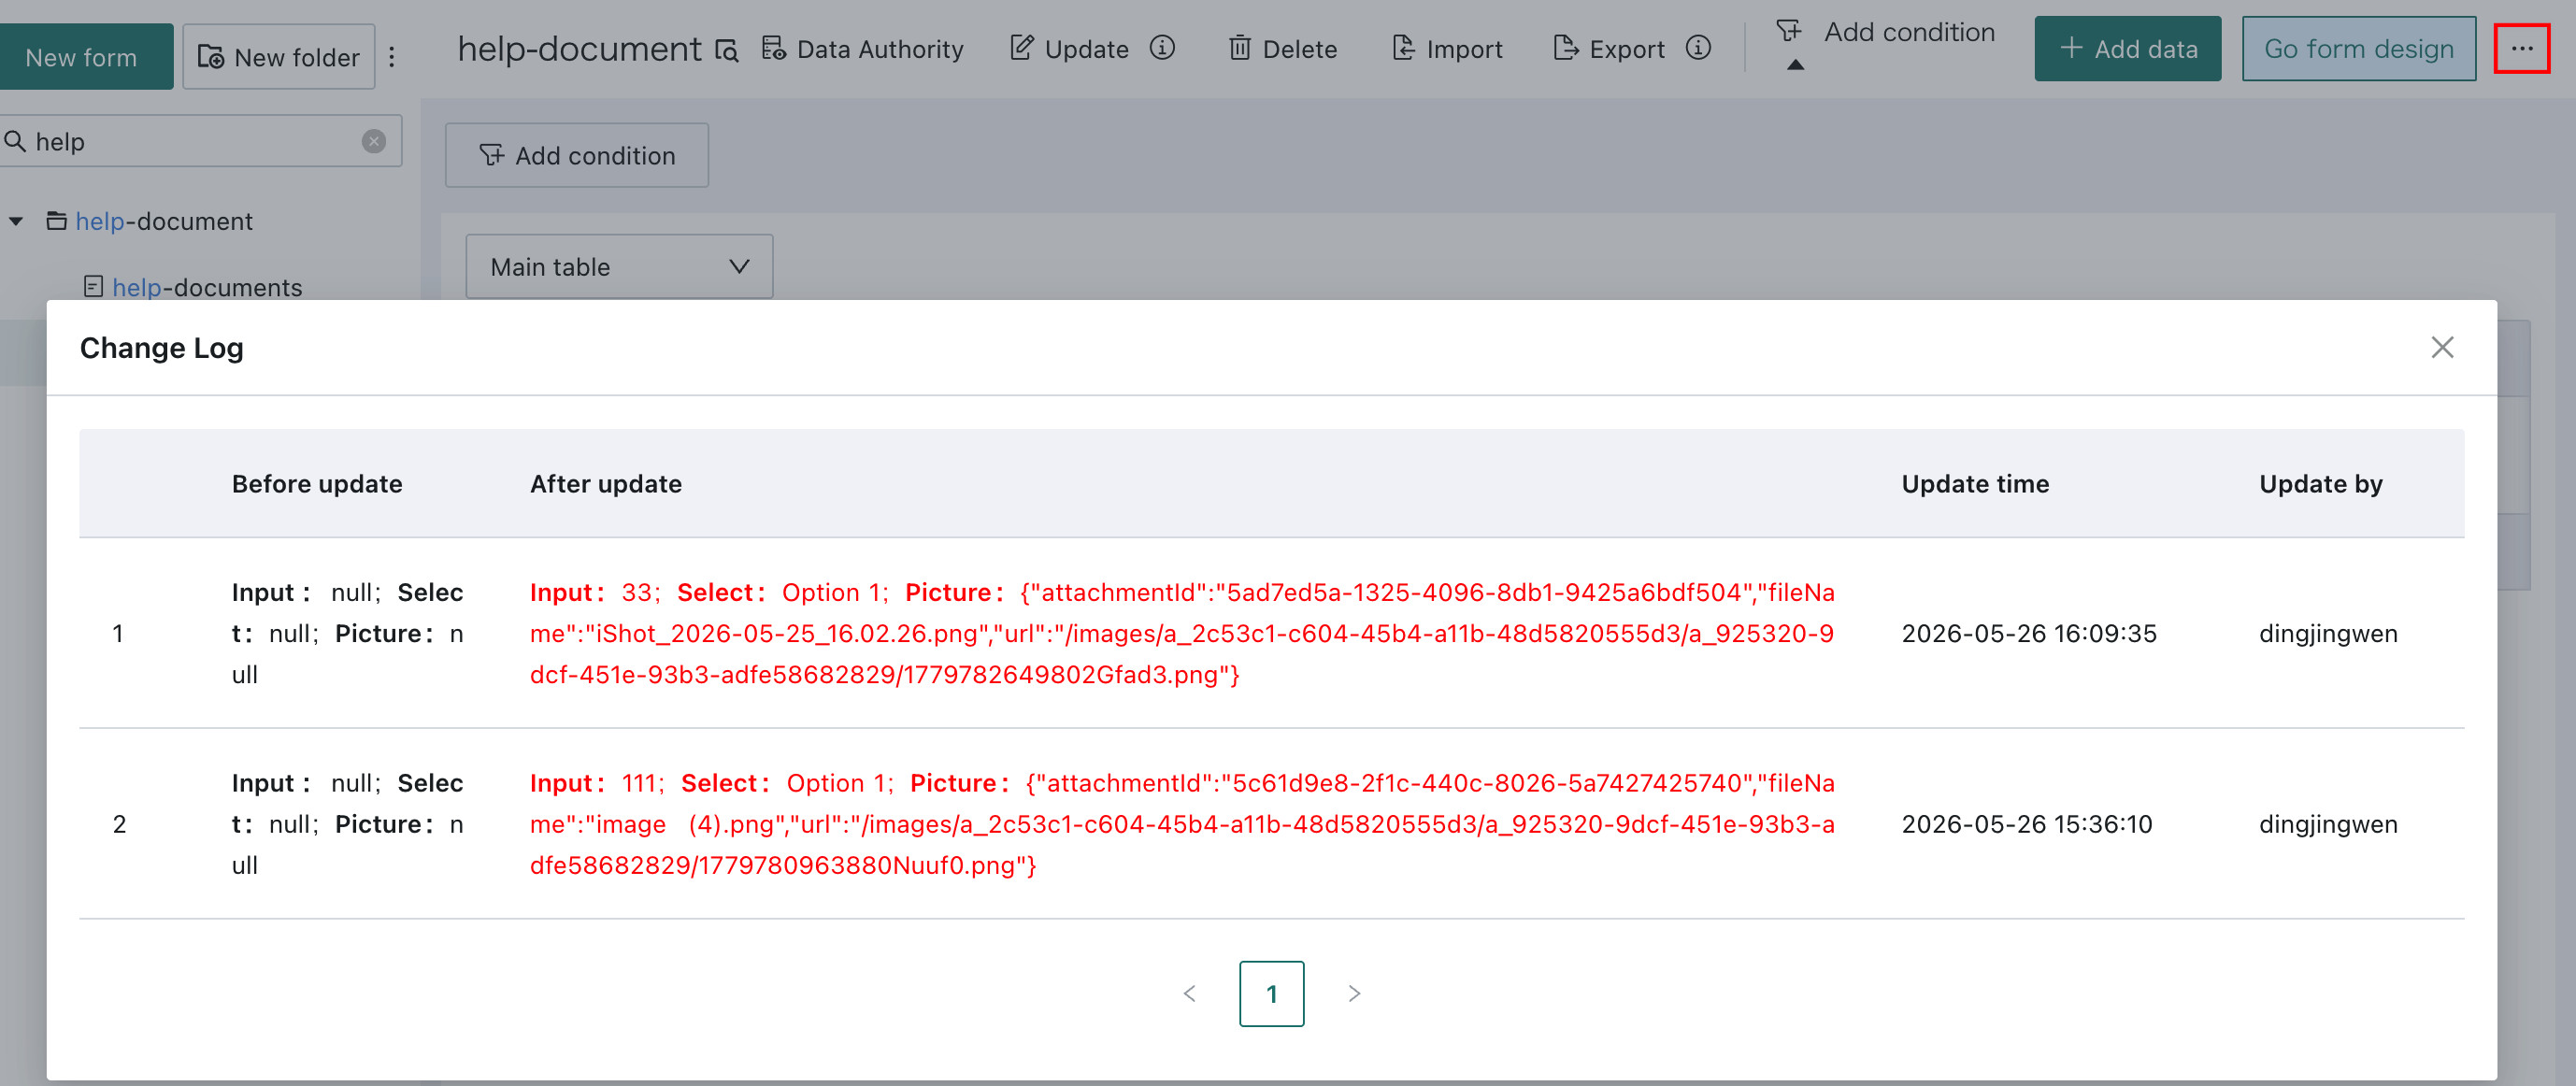
View Modification Logs
Click Modification Log to view the logs.
Only form owners and administrators can view modification logs. Form submitters do not have access to this entry.
Data Permissions
In the form navigation bar, click Data Permissions to open the permissions page.
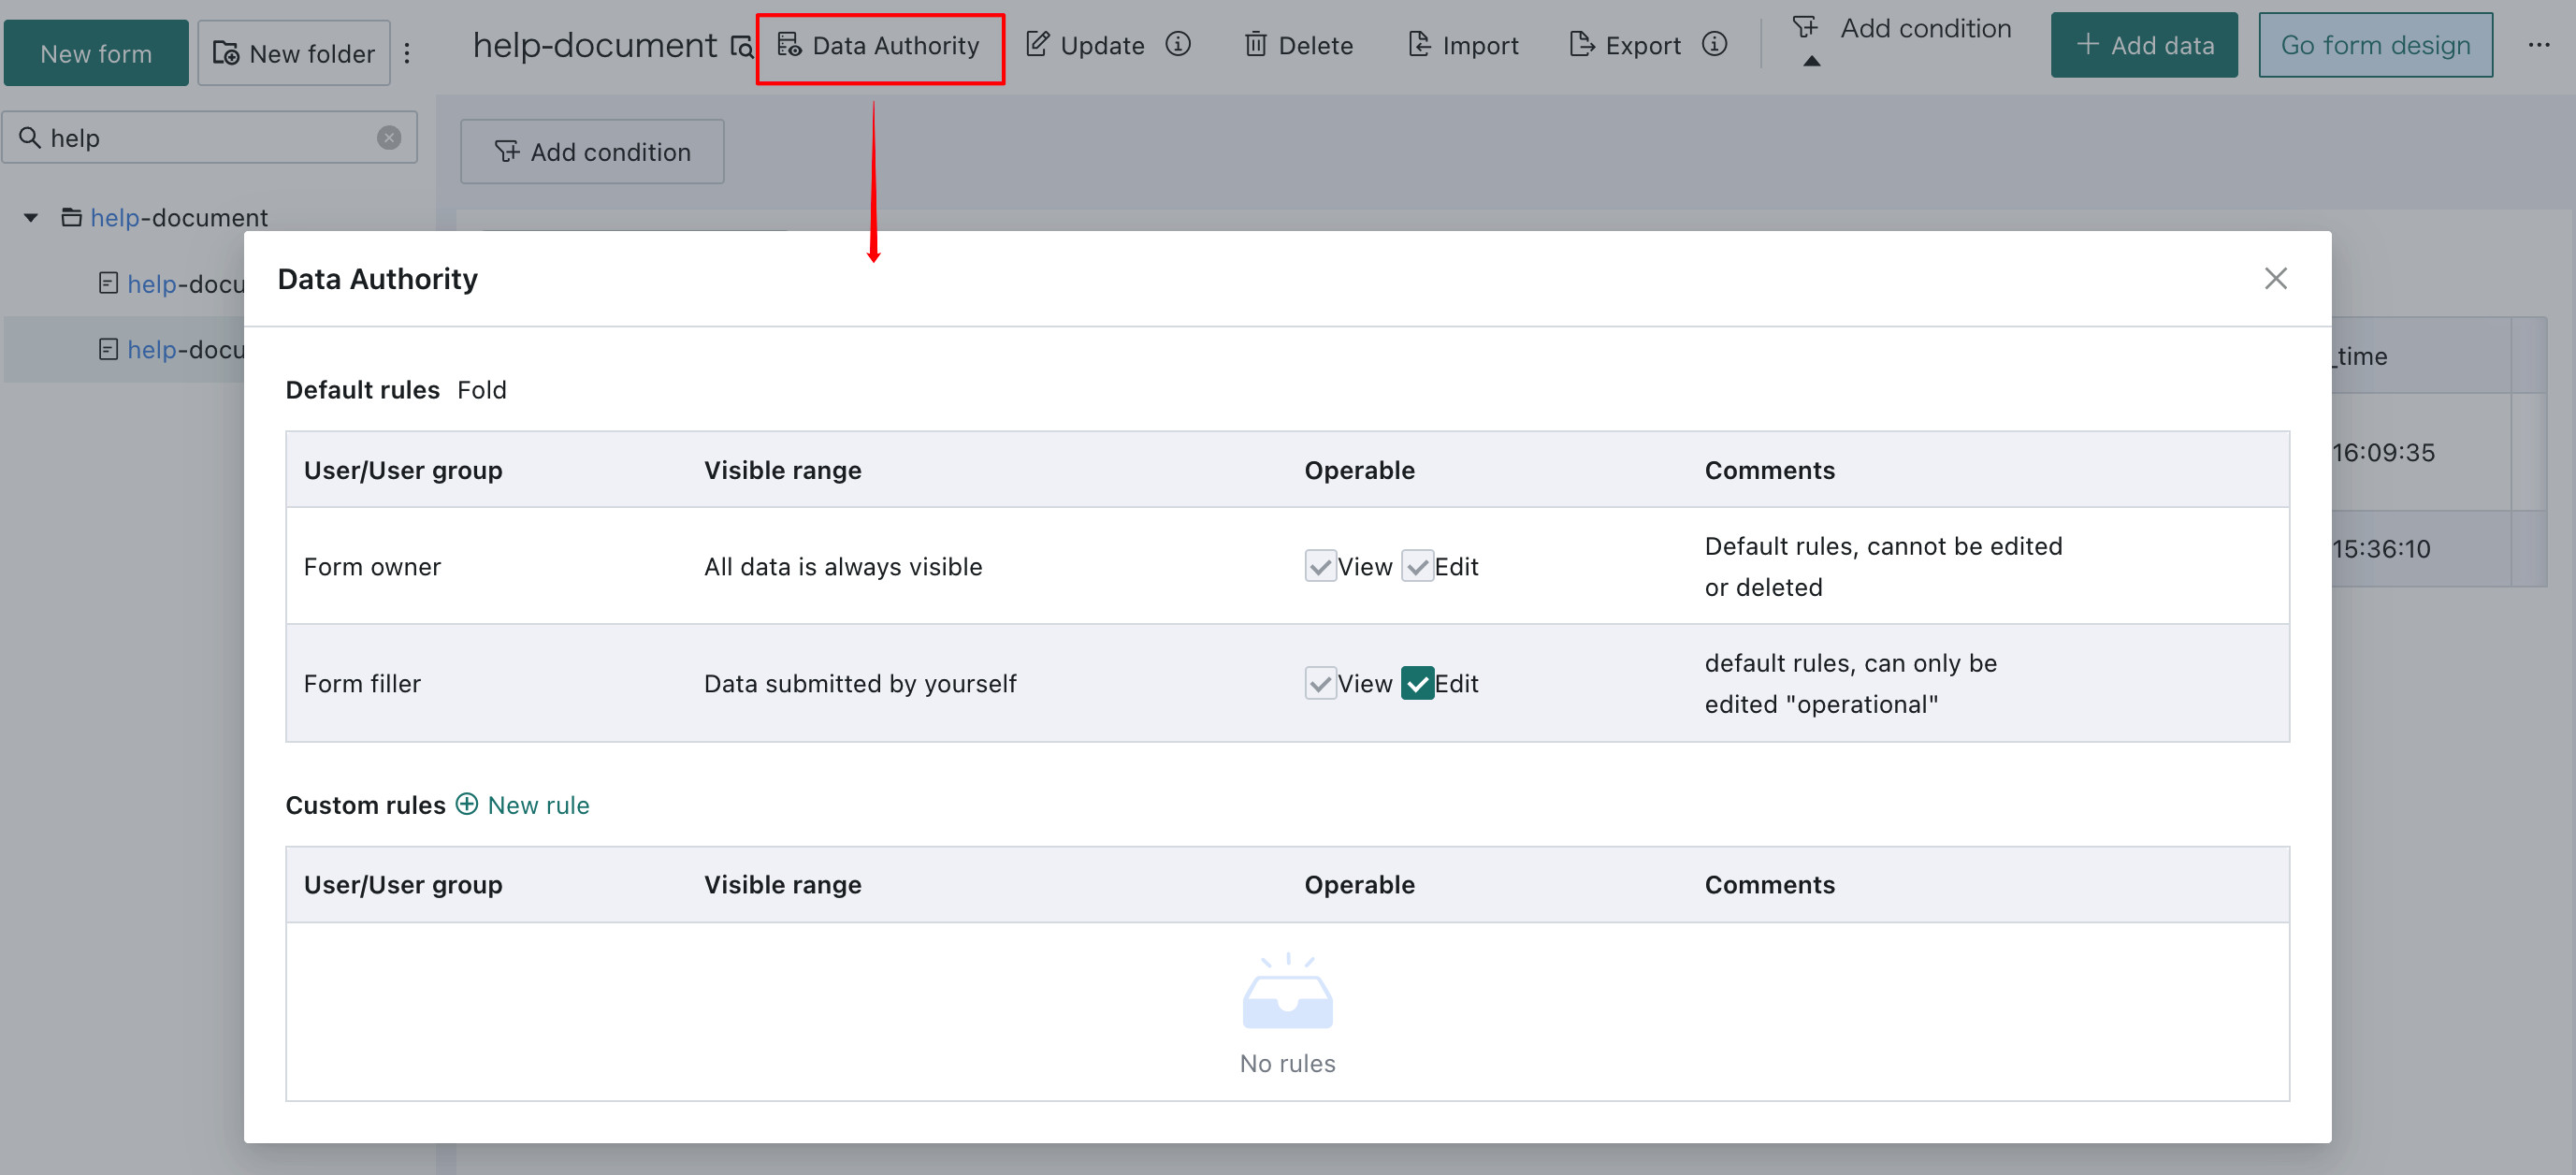
Feature Description:
| Rules | Note |
|---|---|
| Default Rules | |
| Custom Permission Rules | User/User Group Settings: You can select any user or user group. Data Visibility Scope: There are three configuration methods. |
-
In custom permission rules, you can switch between the main form and subtables to choose different fields. In
Custom Rules - Free Mode, rules must be written using PostgreSQL syntax.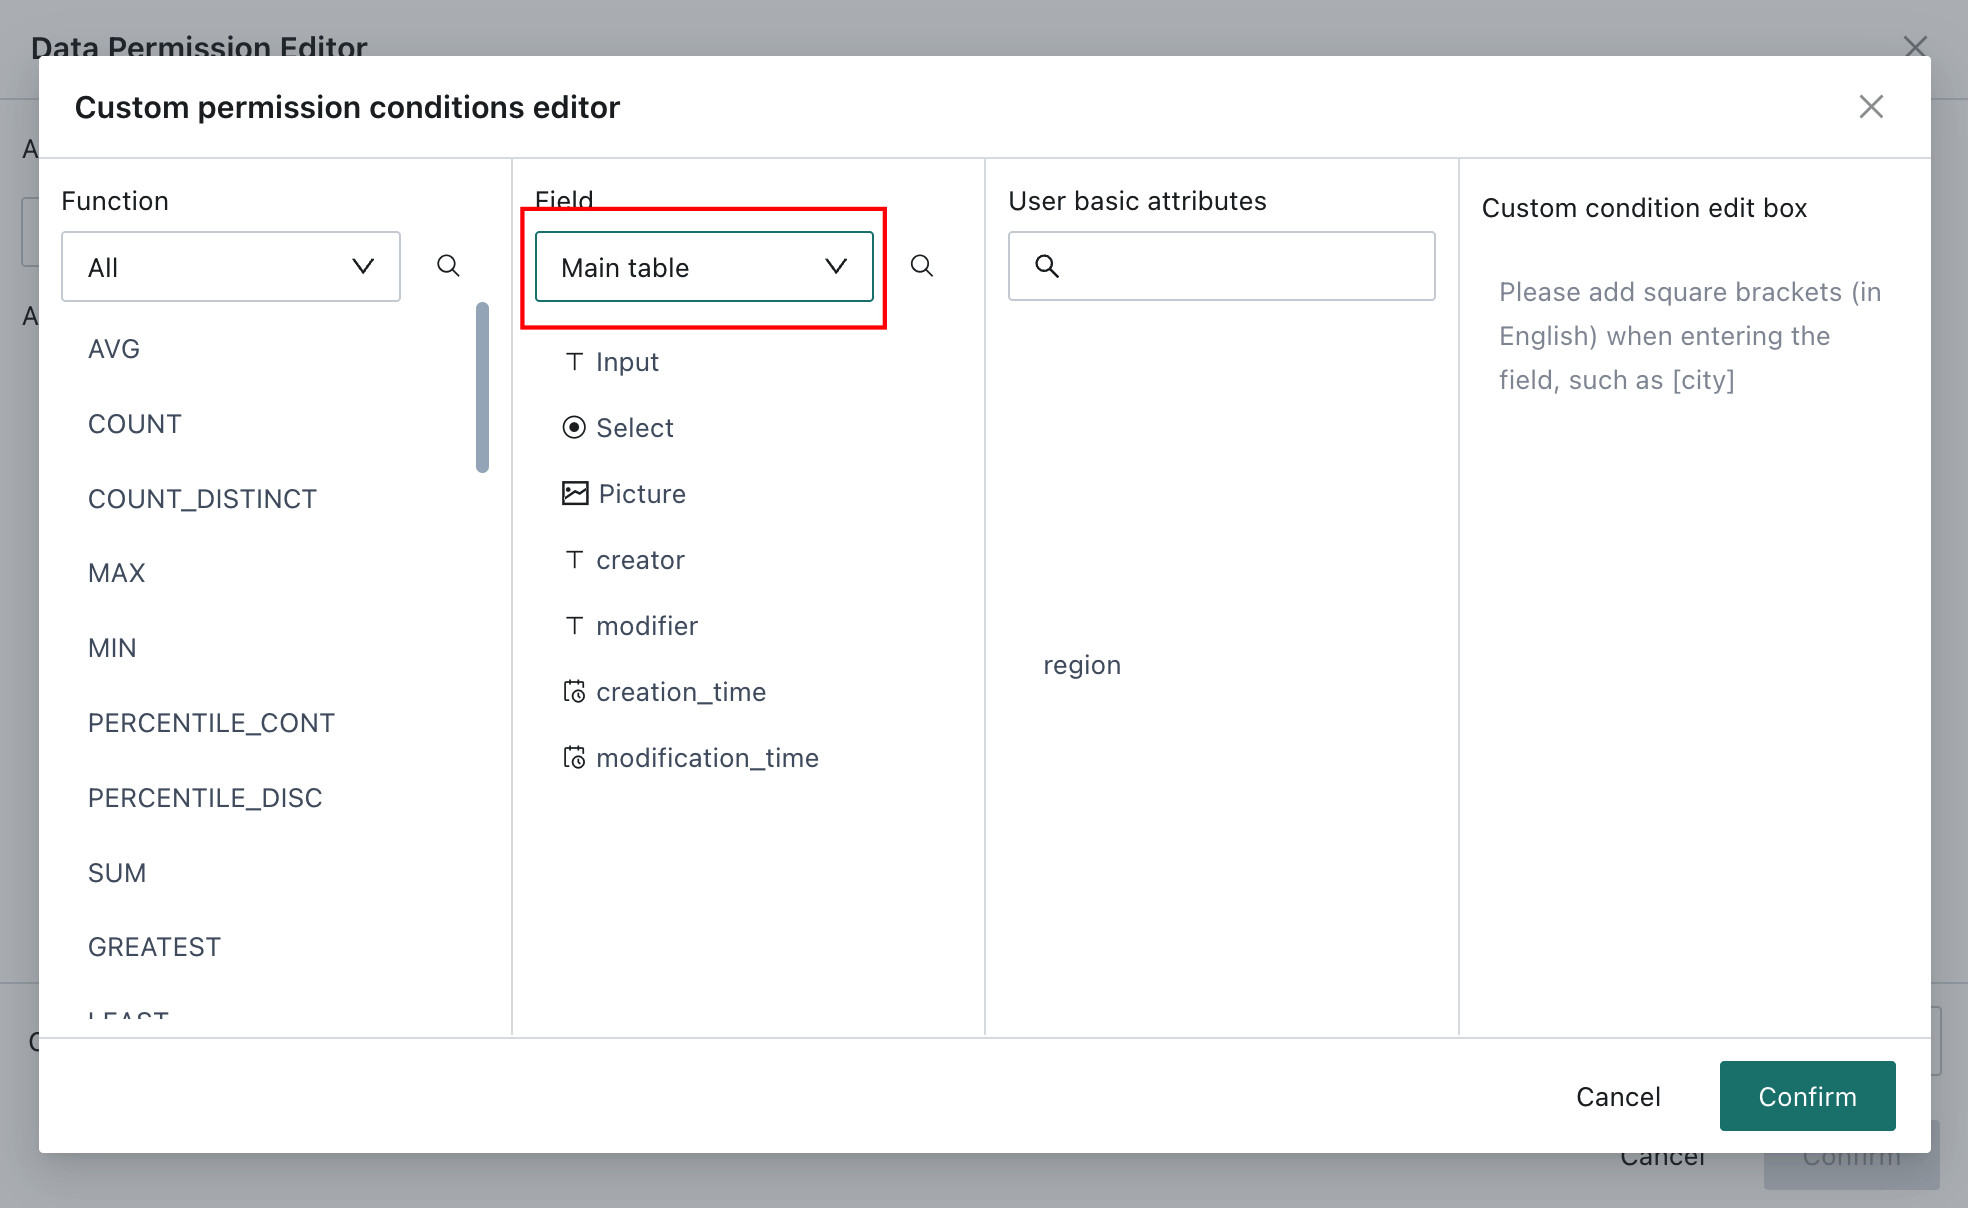
-
Form data permissions control who can view submitted data in this form. To allow a user to see the form itself, you must locate the form in the list on the left and grant at least one permission through
Owner ManagementorSubmitter Managementin the three-dot menu beside the form name. -
If form submitters are allowed to view the data they submitted, they can perform operations on the data management page such as switching between the main form and subtables, filtering data, deleting data, importing data, exporting data, adding a single row, and modifying a single row. On mobile, they can also view submission records on the
Submitted Datapage. Clicking a submission record shows the detailed submitted data.
Modify Data
Modify a Single Record
To modify data, click a single record to open its submission details and make changes.

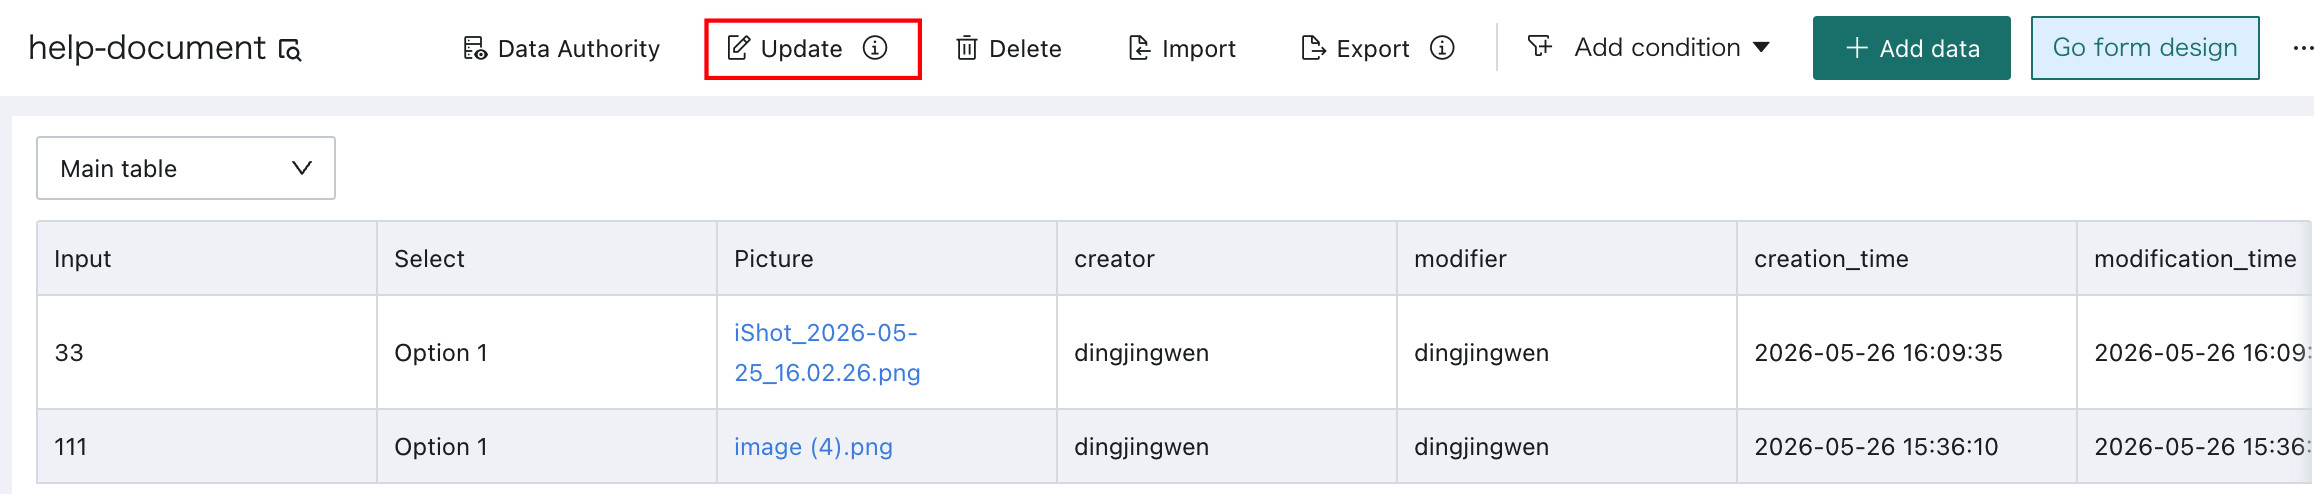
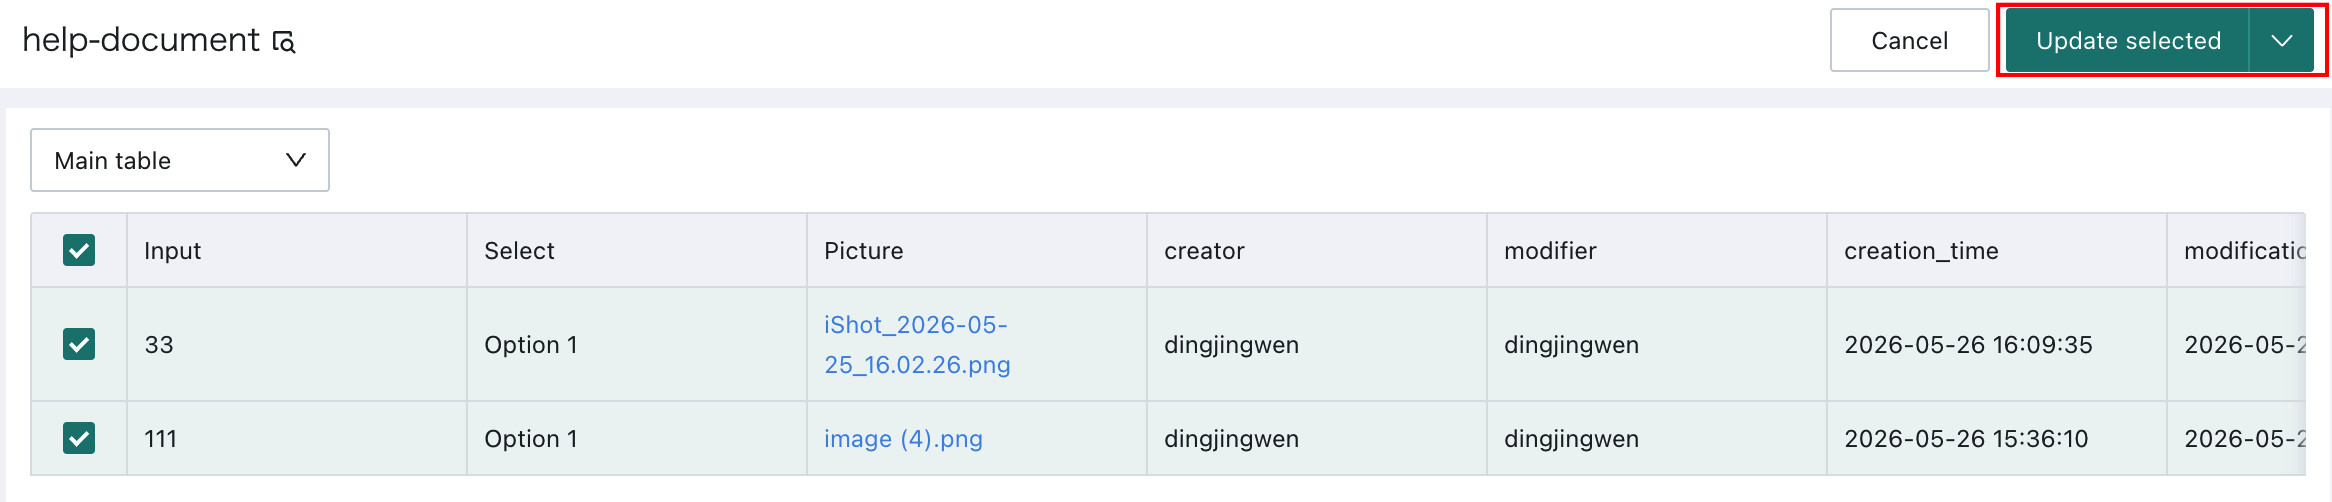
Bulk Modify
Click Bulk Modify to enter the batch selection page, select the rows you want to modify, and click Modify Selected in the upper-right corner.
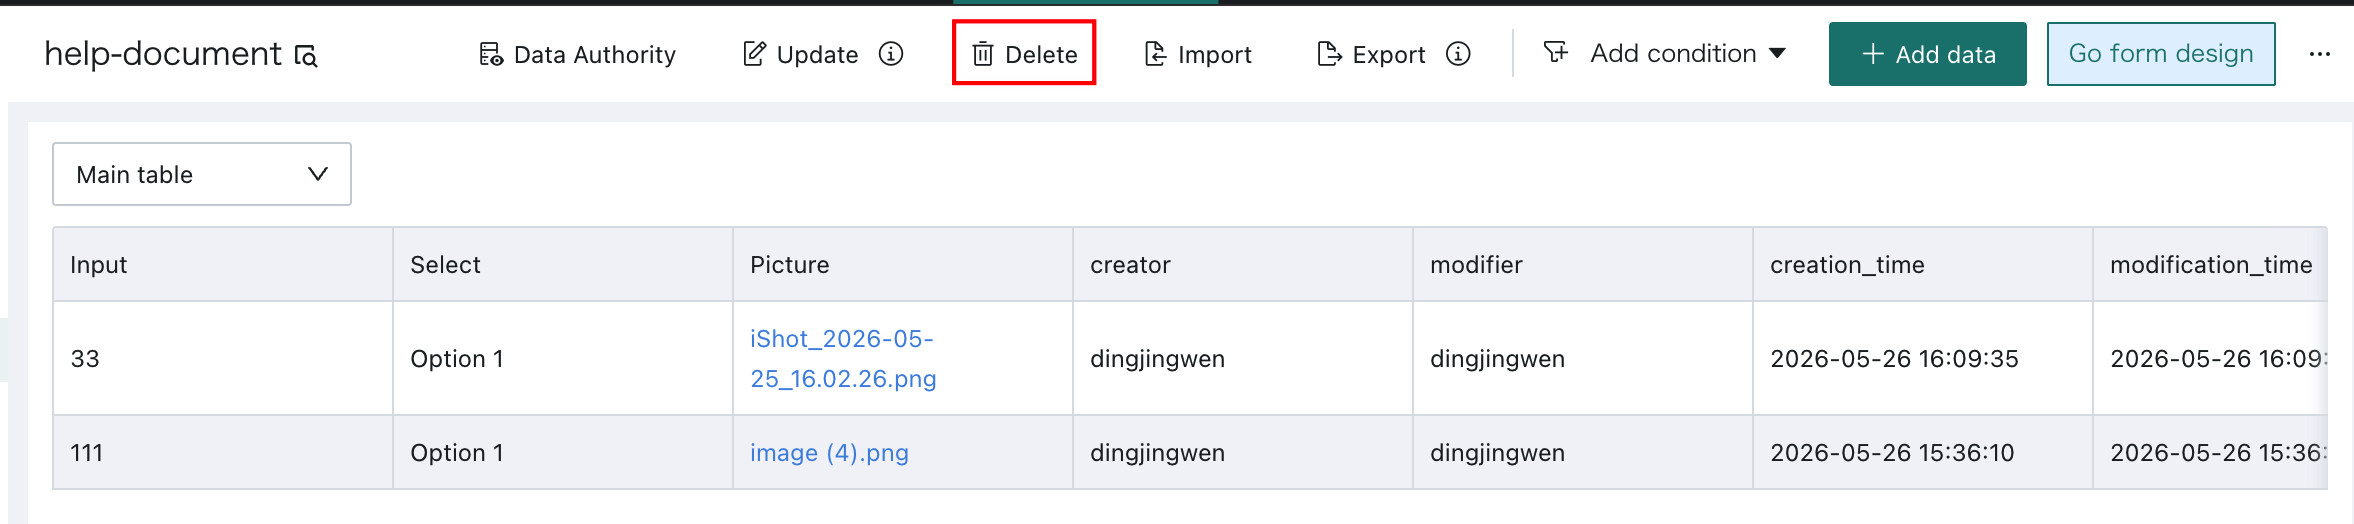
Delete Data
Switch to the main form and click Delete to enter the batch selection page, then select the rows you want to delete.
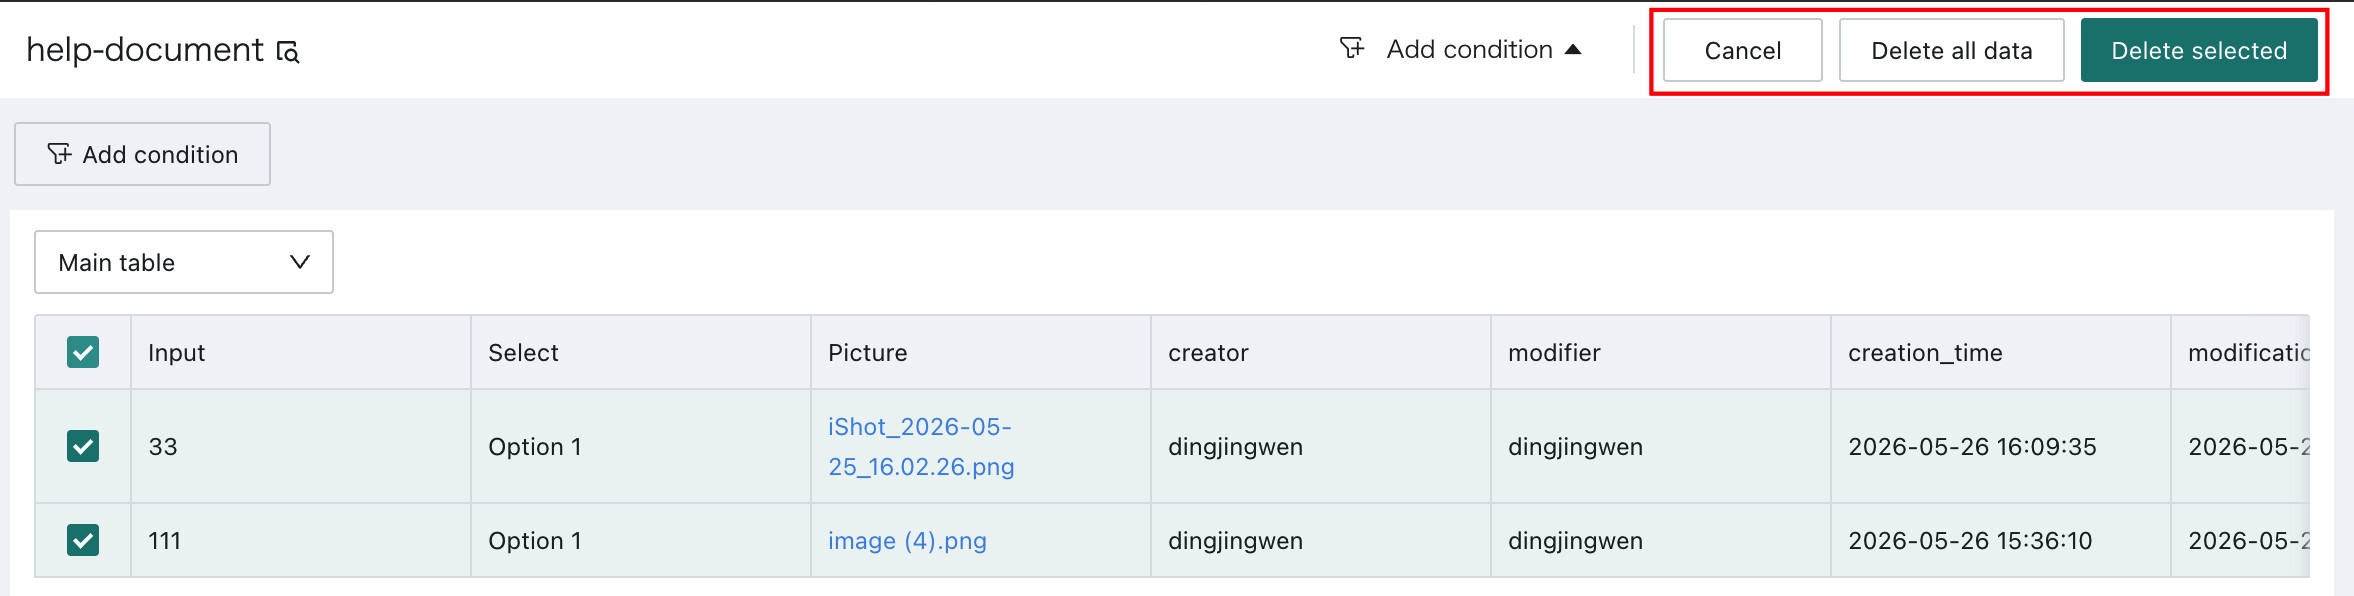
- Use
Deleteto select the data to delete, then clickDelete Selectedin the upper-right corner. - To delete all data, click
Delete All. If the form currently has filters applied,Delete Alldeletes all filtered data in the current view rather than all data in the entire form.
The delete button is available only for the main form. To delete subtable data, switch to the subtable, click the single record to be deleted to enter its submission page, and then click Clear.
Import and Export Data
Import
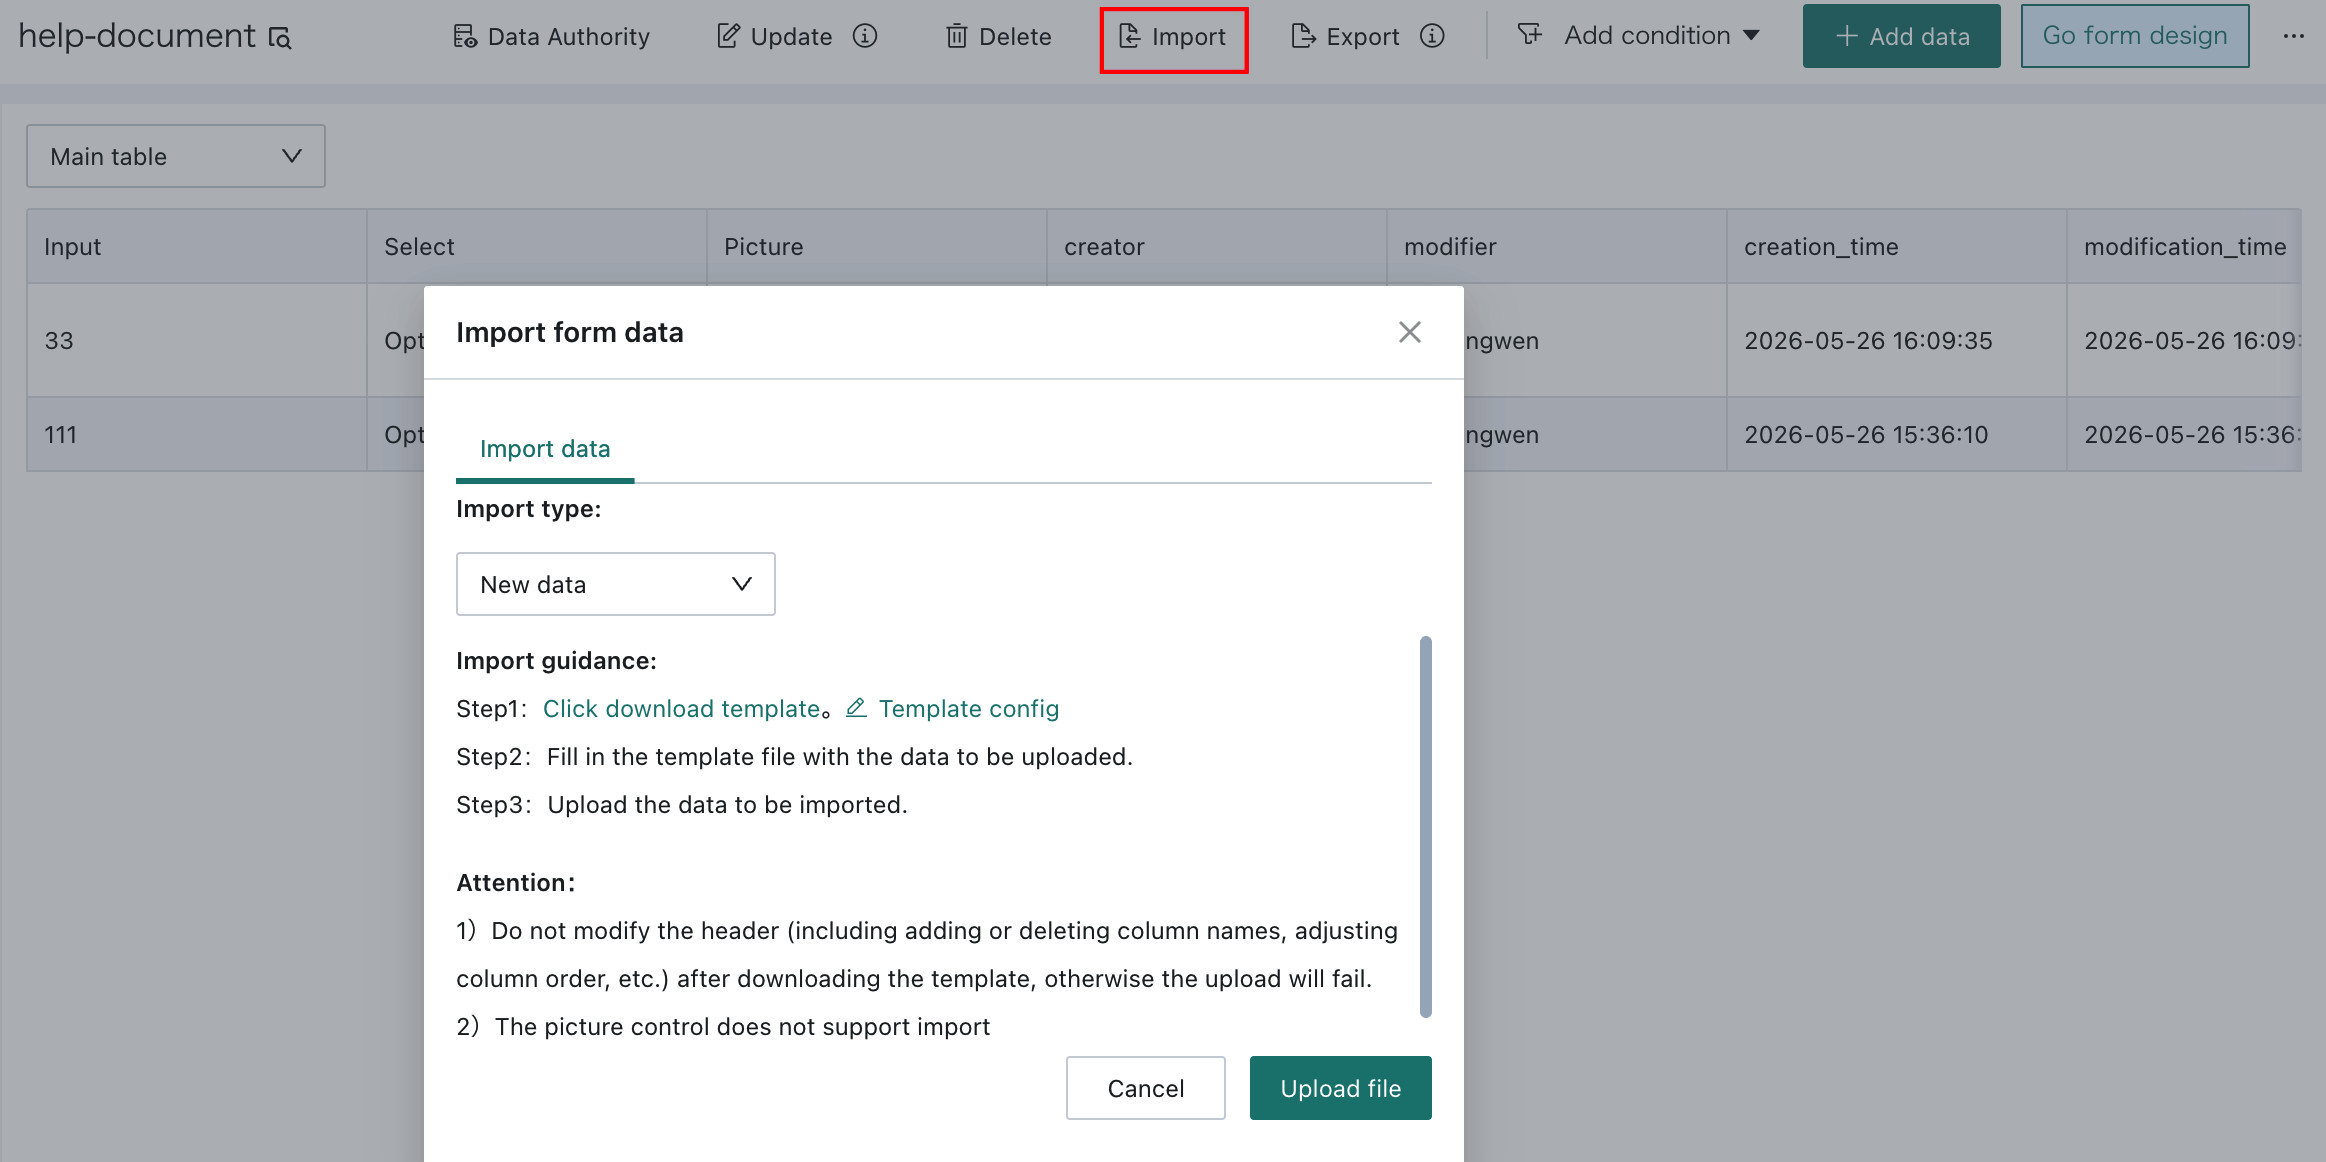
The main form supports bulk import from spreadsheets, including adding new data and deduplicated updates. The maximum import file size can be configured on the backend.
Switch to the main form and click Import to open the Form Data Import dialog, then select an import mode.
-
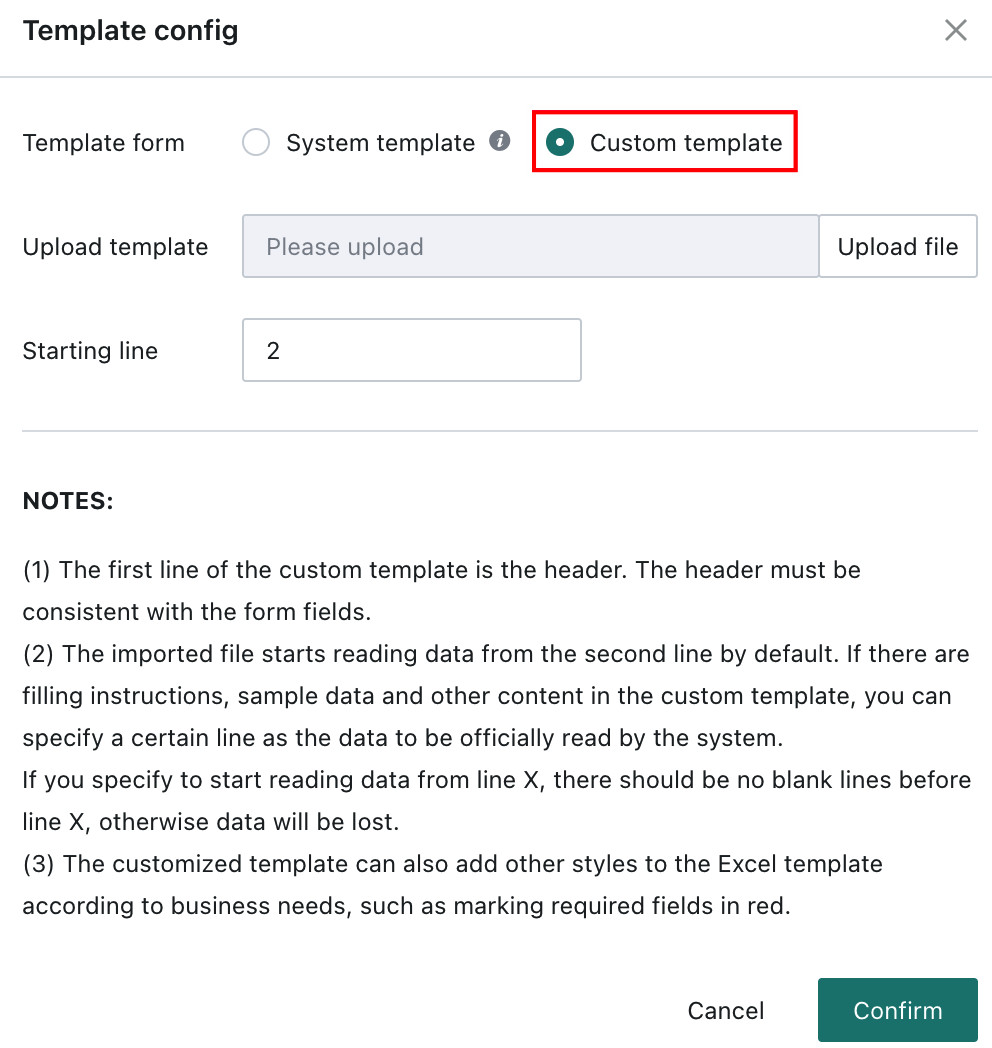
If the import mode is
New Data, you can download a template or define a custom import template. ClickTemplate Config, selectCustom Template, upload the template file, specify the starting row to read, and clickOK.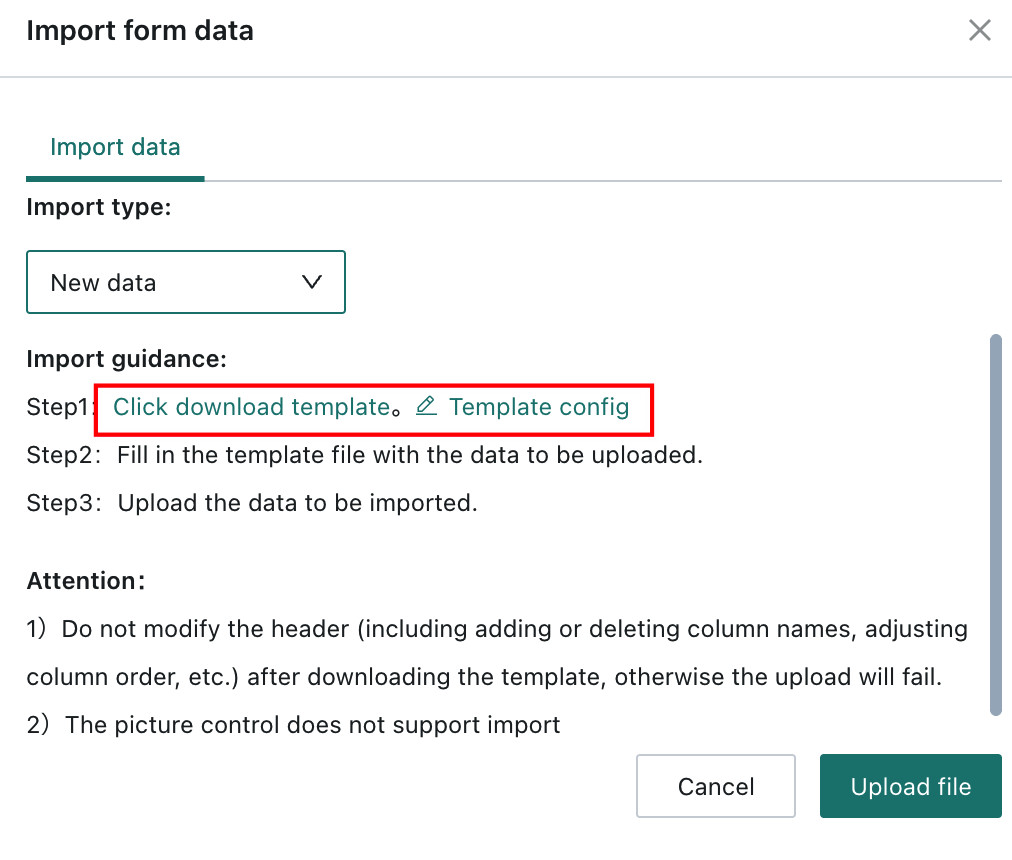
-
If the import mode is
Update data, first export the data that needs to be modified, update it in the exported file, and then upload it again.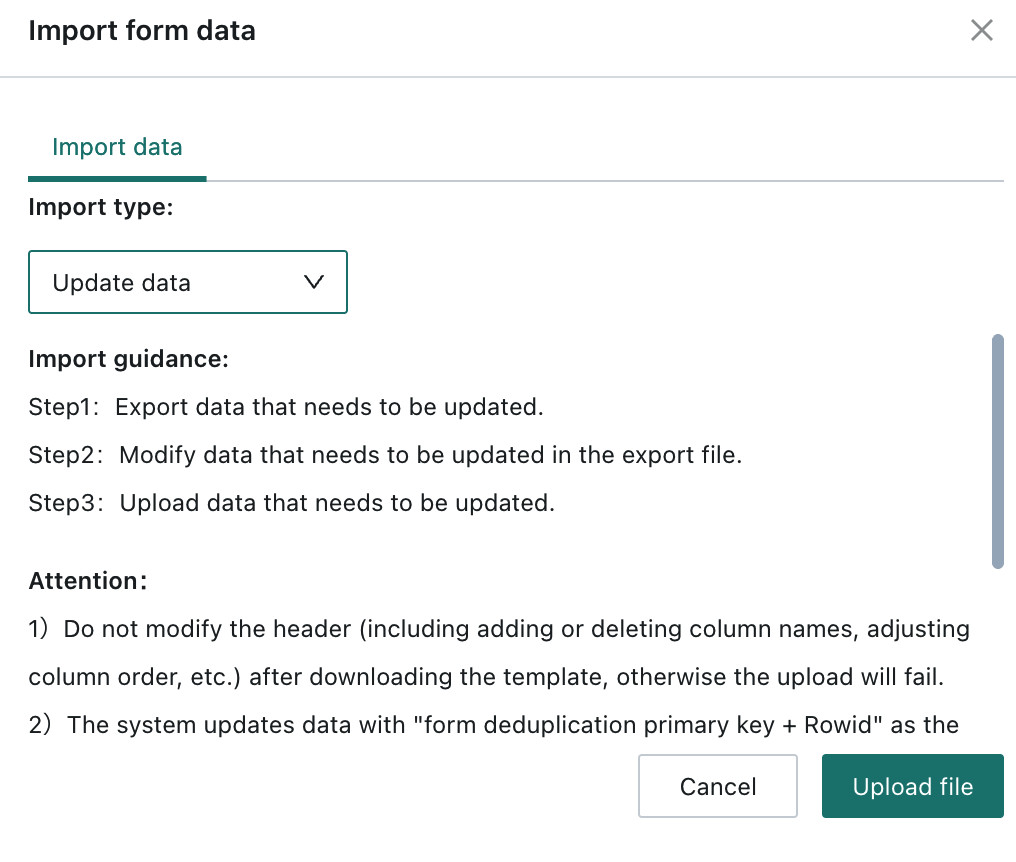
When adding or updating data through bulk import, the system validates imported values cell by cell. If an issue is found, the import is stopped and the exact cell location and error reason are displayed. The validation rules include:
- Required fields: a warning is shown if imported data is empty.
- Single-select and multi-select fields: the imported value must match the configured options.
- Number fields: the imported value must fall within the configured numeric range.
- Number and date fields: the imported value must be a valid number or date.
- Number fields support up to 15 digits.
- Decimal values support up to 6 decimal places. Values with more than 6 decimal places are rounded to 6 places during import.
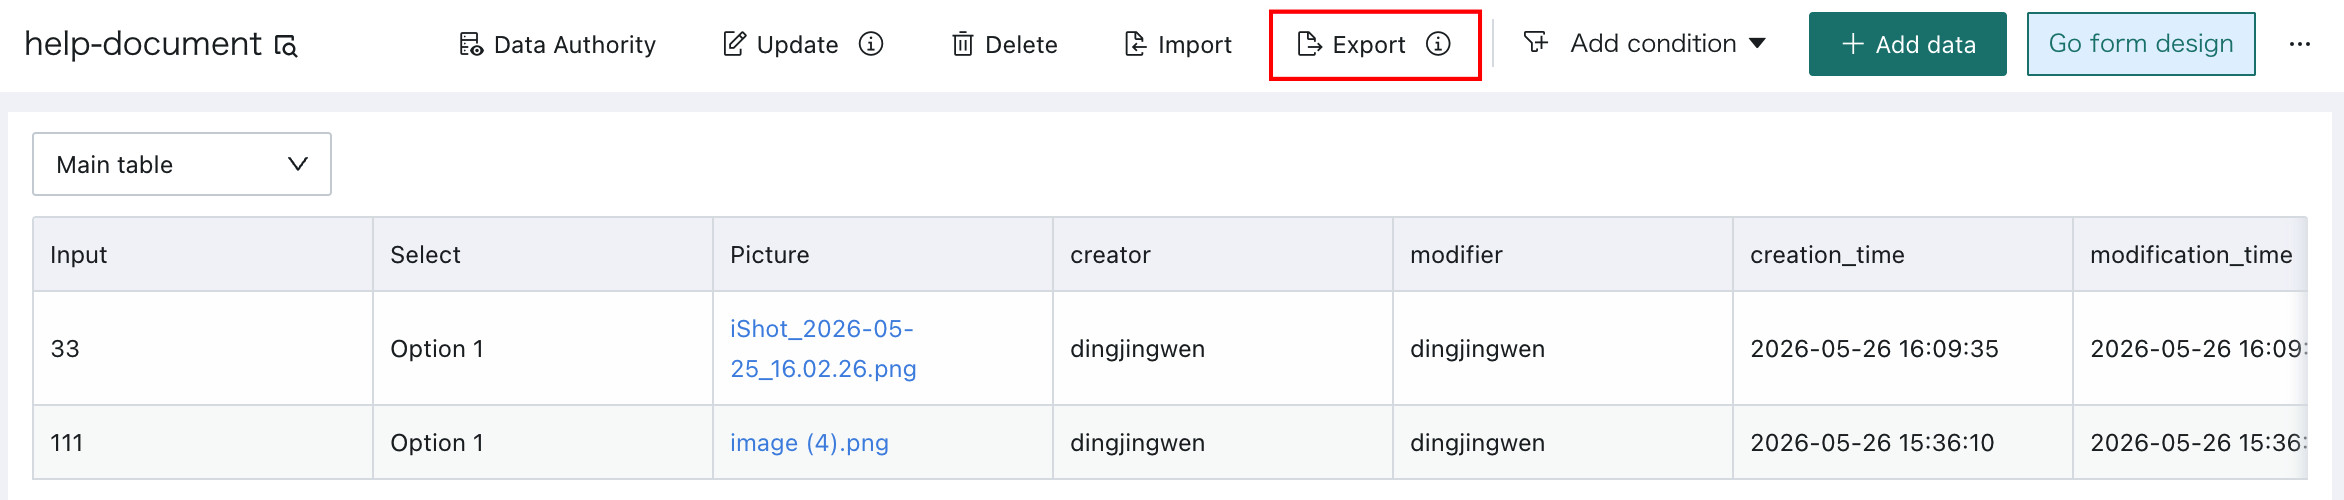
Export
Click Export in the upper-right corner to export data, including filtered data. The exported Excel file includes a rowid column, which is mainly used for data updates.
In addition, export only applies to the current table. If a form contains both a main form and multiple subtables, you must first switch to the corresponding table and then export.
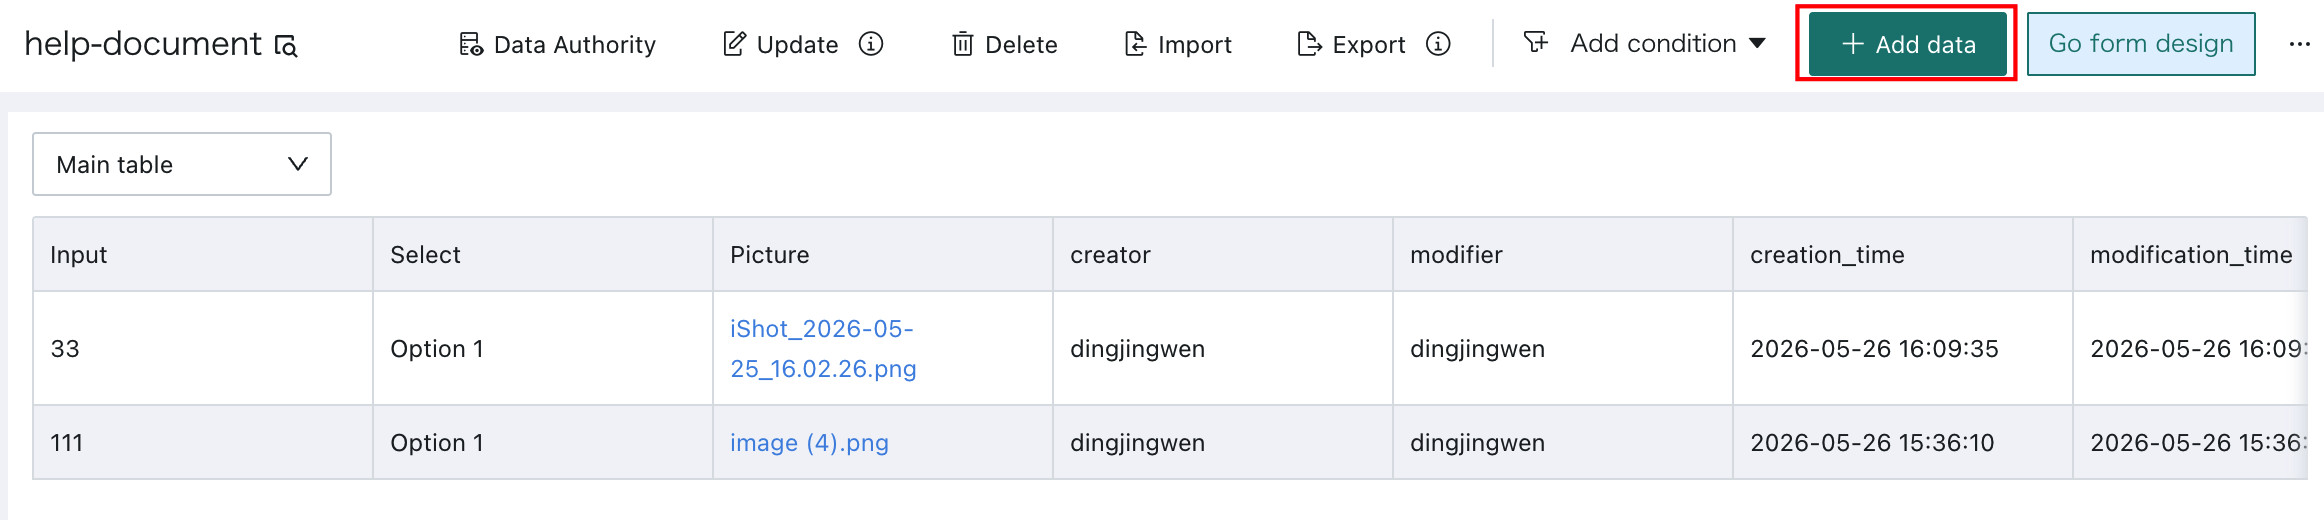
Add Data
Click Add Data to add a new form record. In addition, clicking any record opens its submission page, where you can modify and update that specific record.
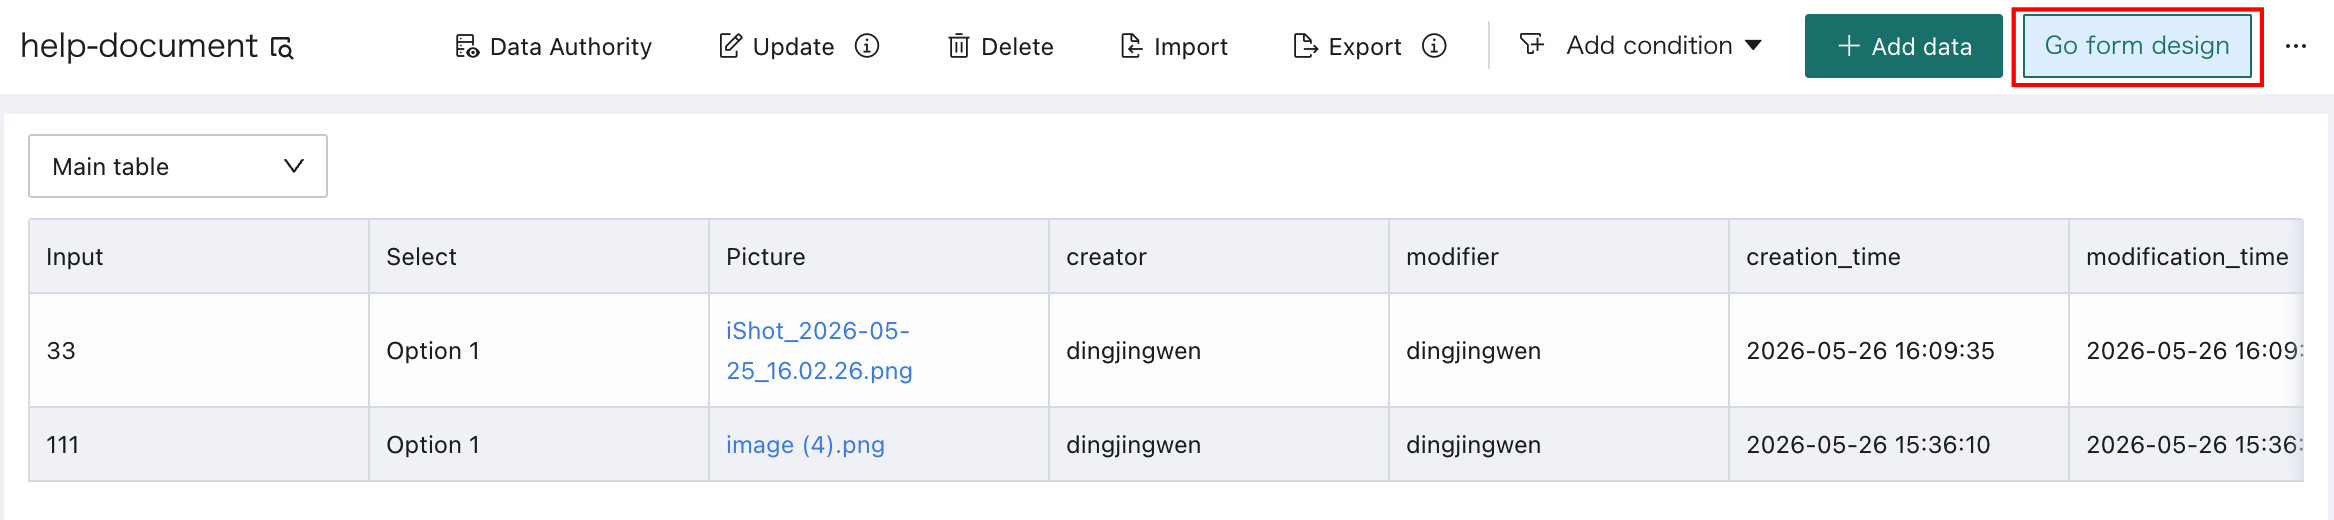
Go to Form Design
Click Go to Form Design to open the form design page. For details, see Form Design.
FAQ
If you encounter issues while using Form Entry, see Form Entry FAQ.